You can absolutely build a concrete patio yourself. A standard 4-inch slab on a compacted gravel base is well within reach for a motivated DIYer with a free weekend and the right rental tools. The process runs: plan your layout, excavate and compact your base, build your forms, pour and screed, finish the surface, then cure and seal. Budget roughly $3–$6 per square foot in materials if you DIY, compared to $12–$28 per square foot installed by a contractor in 2026. The work is physical but not complicated, and this guide walks you through every step.
Do It Yourself Concrete Patio: Costs, Steps, Finishes

Silas Morrison
30 Apr 2026
DIY Concrete Patio Ideas and Layouts
Before you dig a single shovelful, spend real time on your layout. The shape and size you choose affects your drainage plan, how many control joints you need, and how hard the pour will be to manage alone. Simple rectangles are the most forgiving for first-timers because forms are easy to build and screeding is straightforward. That said, a few layout and finish ideas can make even a plain slab look intentional.
Layout ideas that actually work for DIY
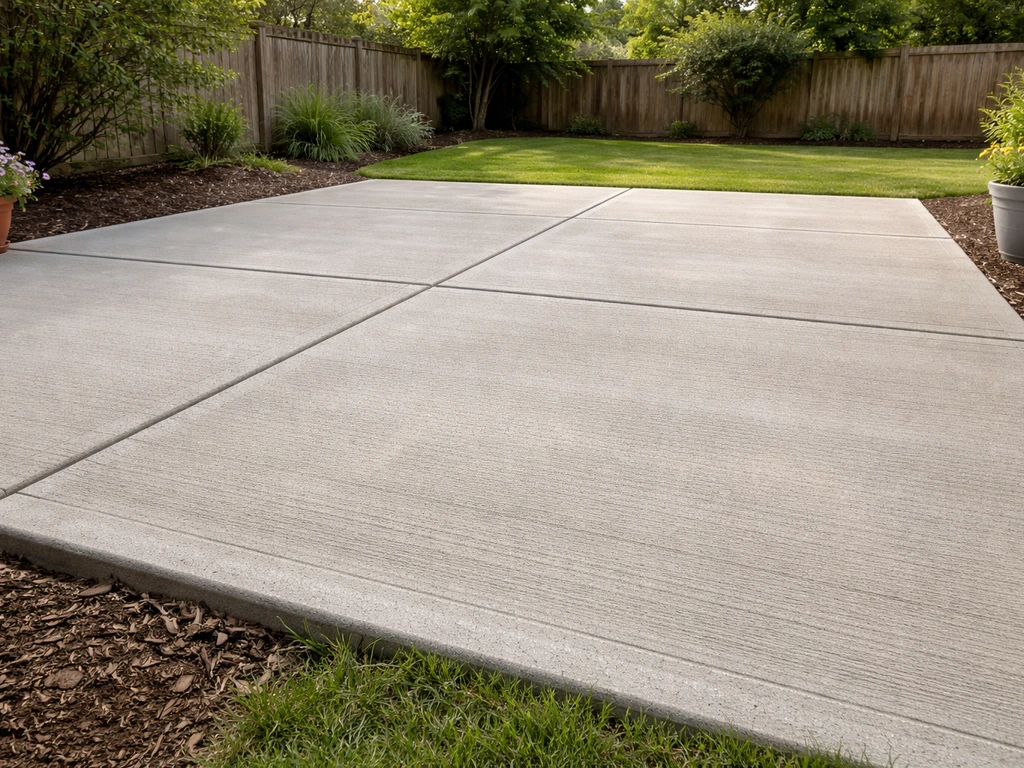
- Classic rectangle with a broom finish: the easiest pour to manage, and a brushed texture gives you built-in slip resistance without any extra products.
- L-shaped patio: pour in two separate rectangles on different days rather than one big pour, which keeps each section manageable for a small crew.
- Square grid pattern: score or saw-cut control joints in a grid to create the look of large pavers. No extra materials needed, just a grooving tool or a circular saw with a diamond blade.
- Exposed aggregate finish: seed decorative stone into the surface before it fully sets, then wash back the cream layer with a light spray. Requires more timing and a second person, but looks sharp.
- Stamped concrete: if you want a stamped finish, that is a separate process worth researching carefully; there are good guides on doing stamped concrete yourself, including ways to resurface an existing patio with a stampable overlay rather than pouring new.
Size and slope: get these right before you build forms
Keep individual slab panels to about 8–12 feet in any direction when working with a 4-inch slab. That range is consistent with ACI control joint spacing guidance (roughly 2–3 times the slab thickness in feet), which helps prevent random cracking between joints. If your patio is larger, just plan more joints, not one giant unbroken slab.
Slope is non-negotiable. Slope your slab at least 1/8 inch per foot away from the house, and up to 1/4 inch per foot for better drainage. That 1/8–1/4 inch range (roughly 1.5–2 percent) is what keeps water moving and reduces pooling. Set this slope in your form boards before you pour anything, not after.
Materials, Tools, and Site Prep Checklist
Getting your materials list right before you start saves you from a mid-pour emergency run to the hardware store. Here is what you need for a standard DIY patio build.
Materials
- Concrete: ready-mix delivered by truck (easiest for slabs over 1 cubic yard) or bags of 80 lb mix for small patios. Ready-mix runs about $140–$170 per cubic yard delivered in 2026.
- Gravel base: crushed stone or compactable gravel for a 4-inch compacted base layer. For 100 square feet of patio, plan on about 1.25 cubic yards of base material.
- Form lumber: 2x4 or 2x6 boards depending on slab thickness, plus stakes to hold them plumb.
- Vapor retarder: 6-mil polyethylene sheeting laid over the compacted base, overlapped at seams by at least 6 inches. This is a real requirement in many jurisdictions, not optional.
- Reinforcement: welded wire mesh (6x6 is common) or fiber-reinforced concrete mix for a pedestrian patio. Rebar is typically overkill for a light-use patio slab.
- Concrete sealer: penetrating silane/siloxane for a natural look, or acrylic sealer for a bit of sheen on decorative finishes.
- Form release oil or motor oil to coat form boards so they strip cleanly.
Tools
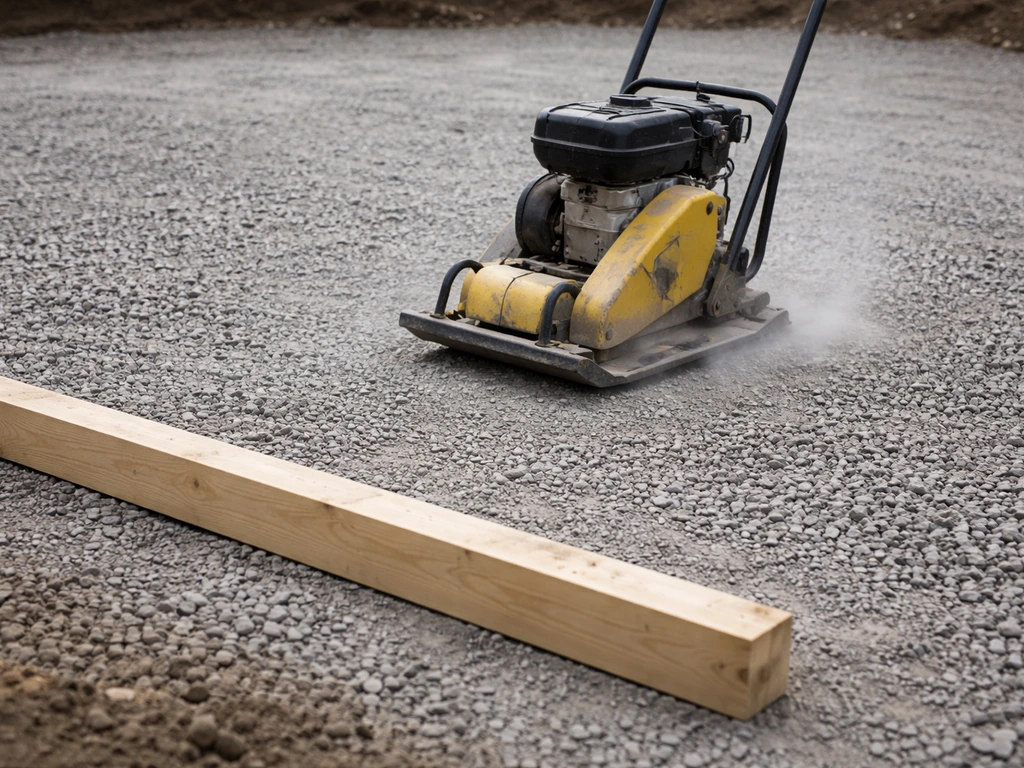
- Plate compactor (rent this, do not skip it)
- Screed board: a straight 2x4 works fine
- Bull float or magnesium hand float
- Edging tool for the perimeter
- Groover or grooving tool for control joints
- Stiff-bristle push broom for texture
- Wheelbarrow and concrete rake
- Rubber mallet and circular saw for adjusting forms
- Level and tape measure
- Kneeling boards or rubber boots for working on fresh concrete
Site prep checklist
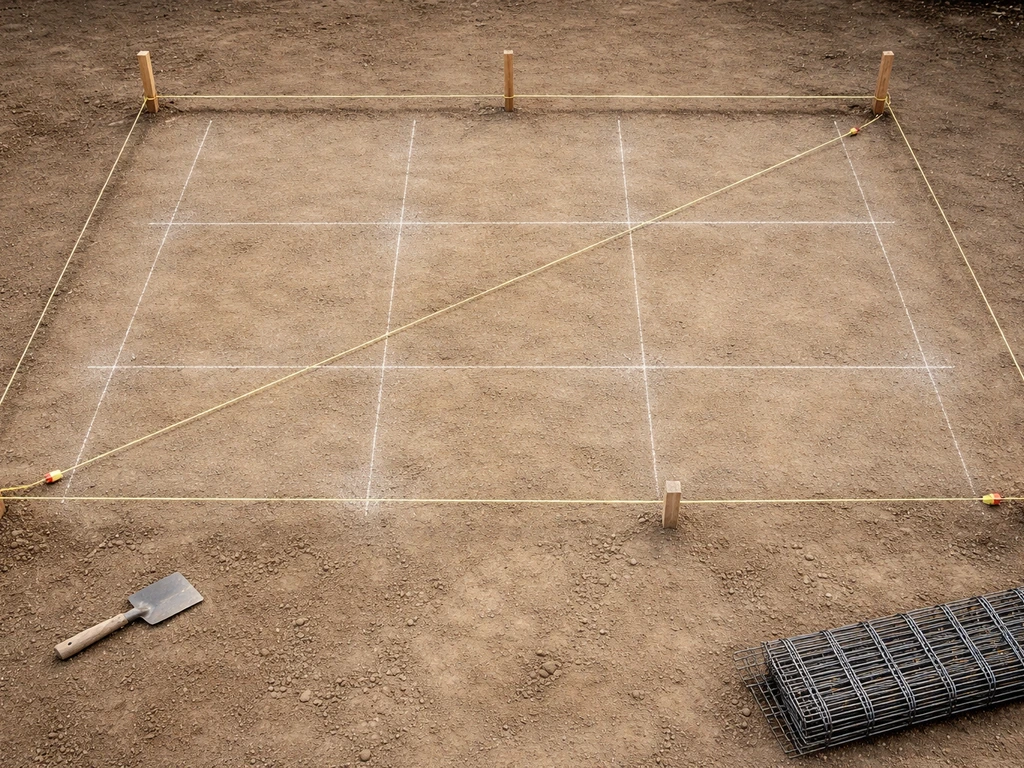
- Mark your patio perimeter with stakes and string lines, confirming slope direction.
- Call 811 (US) to locate underground utilities before digging.
- Excavate to total depth: 4 inches for the slab plus 4 inches for the gravel base equals 8 inches below finished grade (plus a little extra if your topsoil is soft).
- Remove all organic material, roots, and soft spots from the subgrade.
- Spread and compact the gravel base in maximum 4–6 inch lifts, making multiple passes with the plate compactor until the surface does not shift underfoot.
- Lay 6-mil poly sheeting over the compacted base, overlapping seams at least 6 inches.
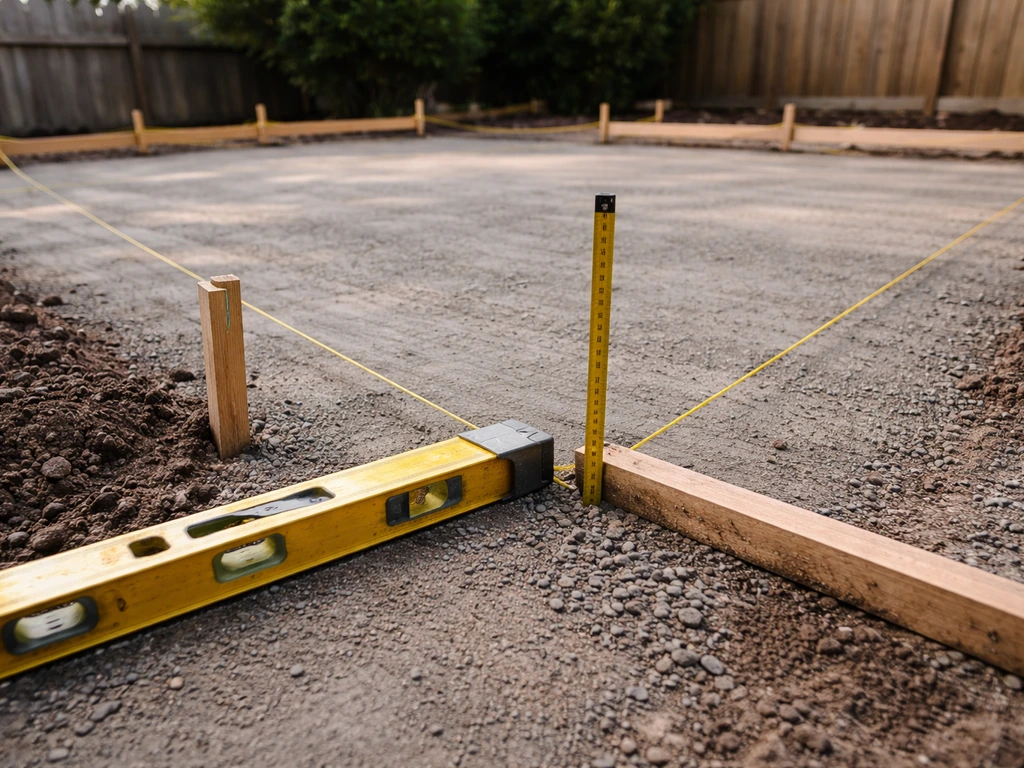
- Build and stake your form boards, checking slope (1/8 to 1/4 inch per foot away from structure) and diagonal measurements for square corners.
- Set reinforcing mesh on 1.5-inch chairs or rocks so it sits in the middle third of the slab thickness, not flat on the ground.
Step-by-Step: How to Pour Your Concrete Patio
Concrete waits for no one once it starts setting, so read through this entire sequence before you pour. Have your crew (at least one helper) and all tools staged and ready. I have seen solo pours go sideways fast once the truck shows up.
- Order your concrete: calculate cubic yards as (length x width x thickness in feet) divided by 27. Add 10 percent for waste. For a 200 sq ft patio at 4 inches thick, that is roughly (200 x 0.333) / 27 = 2.47 cu yd, so order 2.75 cu yd.
- Dampen the subbase and forms lightly with water before the truck arrives, especially on hot days. Do not puddle water; just knock down the dry dust.
- Direct the chute to start filling from the far end of the form and work toward the truck. Use a concrete rake to spread to rough grade.
- Consolidate the mix against the forms with a shovel or vibrator to eliminate voids along the edges.
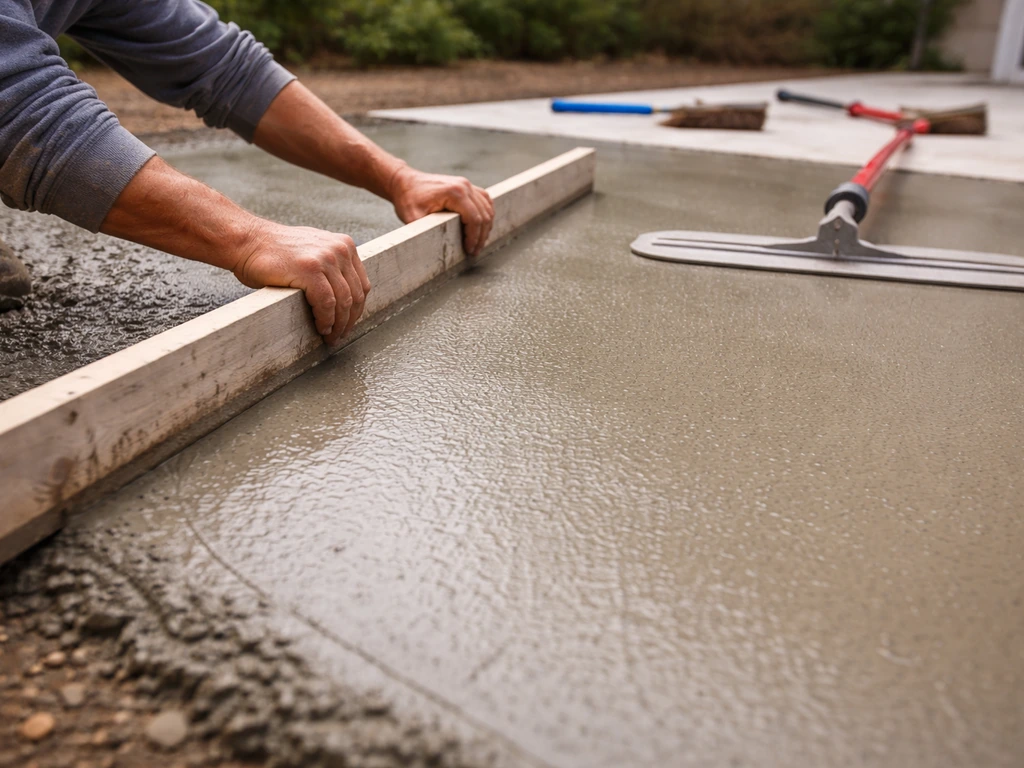
- Screed the surface: drag your straight board across the form tops in a sawing back-and-forth motion, filling low spots and removing excess. Work in sections.
- Float the surface with a bull float to embed aggregate and close up any open voids left by screeding. Avoid overworking it.
- Cut your control joints while the concrete is still green. Use a groover tool for same-day joints, or a diamond blade saw within 4–12 hours of finishing. Space joints no more than 8–12 feet apart for a 4-inch slab.
- Edge the perimeter with an edging tool to create a rounded, finished edge that resists chipping.
- Wait for the bleed water to disappear from the surface before finishing. This is the step most DIYers rush, and it ruins slabs. If you see standing water or sheen, wait.
- Broom finish: drag a stiff push broom across the surface in one consistent direction, perpendicular to foot traffic direction if possible. If the concrete is too wet, the broom pulls ugly ridges. If it is too dry, it scratches instead of texturing. You want a light, clean drag.
- Begin curing immediately after finishing. Cover with plastic sheeting or spray on a liquid curing compound to retain moisture.
What a DIY Concrete Patio Actually Costs
Here is what drives cost on a DIY patio project, and roughly what each piece runs in 2026. Your total will vary by region, slab size, and finish level, but this framework gives you a real estimate rather than a guess.
| Cost Item | Typical Range (2026) | Notes |
|---|---|---|
| Ready-mix concrete | $140–$170 per cubic yard | Delivered; a 200 sq ft x 4 in slab needs ~2.75 cu yd |
| Bagged concrete (small patios) | $5–$7 per 80 lb bag | One 80 lb bag covers ~0.6 cu ft; labor-intensive for big pours |
| Gravel base material | $30–$55 per cubic yard | 4-inch base under 200 sq ft = ~2.5 cu yd |
| Form lumber (2x4 or 2x6) | $0.50–$1.00 per linear foot | Can often reuse on future projects |
| Wire mesh reinforcement | $0.15–$0.30 per sq ft | 6x6 welded wire mesh |
| 6-mil poly vapor retarder | $0.05–$0.10 per sq ft | Buy a full roll; leftover is useful for curing cover |
| Plate compactor rental | $80–$150 per day | Essential; do not skip this tool |
| Other tool rentals (float, edger, etc.) | $30–$60 per day | Often bundled at equipment rental yards |
| Concrete sealer | $0.15–$0.50 per sq ft | Penetrating or acrylic; sealer type affects price |
| Miscellaneous (stakes, screws, release oil) | $20–$50 total | Buy more stakes than you think you need |
For a straightforward 200 square foot patio with a broom finish, a realistic all-in DIY material cost lands somewhere in the $600–$1,200 range, which works out to roughly $3–$6 per square foot. Contrast that with hiring a contractor: a basic installed broom-finish slab runs about $6–$12 per square foot in 2026, and a slab with decorative finish, thicker pour, or difficult site prep can reach $12–$28 per square foot. Your time and labor is what closes that gap.
The biggest budget risk most DIYers underestimate is inadequate drainage and base prep. A poorly compacted subbase leads to settling, cracking, and potentially expensive repair work down the road. Spend the money on renting a plate compactor and buying enough base gravel. Those two things are the best insurance your patio holds up long-term.
Curing, Sealing, and Finishing Options
Curing: the part most people skip
Concrete does not dry, it cures, and the difference matters for strength and durability. Proper curing means keeping moisture in the slab so the chemical reaction can complete. Keep the slab covered with plastic sheeting or damp burlap for at least 7 days minimum. For full strength and sealer readiness, you really want 28 days. I know that feels like forever, but applying a sealer to concrete that has not fully cured can trap moisture and cause cloudiness or adhesion failure.
Sealer options and when to use each
Wait until the slab has cured at least 28 days before sealing. In r/StructuralEngineering discussions, people often treat 28-day strength as a practical milestone and note that concrete can continue gaining strength after that. Then choose your sealer based on the look you want and how much maintenance you are willing to do.
| Sealer Type | Best For | Look | Reapplication |
|---|---|---|---|
| Penetrating silane/siloxane | Plain broom-finish patios, natural look | Invisible, no film | Every 3–5 years |
| Acrylic solvent-based | Decorative, stamped, or colored surfaces | Wet look / enhanced color | Every 1–3 years |
| Acrylic water-based | Plain patios, lower VOC preference | Light sheen to satin | Every 2–3 years |
| Polyurethane | High-traffic areas, maximum durability | Gloss or satin | Every 3–5 years |
If you are planning a stamped or colored finish, a solvent-based acrylic sealer typically delivers the best color enhancement and that signature wet look. For many homeowners, recoloring a stamped concrete patio starts with choosing the right sealer and application method for the look you want stamped or colored finish. If you are going for a stamped concrete patio, plan your stamping process and workflow before the pour so the texture captures cleanly.
If you find the result too glossy for a walking surface, you can add a matte or satin additive to the sealer before applying. If you want a stamped concrete patio do it yourself, start with your sealer timing and then plan how you will stamp right after finishing. For a plain broom-finish patio where you want low maintenance and a natural appearance, a penetrating silane/siloxane sealer is the right call.
It chemically repels water without leaving any surface film, so there is nothing to peel or re-coat as often.
Surface finish options at a glance
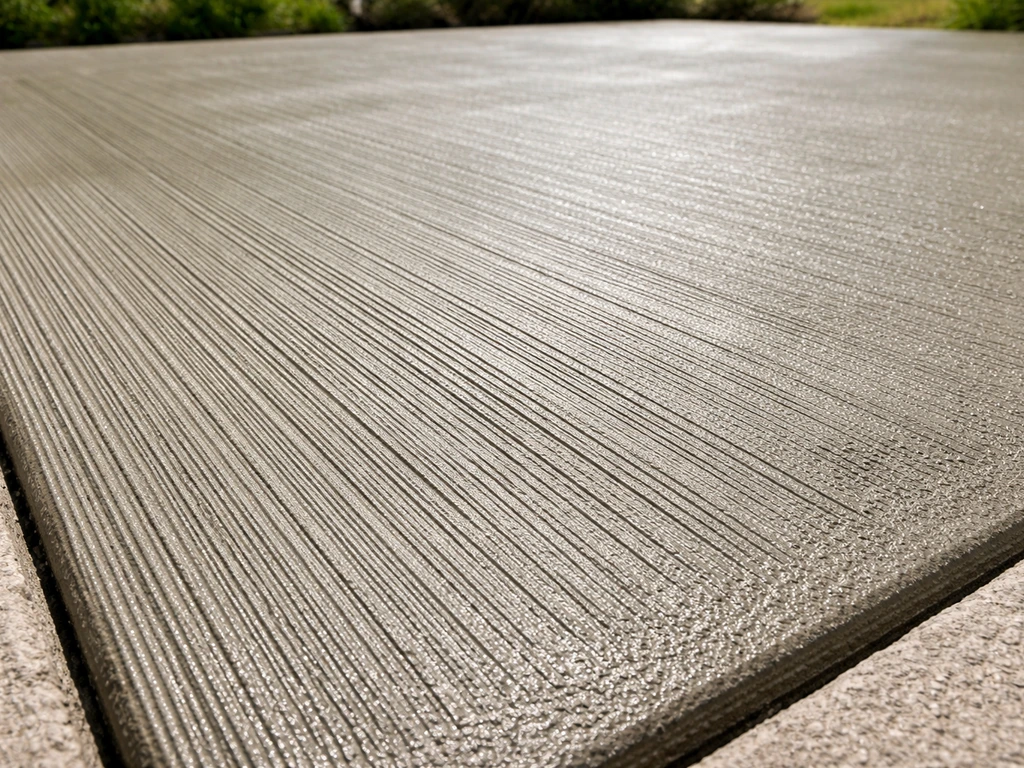
- Broom finish: the go-to for exterior patios. Slip-resistant, forgiving for DIYers, requires only a push broom.
- Salt finish: press rock salt into fresh concrete, then wash it off after curing for a pitted, non-slip texture. Low cost, interesting look.
- Exposed aggregate: seed decorative stone or let natural aggregate show by washing back the surface cream. Requires good timing and a second person.
- Stamped concrete: significant additional skill, timing, and tooling involved. Worth reading a dedicated guide on stamped concrete before committing to this on your first pour.
Troubleshooting Common DIY Problems and Repairs
Even well-poured patios develop issues over time. Here is how to read what you are seeing and what to do about it.
Cracks
Hairline cracks that appear within the first few days are usually shrinkage cracks and are mostly cosmetic if they are narrow (under 1/4 inch wide and not growing). Seal them with a concrete crack filler or polyurethane caulk to keep water out. Wider or actively growing cracks, especially cracks that create an uneven step between two sides, point to a base or drainage problem underneath. Filling the surface without addressing the base is just a temporary fix.
Uneven or sunken sections
If one section of your patio has sunk relative to another, you have two practical options short of full replacement. Mudjacking (pumping a cement slurry under the slab) is the traditional approach. Polyurethane foam lifting is a newer method that uses expanding foam injected through small holes to raise the slab; it cures fast and causes minimal disruption. Both methods work best when the slab itself is structurally intact and the voids underneath are the actual problem. If the concrete is crumbling or badly cracked, replacement is probably the more honest answer.
Scaling and surface deterioration
Scaling is when the top layer of the slab flakes off in thin sheets, usually during freeze-thaw cycles or after deicing salts are applied. Minor scaling is cosmetic and can be addressed with a concrete resurfacer product applied over the cleaned surface. More severe scaling that exposes aggregate across the whole patio calls for a full resurface or overlay. Polymer-modified resurfacing products bond well to existing concrete when the surface is properly cleaned and profiled first.
If you want to change the look at the same time, a stampable overlay can transform a plain or deteriorated slab into something with real texture and color without a full replacement. Even if you are working with an existing concrete patio, you can often get a stamped look by using a stampable overlay rather than starting from scratch.
If you want a true stamped look on an older slab, plan the overlay thickness and use the right release and sealer for how to refinish stamped concrete patio surfaces stampable overlay.
Efflorescence (white haze or deposits)
That white chalky residue is mineral salts migrating through the concrete and depositing on the surface. It is common on new slabs and usually fades on its own, but heavy buildup needs to be scrubbed off with a dilute acid wash or an efflorescence cleaner before you seal. Sealing over efflorescence traps the salts and causes the sealer to fail. Clean the surface, let it dry completely, then seal.
Poor finish texture or trowel marks
If your broom finish came out patchy or the surface looks dragged in multiple directions, you cannot re-broom once it has hardened. The good news is this is purely cosmetic. A concrete resurfacer applied at 1/8 to 1/4 inch thickness gives you a fresh canvas to rebroom, stamp, or stain. Just make sure the original slab is sound and bonded well before you apply any overlay. Check for delamination by dragging a chain across the surface and listening for a hollow sound.
Ongoing maintenance to avoid bigger problems
- Reseal every 2–5 years depending on sealer type and traffic. A simple water bead test tells you when: if water soaks in instead of beading, it is time to reseal.
- Keep control joints clean and re-caulk them if they open up, to prevent water infiltration.
- Avoid deicing salts on new concrete for the first winter at minimum. Use sand for traction instead.
- Clear standing water and debris from the surface promptly; prolonged moisture saturation accelerates deterioration.
FAQ
How do I avoid a weak do it yourself concrete patio because of bad water-to-cement ratios?
Do not rely on the patio mix reaching “hand workable” only. Measure water carefully and keep the slump consistent with the bag instructions, over-watering is a common DIY cause of weaker concrete and surface scaling later.
What base-prep mistake most often leads to cracking on a do it yourself concrete patio?
Remove topsoil and all organic material, then compact in lifts (not one thick layer). If you see it squish when you step on it or you can rake up material, your base is not ready yet.
When should I cut control joints for a do it yourself concrete patio, and what goes wrong if I mistime it?
Plan control joints at consistent intervals, then line up the layout before pouring. If you cut too late, joints can random crack, if you cut too early while it is wet, edges can spall and look ragged.
Can I reduce cost by making my do it yourself concrete patio thinner, and what is the risk?
A common alternative is a thickened edge or a compacted base under the perimeter, but you should match your slab thickness plan. A thinner pour without proper base support is where DIY patios start settling and developing uneven surfaces.
How should I handle drainage if my do it yourself concrete patio sits near a downspout or grade change?
Yes, but you need to treat it as a different drainage problem. If downspouts discharge near the slab, you should extend splash protection and keep the slope away from the house and away from the downspout discharge point.
What form-building issue most often causes the slope to be wrong on a do it yourself concrete patio?
If your form boards move or bow, you will end up with inconsistent thickness and slope. Brace the outside forms and check slope with a straightedge before the first batch arrives.
Why can sealing a new do it yourself concrete patio turn cloudy or peel even if it looks dry?
Do not apply sealer as soon as the concrete “feels dry.” Moisture trapped in curing concrete can cause cloudiness and peeling. Also confirm the surface is clean and fully dry after cleaning, otherwise adhesion can fail.
How do I choose between penetrating sealer and acrylic sealer for a do it yourself concrete patio?
Use a penetrating silane/siloxane for low-gloss protection when you want minimal maintenance, use a solvent-based acrylic when you want enhanced color and a “wet” look. You can also choose matte or satin sheen to reduce slip risk on finishes that get slick.
What should I do if my do it yourself concrete patio ends up slightly uneven after screeding and finishing?
If there is one high spot that won’t level, you may need to grind and patch, not just add sealer. For structural unevenness, the slab needs to be addressed, otherwise finishes will highlight every ridge.
Can I simply fill cracks on a do it yourself concrete patio, or when does it mean the base needs repair?
For minor surface cracks, fill and seal only after the area is stable. For cracks with vertical displacement (a step between sides) or active widening, treat it as a base or drainage symptom first.
Do deicing salts and freeze-thaw affect scaling on a do it yourself concrete patio, and how should I respond?
If the patio is going in an area with freeze-thaw and you will use deicing salts, expect more scaling risk. Use deicing methods that are less aggressive, keep salts off as much as possible, and consider resurfacing if scaling becomes widespread.
What is the correct curing method for a do it yourself concrete patio, and what common mistakes damage the surface?
Before covering, ensure the plastic does not touch the fresh surface for long if it can leave marks, and keep edges sealed so moisture stays. After curing starts, avoid traffic and heavy loads, they can create permanent impressions.