
To seal a crack in a concrete patio, clean it out thoroughly, let it dry completely, install a foam backer rod if the crack is deeper than half an inch, then fill it with a polyurethane or polyurea crack sealant. That core sequence works for the vast majority of patio cracks a homeowner will run into. The tricky part is not the application itself but the prep and product selection, which is where most DIY repairs fail within a season.
How to Seal Concrete Patio Cracks: DIY Step-by-Step

Silas Morrison
9 Jul 2026
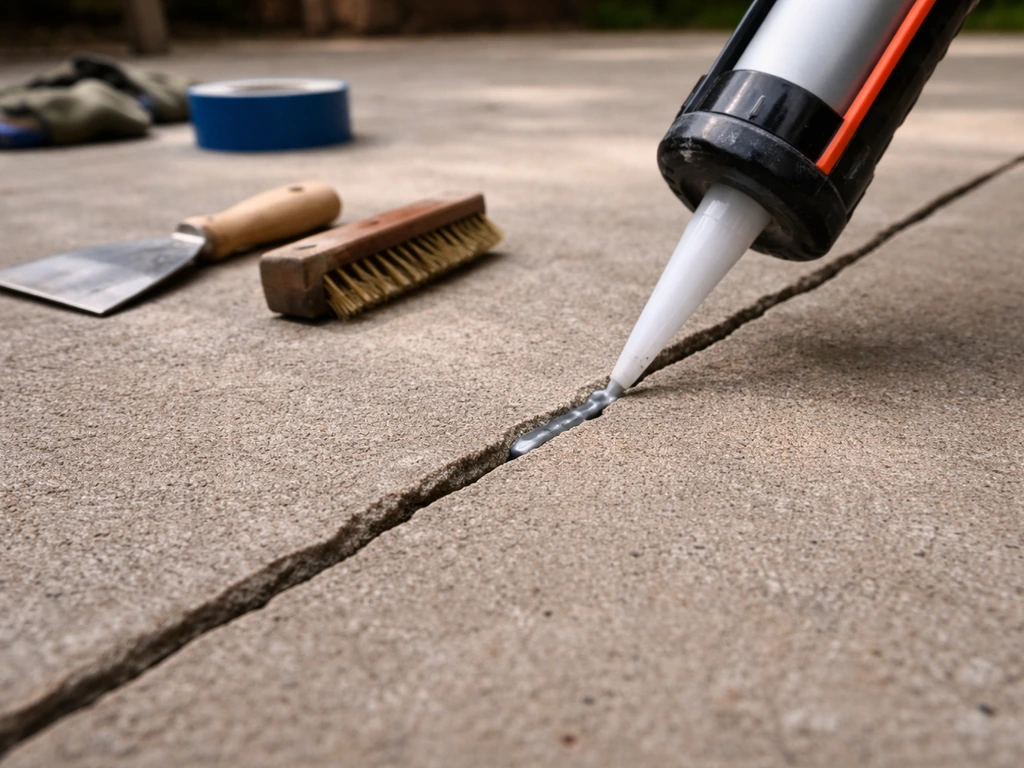
First: figure out what kind of crack you're dealing with
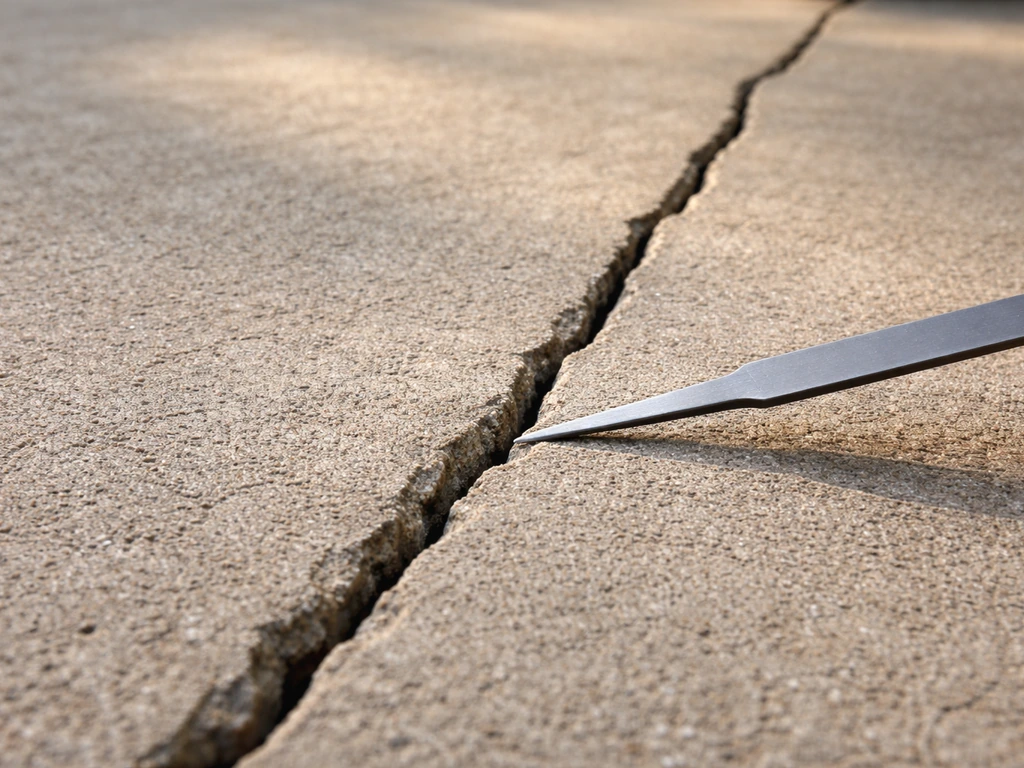
Not all patio cracks are the same, and treating them the same way leads to sealant that splits or pops out within a year. Before you grab a tube of anything, spend two minutes assessing the crack.
Hairline cracks (under 1/8 inch wide)
These are the thin surface spiderweb cracks or single-line cracks that look like someone dragged a nail across the concrete. They're usually just shrinkage cracks from when the slab cured, and they're mostly cosmetic. A penetrating concrete sealer or a thin crack sealant applied directly works here. You typically don't need to widen them unless the crack sealant's nozzle can't reach the bottom. If you're dealing specifically with hairline cracks, there's a more detailed breakdown of the repair approach for those in a dedicated guide on repairing hairline cracks in a concrete patio.
Structural and wider cracks (1/8 inch and up)
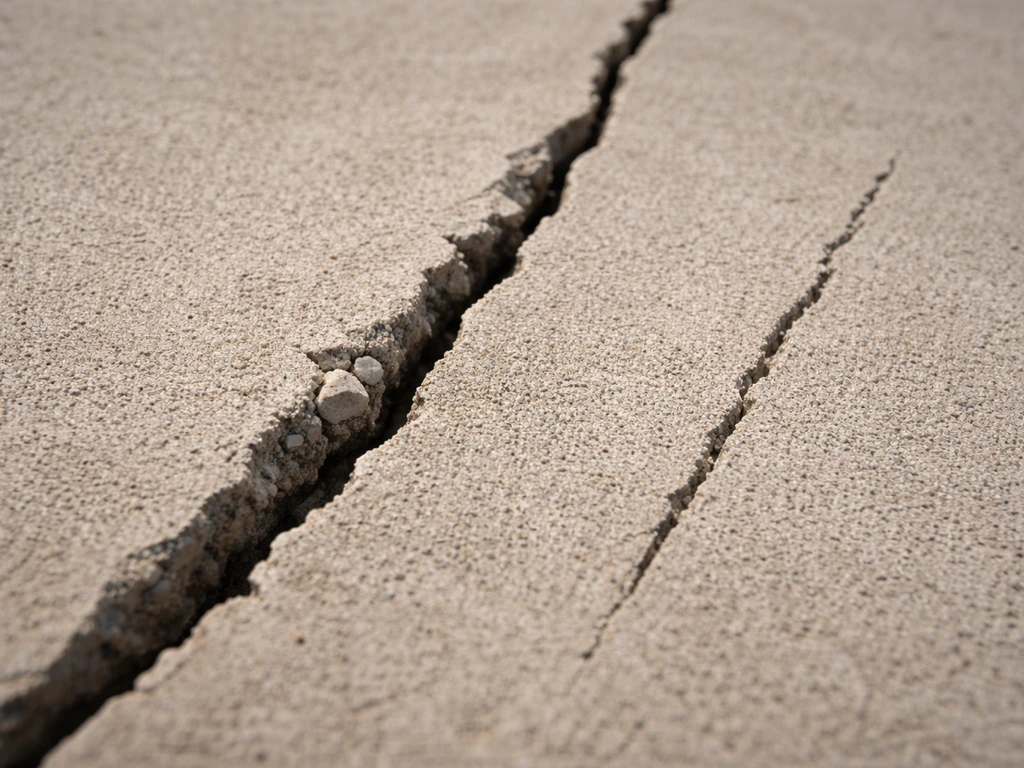
Cracks wider than 1/8 inch, cracks that run all the way through the slab edge, or cracks that appear in a pattern suggesting the slab has shifted need more attention. For cracks from 1/8 inch to about 1/2 inch wide, a flexible polyurethane sealant applied after proper prep handles it well. Beyond 1/2 inch, you're often looking at slab movement and may need more significant repair before sealing.
Active cracks vs. dormant cracks
This is the most important distinction. A dormant crack has stopped moving. An active crack still shifts with temperature changes, freeze-thaw cycles, or settling soil underneath the slab. To check, mark both edges of the crack with a pencil or chalk, then come back in a few weeks. If the marks have shifted, the crack is still moving. Active cracks need a flexible, elastomeric sealant that can stretch and compress with movement. A rigid filler like hydraulic cement will just crack again. If a crack is active and keeps growing, or if you're seeing cracks radiating from corners or large heaving sections, that's a sign of a structural issue that warrants a professional look before you seal anything.
Control joints vs. random cracks
Control joints are the intentional saw-cut or tooled lines in the slab placed to manage where cracking happens. If your control joint has cracked through or has started to open up, it needs to be treated like a standard crack with a flexible sealant, not a rigid filler. Random cracks that run diagonally or at odd angles across the slab can signal differential settling underneath and are worth monitoring carefully before you seal.
What you'll need before you start
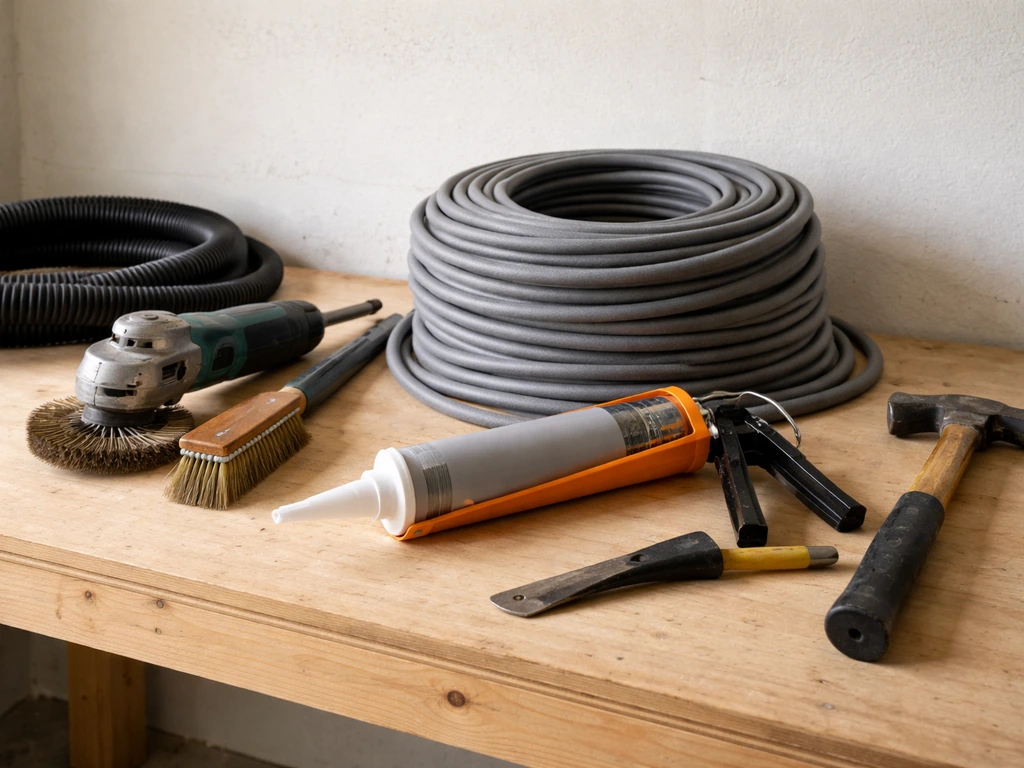
Here's what to have on hand. You won't need all of it for every crack, but this covers the full range.
- Wire brush or angle grinder with a wire wheel (for cleaning out loose material)
- Cold chisel and hammer (for widening narrow cracks to at least 1/4 inch)
- Shop vacuum or compressed air (to blow out dust after cleaning)
- Pressure washer or garden hose (optional, for heavily soiled cracks)
- Foam backer rod in the appropriate diameter (for cracks deeper than 1/2 inch)
- Polyurethane concrete crack sealant, such as Quikrete Polyurethane Concrete Crack Sealant or Sika Sikaflex Crack Flex Sealant
- Self-leveling sealant (for horizontal surfaces; Sikaflex Self-Leveling Sealant is a common option)
- Non-sag sealant (for vertical edges or sloped areas)
- Caulk gun
- Masking tape (to keep edges clean)
- Putty knife or margin trowel (for tooling the sealant surface)
- Mineral spirits or sealant-compatible cleaner (for cleanup)
- Safety glasses and gloves
Prep work: the step most people skip
I'll be honest, I've watched more DIY crack sealing jobs fail from skipped prep than from wrong product choice. Polyurethane sealants need a clean, dry surface to bond properly. Even a little dust or moisture in the crack will cause the sealant to delaminate or bubble within a few months. Don't rush this part.
Widen the crack if it's too narrow
If the crack is narrower than 1/4 inch, widen it. Both Quikrete and Sika specifically call this out in their installation guides. Use a cold chisel and hammer to open the crack to at least 1/4 inch wide. Try to cut the edges as vertical as possible, or angle them slightly inward in an inverted V shape so the sealant has a mechanical lock. This sounds counterintuitive but it genuinely helps the sealant stay put under movement.
Remove all loose material
Go along the entire crack with a wire brush and scrub out any loose concrete, old filler, dirt, and debris. If you have a wire wheel on an angle grinder, that's even faster. Get everything out. Any chunk of concrete sitting loose in the crack will eventually shift and push the sealant out.
Clean and dry thoroughly
After brushing, vacuum or blow out the crack with compressed air. For a heavily stained or oily crack, a rinse with a pressure washer works well, but then you have to wait for it to dry completely, which at 75 degrees and moderate humidity can take several hours or even a full day. Don't skip the drying. Polyurethane sealants won't bond to damp concrete, and you'll end up with a sealant that looks fine on day one but peels away from the edges within a few months. Sika’s surface preparation guidance also emphasizes cleaning and drying cracks and joints before applying polyurethane sealants and accessories like Sika Backer Rod Sika Blog.
Pick the right filler and sealant for your crack
Product choice matters more than most product packaging lets on. Here's a practical comparison of the main options you'll see at a hardware store.
| Product Type | Best For | Flexibility | Notes |
|---|---|---|---|
| Polyurethane crack sealant (non-sag) | Cracks up to 1/2" wide on horizontal or sloped surfaces | High | Quikrete 8620-17, Sakrete Non-Sag Sealant; use for most random patio cracks |
| Self-leveling polyurethane sealant | Flat horizontal cracks and control joints | High | Sikaflex Self-Leveling; flows into the crack and levels itself, great for flat slabs |
| Polyurea joint filler | Control joints and high-traffic areas | Moderate to high | Faster cure, often used in commercial settings but available for DIY |
| Concrete caulk (acrylic/latex) | Hairline cosmetic cracks, low-movement situations | Low | Cheaper but less durable; not recommended for active or wide cracks |
| Hydraulic cement or rigid filler | Water-active leaks, foundation walls | None | Do not use for patio surface cracks; it will crack again under movement |
| Epoxy crack filler | Structural bonding of dormant cracks | Very low | Only use if crack is fully dormant and you want a rigid, strong bond |
For a typical patio crack that's 1/4 to 1/2 inch wide, a polyurethane sealant like Quikrete Polyurethane Concrete Crack Sealant or Sika Sikaflex Crack Flex Sealant is the right call. Both are flexible, bond well to concrete, and handle freeze-thaw movement without splitting. For a perfectly flat patio, the self-leveling version (like Sikaflex Self-Leveling Sealant) is easier to apply because it finds its own level and you don't have to tool it smooth. For vertical edges or angled surfaces, stick with the non-sag formulation.
How to seal the crack: step by step
Step 1: apply masking tape along both edges
This is optional but worth doing on visible areas. Run masking tape along both sides of the crack about 1/8 inch back from the edge. It keeps the sealant from smearing onto the patio surface and makes the finished line look clean. Pull the tape off before the sealant fully skins over.
Step 2: install backer rod for deep cracks
If your crack is deeper than 1/2 inch, you need a backer rod before applying sealant. Backer rod is a closed-cell foam rope that you press into the crack to fill the lower depth. It does two things: it limits how deep the sealant goes (preventing bond at the bottom, which would restrict movement) and it gives the sealant a backing to press against for proper thickness. blank" rel="noopener noreferrer">The target ratio both Quikrete and Sika specify is 2:1 width to depth. So for a 1/2 inch wide crack, you want the sealant to be about 1/4 inch deep. Choose a backer rod diameter slightly larger than the crack width so it compresses slightly when pressed in. One Reddit commenter also suggested compressing the backer rod and using masking tape to keep the sealant edges neat blank" rel="noopener noreferrer">compressing the backer rod and using masking tape to keep neat edges. Use a blunt tool to push it down to the right depth. Never let the sealant bond to the bottom of the crack on a deep joint, as it restricts movement and causes the sealant to split.
Step 3: cut the nozzle and load the caulk gun
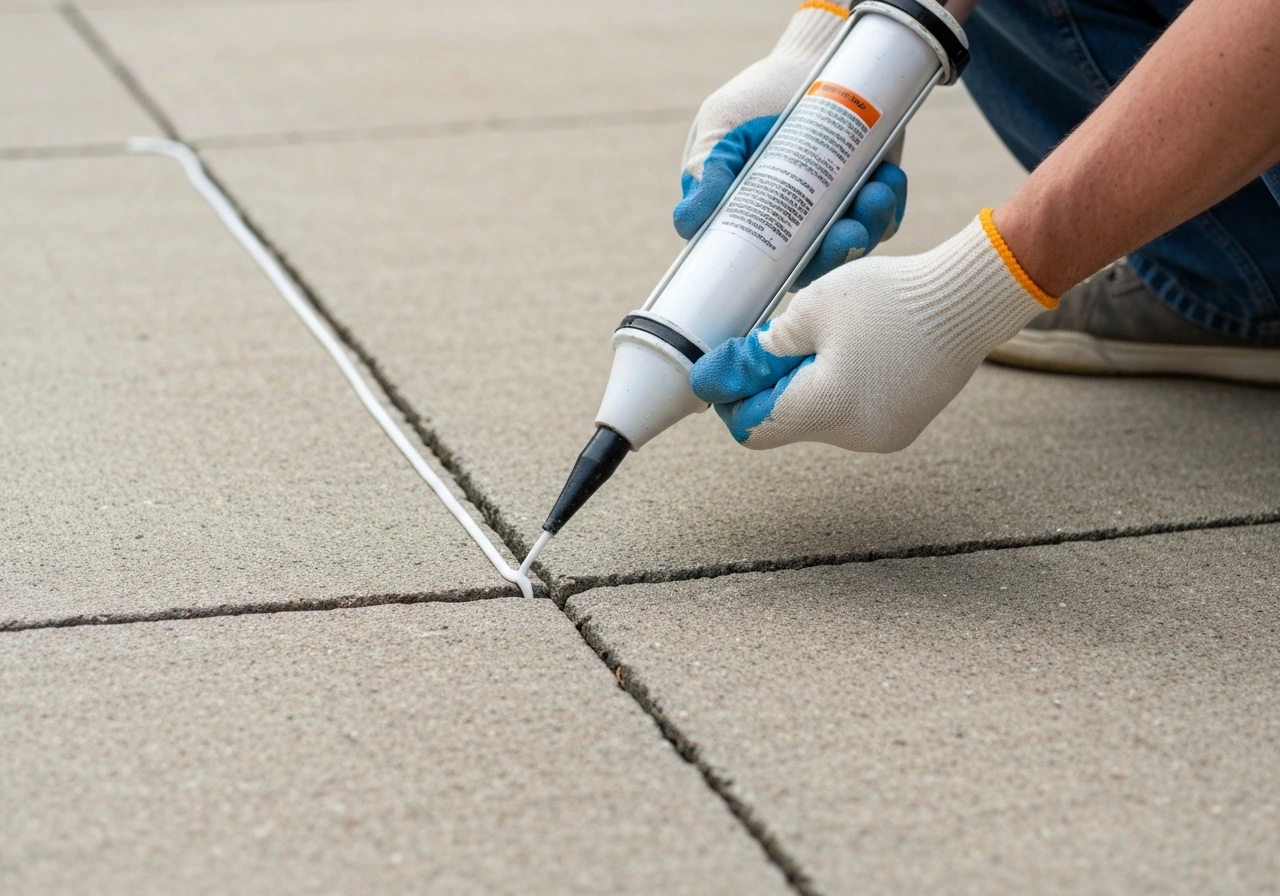
Cut the tip of the sealant tube at a 45-degree angle to create a hole roughly matching your crack width, somewhere between 1/4 and 3/8 inch. Load it in the caulk gun and do a short test bead on a scrap surface to make sure the flow rate feels right. Keep in mind that minimum sealant thickness matters: if the sealant bead is less than 1/8 inch in either width or depth, it won't have enough mass to flex under movement and will crack. Thicker is generally better up to the 2:1 ratio.
Step 4: fill the crack in a single steady pass
Hold the gun at a consistent angle and move steadily along the crack, filling it slightly above flush. Don't stop and start if you can avoid it. Gaps or voids in the bead are weak points. If you're using a self-leveling sealant, overfill slightly and let it settle on its own. If you're using a non-sag sealant, apply it slightly proud of the surface.
Step 5: tool the surface
For a non-sag sealant, use a wet putty knife or your gloved finger (dipped in soapy water to prevent sticking) to smooth the bead flush with the surface. Don't dig the sealant into the crack further, just feather it flush. For self-leveling sealant, skip this step and let it find its own level.
Step 6: remove the tape
Pull the masking tape while the sealant is still soft, before it starts to skin over. Pull it back at a low angle toward the crack. If you wait too long, the dried sealant will tear when you pull the tape and you'll get ragged edges.
Cure times, weather, and when it's safe to walk on
Polyurethane sealants go tack-free relatively quickly, usually within 1 to 2 hours at 75 degrees Fahrenheit and 50 percent humidity, which is the standard test condition most product datasheets reference. Sikaflex and Quikrete's polyurethane products both hit tack-free in that 1 to 2 hour window. However, tack-free does not mean cured. Full cure takes longer.
- Foot traffic: most polyurethane sealants are ready for foot traffic in about 24 hours; the Sakrete Non-Sag Polyurethane Sealant datasheet specifically says 24 hours
- Vehicular traffic (if applicable): wait 72 hours minimum
- Rain protection: keep the fresh sealant dry for at least 24 hours; if rain is coming before that, wait for a better weather window
- Freezing temperatures: protect the fresh sealant from freezing for at least 48 hours after application
- Ideal application temperature: most products specify between 40 and 95 degrees Fahrenheit, but 60 to 80 degrees with low humidity gives the best results
- Don't apply in direct hot sun on a blistering July afternoon if you can avoid it; the concrete surface can get hot enough to affect cure and cause the sealant to skin over before it's seated properly
If you're working in summer heat, try to do the application in the morning before the sun hits the slab hard. In cooler weather, cure times extend, sometimes significantly, so budget more time before opening the patio to traffic.
Cleanup, finish matching, and preventing the crack from coming back
Cleanup
Clean uncured polyurethane sealant off tools and your hands with mineral spirits. Once it cures, it won't come off easily, so don't wait on cleanup. If sealant gets on the surrounding concrete surface and you didn't use masking tape, you can trim dried sealant edges carefully with a razor blade once it's fully cured.
Matching the finish
Most polyurethane sealants cure to a dark color, lighter than the crack itself but often darker than the surrounding dry concrete. This contrast tends to lighten over a few weeks of UV exposure and weathering, but it won't disappear entirely. If you have a textured or stamped patio, you can lightly broadcast dry sand over the wet sealant before it cures to add texture, or apply a color-matching concrete colorant on top after cure. If you have a stamped concrete patio, tailor the repair and finish blending so it matches the stamped pattern For stamped concrete specifically. For stamped concrete specifically, the repair approach and finish blending have their own nuances worth checking out separately.
How to reduce the chance of it cracking again
You can't entirely prevent concrete from cracking, but you can reduce the odds of a repeat at the same spot or nearby. A few things that genuinely help over the long term:
- Apply a penetrating concrete sealer over the whole patio every 2 to 3 years to reduce water infiltration, which is a major driver of freeze-thaw cracking
- Keep water from pooling on or against the slab by improving drainage around the patio perimeter
- Avoid using rock salt or chloride-based ice melts, which deteriorate concrete surfaces and accelerate cracking
- Make sure any existing control joints are filled with flexible sealant, not rigid filler, so they can do their job of directing movement
- Address any soil erosion or voids under the slab, because a slab that isn't fully supported will flex and crack regardless of how well you seal the surface
If you want to go deeper on the prevention side, there's a full guide on how to prevent a concrete patio from cracking that covers both new construction and maintenance strategies for existing slabs.
When to call a professional instead
Most patio cracks are cosmetic or minor structural issues that seal well with DIY methods. If you need a refresher on the basic process, follow the steps for how to cover cracks in a concrete patio from start to finish. But a few situations warrant a professional evaluation before you spend time and money on sealant. If you see cracks wider than 3/4 inch, cracks where one side of the slab is higher than the other (vertical displacement), cracks that are spreading rapidly over weeks, or large sections of the patio that are heaving or sinking, those are signs of significant settling, soil failure, or drainage problems underneath the slab. Sealing those cracks cosmetically won't fix the root cause and the repairs will fail anyway. A concrete contractor or structural engineer can tell you whether the slab needs mudjacking, slabjacking, or full replacement before any surface sealing makes sense.
FAQ
How long should I wait before sealing after it rains or I pressure wash the crack?
Let the crack dry until the concrete inside is completely moisture-free. A quick test is to tape a small square of plastic over the crack for a few hours, if you see condensation or darkening under the plastic, keep waiting. Plan on several hours to a full day in moderate humidity, then start the prep only when it stays consistently dry.
Should I widen every crack before sealing?
No. Hairline surface spiderweb cracks usually do not need widening, you typically only need to clean them. Widening is mainly for tighter cracks where the sealant nozzle cannot reach the bottom, or when the sealant bead needs minimum thickness to flex (very thin deposits under about 1/8 inch in width or depth can fail).
Can I use hydraulic cement or grout to fill patio cracks instead of a sealant?
Avoid using rigid fillers for cracks that are still moving. Hydraulic cement can lock up movement and then it cracks again, or it debonds at the edges. Use an elastomeric or flexible polyurethane sealant for active cracks, especially if you notice seasonal changes or marks that shift over a few weeks.
What if my crack is wider than the sealant tube can fill properly, or I can’t control the bead thickness?
Use a backer rod when the crack is deeper than about 1/2 inch, and keep the sealant thickness within the recommended range (a common target is about a 2:1 width to depth). If the bead keeps shrinking below the minimum flex thickness, you need to adjust the crack prep, backer rod size, and nozzle cut, not just apply more sealant.
How can I tell if the crack is active without waiting weeks?
You can screen it quickly by checking whether the crack is progressing, using a pencil mark and a photo comparison over time. If you can see new widening after freeze-thaw periods, temperature swings, or recent soil settling, treat it as active and choose a flexible sealant. For safety, if radiating cracks appear from corners or heaving sections are involved, get an evaluation before sealing.
Do I need to remove all old sealant or filler from previous repairs?
Yes. Anything loose, poorly bonded, or contaminated with dust can cause new sealant to delaminate. Brush and scrape until the crack walls are sound and the bottom is free of old material, then vacuum or blow out debris before applying polyurethane.
Should I use the sealant in the middle of the day in hot weather?
For best adhesion and clean application, aim for cooler hours like morning. In intense heat, the surface can skin over too fast, and the bead can slump if you use the wrong formulation. Also remember cure times lengthen in cool weather, so you may need to restrict foot traffic longer even if it feels tack-free.
What’s the best way to finish so it matches the texture of my patio?
For smooth slabs, feathering the bead flush with a wet tool works well. For textured or stamped patios, you may need to blend with light sand broadcast while the sealant is still wet, or apply a color-matching product after cure. If your patio is stamped, blending should follow the stamped pattern so the repair does not read as a flat patch.
How do I prevent sealant from bonding to the bottom of a deep crack?
Use the correct backer rod diameter and depth so the sealant sits on top of the rod rather than contacting the bottom. The goal is to create room for movement by avoiding full-depth adhesion, which is a common cause of splitting in deep joints.
When is it not worth sealing and I should call a professional?
If you see rapidly spreading cracks, cracks wider than about 3/4 inch, vertical displacement where one side is higher than the other, or large heaving or sinking areas, sealing alone will not fix the underlying problem. In those cases, the contractor may recommend mudjacking, slabjacking, drainage correction, or replacement before any crack sealing to ensure the repair lasts.