
Removing cement from a patio comes down to one key question: are you dealing with surface residue or a fully bonded patch? Surface residue, like drips, overspray, or dried mortar blobs, can usually be scraped, dissolved, or ground off in an afternoon. Bonded cement, like a thick repair patch or thinset that's been cured for years, takes more muscle and sometimes chemical help. Once you know which one you're fighting, the path forward is pretty straightforward. If you decide the project needs full concrete patio demolition instead of just cement removal, follow a demolition plan that accounts for debris control and base support path forward.
How to Remove Cement Patio Residue and Bonded Spots

Silas Morrison
3 Jun 2026
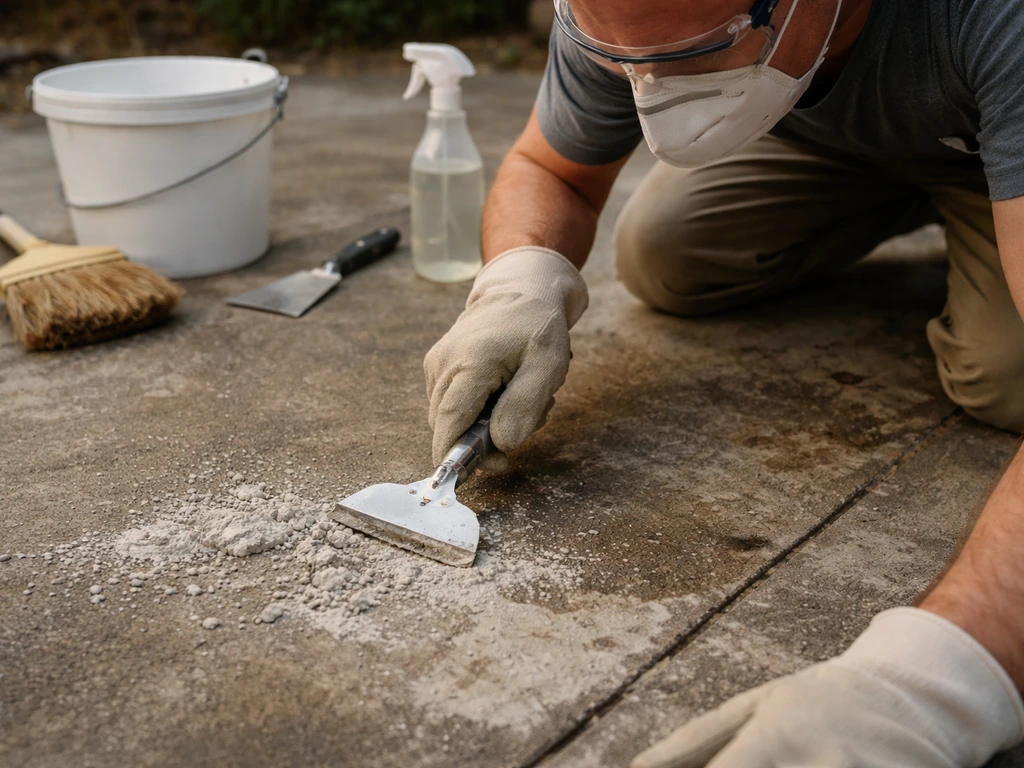
First, Figure Out What Kind of Cement You're Actually Removing
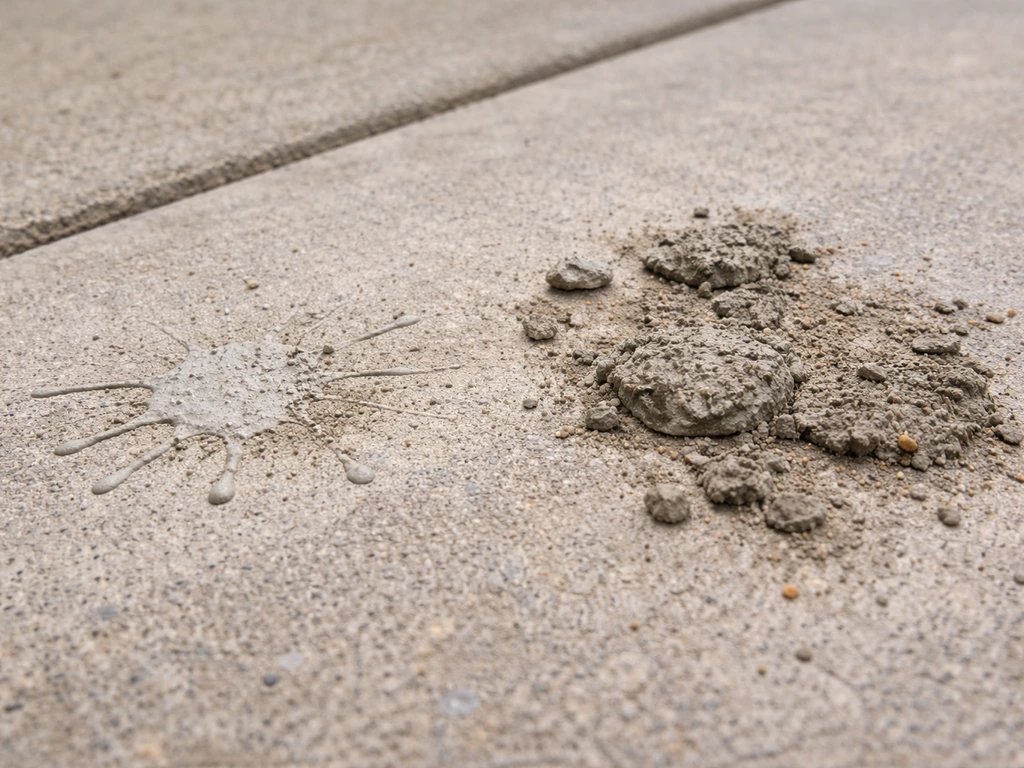
This step saves you a lot of wasted effort. Not all "cement on a patio" is the same thing, and attacking the wrong type with the wrong method either won't work or will damage your slab.
- Surface residue: Thin drips, splatter, overspray, or dried mortar blobs sitting on top of the slab. This stuff hasn't fully bonded into the concrete matrix. It scrapes, chips, or dissolves relatively easily.
- Bonded mortar or thinset: Leftover adhesive from a tile or paver removal, or a skim coat that's cured directly onto the slab surface. It's mechanically locked in. This requires chipping, grinding, or stronger chemical treatment.
- Patch material or fill: A deliberately applied repair section that's flush with or proud of the slab. Thicker, harder to remove cleanly, and more likely to damage the surrounding concrete if you're aggressive.
- Efflorescence or lime haze: A chalky white film that looks like cement residue but is actually mineral deposits. This responds well to acid-based cleaners and doesn't need mechanical removal at all.
Take a screwdriver and try to flick a piece off. If it pops off in chunks, you're in good shape. If it bends your screwdriver tip and stays put, it's bonded. That five-second test tells you a lot. Also check the age: cement that's been curing for a decade is significantly harder than something that dried last spring.
Assess the Patio Surface and Protect What's Around It
Before you pick up a tool or open a chemical container, spend ten minutes reading your patio surface and protecting the surroundings. Skipping this step is how people end up etching their decorative concrete or killing their landscaping with acid runoff.
Check the existing sealer or coating
Pour a small amount of water on the patio surface. If it beads up, a sealer is present. This matters because chemical cement removers and acids can strip or discolor sealers, and grinding through a sealer creates a dusty, gummy mess. If you're working on a sealed slab, you'll likely need to reseal after the removal anyway. You can also do a quick adhesion check on any existing coating by scoring an X with a utility knife and pressing tape firmly over the intersection. If the coating pulls off with the tape, it's already failing and won't need special treatment to preserve.
Protect plants, drainage, and adjacent surfaces
If you're using any acid-based cleaner, wet down surrounding plants and soil before you start, and cover them with plastic sheeting. Acid rinse water is harmful to vegetation and can alter soil pH. More importantly, keep acidic wastewater out of storm drains. The EPA is clear that chemical construction washout should not discharge into drainage inlets or waterways. Have a plan: either absorb the rinse water with sand or sawdust, divert it to a gravel area that can neutralize it, or collect it in a bucket. Cover nearby storm drain inlets with a folded burlap sack or commercial inlet sock before you begin. Mask off any painted surfaces, siding, or decorative elements within splash range.
Safety First: What You Actually Need Before You Start
I'll keep this section practical rather than preachy, but there are a few things here you genuinely cannot skip.
- Eye protection: Safety glasses at minimum, a full face shield for any grinding or acid work. Concrete chips and acid splatter move fast.
- Respirator: A basic dust mask is not enough for grinding. Concrete dust contains crystalline silica, which causes serious lung disease with repeated exposure. Use an N95 at minimum for scraping, and a half-face respirator with P100 filters for any grinding work. OSHA's silica standard for construction requires dust controls and proper respiratory protection when engineering controls alone can't bring exposure below limits.
- Chemical gloves: Heavy nitrile or neoprene gloves for any acid-based product. Standard latex gloves won't cut it.
- Long sleeves and pants: Acid splatter and grinding debris both cause skin irritation.
- Ventilation: Work outdoors or with strong cross-ventilation. Muriatic acid fumes are harsh, and grinding produces sustained dust.
- Water nearby: Keep a garden hose ready. If you get acid on skin, flush immediately with large amounts of water.
For mechanical grinding especially, run water on the grinding surface whenever possible. OSHA specifically cites wet cutting as a dust control method that substantially reduces silica exposure. If your grinder has a dust shroud and vacuum port, use it. Concrete Network's guidance on construction grinders makes the point that dust collection isn't optional when you're creating airborne particles from concrete surfaces.
Mechanical Removal: Scraping, Chipping, and Grinding
Mechanical removal is where you'll start for almost any bonded or semi-bonded cement. If you need to remove stubborn cement on a patio, the same digging and removal approach applies to learning how to dig up a concrete patio safely and efficiently how to dig up concrete patio. It's the most controllable method and doesn't require chemicals. The right tool depends on how thick and how well-bonded the material is.
Scraping: best for thin residue and loose blobs
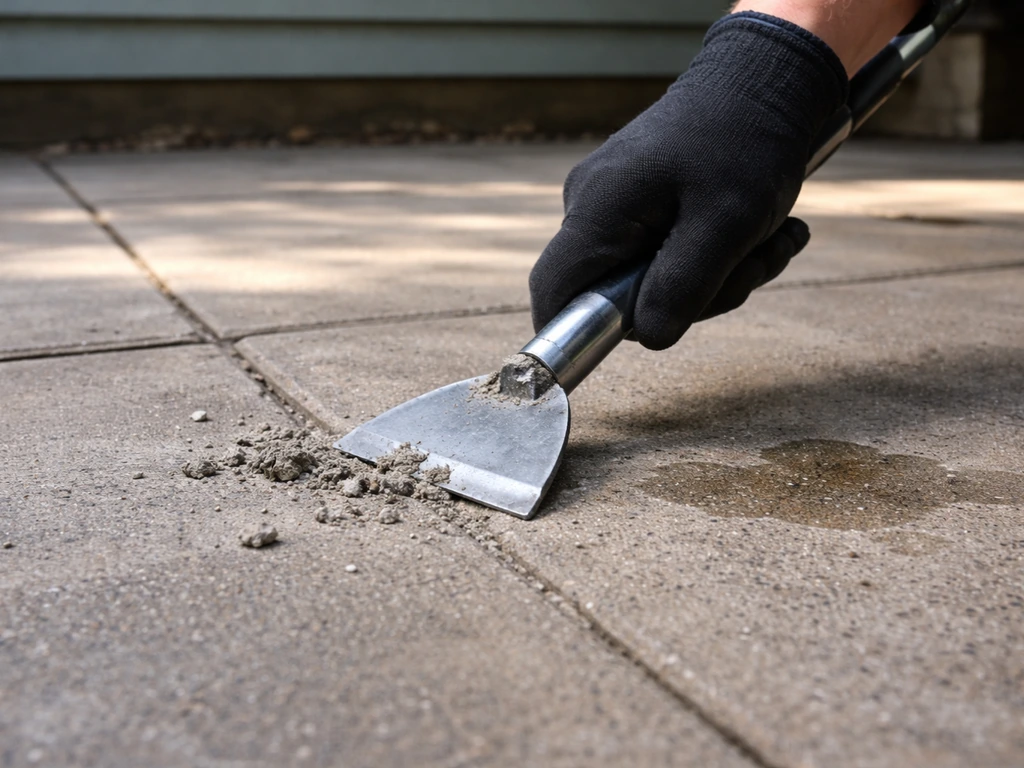
A long-handled floor scraper works really well for dried mortar blobs and thicker drips. The technique matters here: short, sharp jabs at a low angle work better than long dragging strokes. You're trying to pop the cement off the surface rather than push it around. This approach, essentially using the scraper to shear the bond at the base of the blob, is exactly the right move for thinset residue left after tile removal. Work systematically across the surface and collect debris as you go so you're not re-scraping what you already removed.
Chipping: for thick patches and stubborn spots
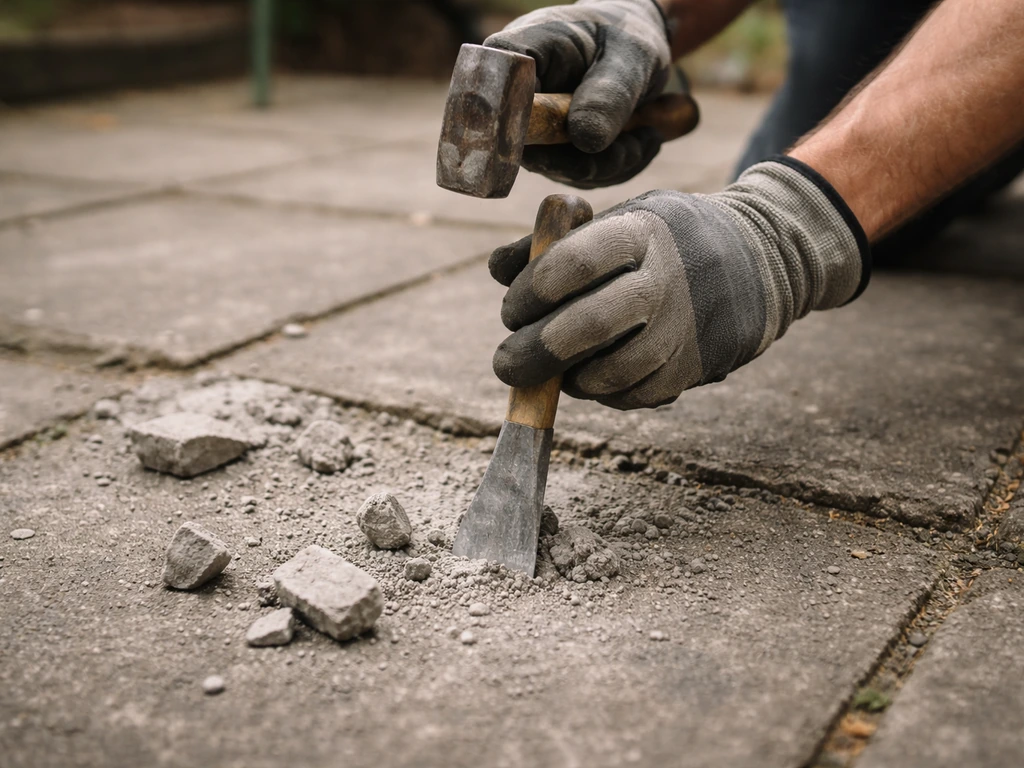
A cold chisel and a 3-pound hammer (or a rotary hammer with a chisel bit for larger areas) is the right call for anything thicker than about a quarter inch that the scraper can't pop off. Hold the chisel at a low angle, almost parallel to the slab, and work under the edge of the material. Trying to drive the chisel straight down will crack your underlying slab. Go slowly around the edges of any patch to avoid spalling the original concrete. Electric rotary hammers make this work dramatically faster on large areas and are easy to rent for around $60 to $80 per day.
Grinding: when scraping and chipping leave a residue
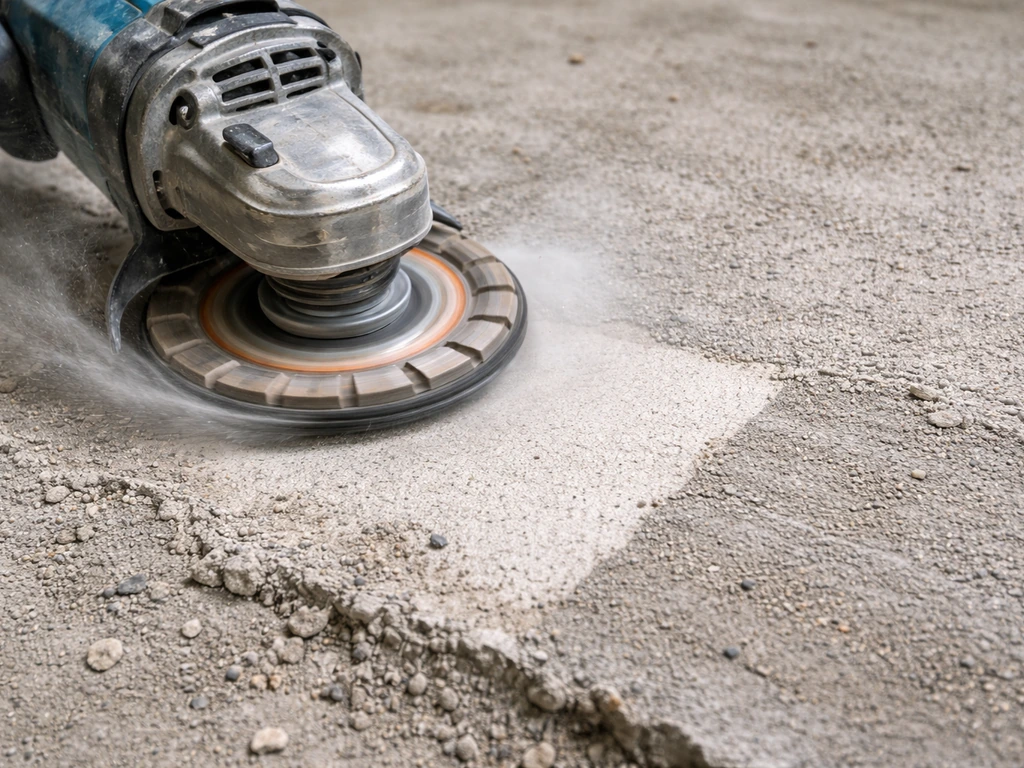
After chipping, you'll often have a thin skim of bonded cement still stuck to the surface. This is where an angle grinder with a diamond cup wheel or a concrete grinding disc comes in. An angle grinder is one of the best tools for removing stubborn thinset and bonded residue because it can get right down to the surface without gouging. Use it in overlapping passes, keeping it moving, and don't dwell in one spot or you'll create low spots. For larger areas, a walk-behind concrete grinder (rentable for $100 to $150 per day) covers ground much faster. Hit the edges and corners with the angle grinder afterward since walk-behind machines can't reach those areas.
For very thick, mechanically resistant bonded material, scarifying (using a scarifier machine with rotating flails) is an option used by concrete professionals. It removes material aggressively and leaves a textured profile that actually helps if you're planning to apply an overlay or resurfacer afterward. It's overkill for typical DIY cement residue, but worth knowing about for extreme cases.
| Situation | Best Mechanical Tool | Approx. Rental Cost |
|---|---|---|
| Thin drips and mortar blobs | Long-handled floor scraper | No rental needed ($20-$30 to buy) |
| Thick patches or thinset areas | Cold chisel + hammer or rotary hammer with chisel bit | $60-$80/day for rotary hammer |
| Skim of bonded residue post-chip | Angle grinder with diamond cup wheel | $40-$60/day |
| Large areas of bonded cement | Walk-behind concrete grinder | $100-$150/day |
| Very thick, fully bonded material | Scarifier machine | $150-$250/day |
Chemical Cement Removal: When and How to Use It
Chemical removal makes the most sense for thin cement residue, efflorescence, lime haze, and as a follow-up after mechanical removal to clean up what's left. It's not the right first move for a thick bonded patch, but it's excellent for cleaning up after you've done the physical work.
Which chemical product to use
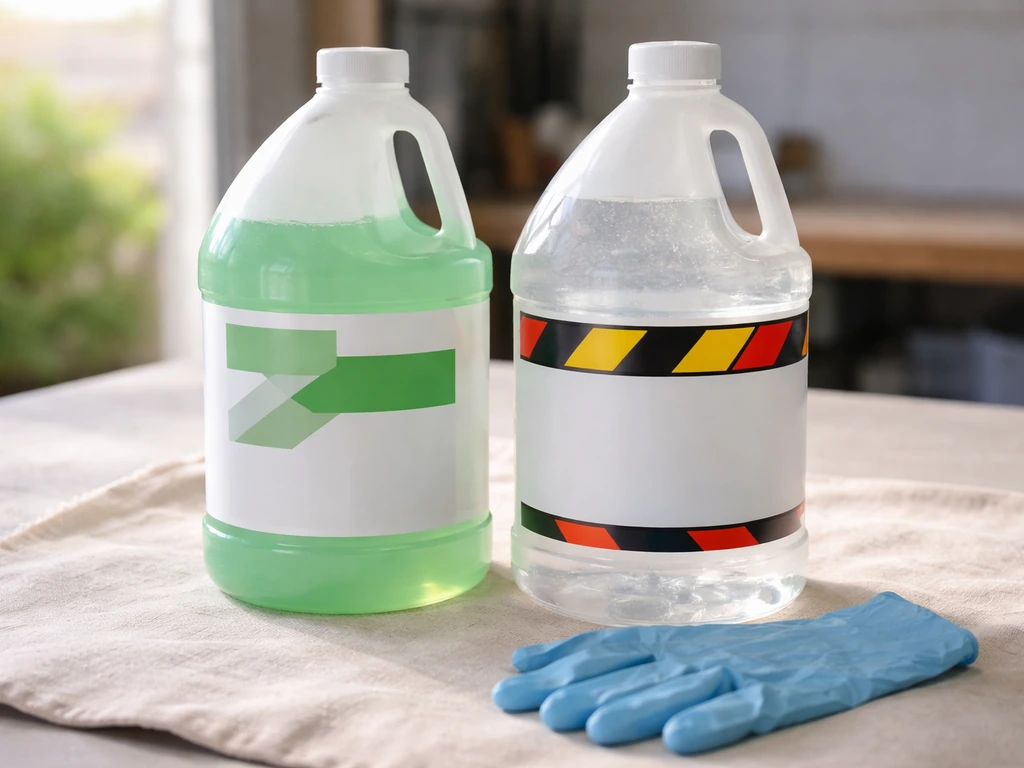
You have two main categories: purpose-made cement and masonry cleaners, and muriatic (hydrochloric) acid. Purpose-made products like PROSOCO Sure Klean 600 are water-based, buffered acid cleaners formulated specifically for concrete and masonry. They're safer to handle, less aggressive on surrounding materials, and easier to neutralize. Sure Klean 600 runs at a very low pH (around 0.28 at working dilution), meaning it's still genuinely acidic and effective, but it doesn't produce the harsh fumes of straight muriatic acid. PROSOCO’s Sure Klean 600 product data sheet describes it as a water-based, buffered acid cleaner and reports a pH around 0.28 at 1:4 dilution low pH (around 0.. For most DIY situations, this type of product is the better starting point.
Muriatic acid (sold at hardware stores as pool acid or concrete cleaner) is stronger and cheaper but requires more careful handling. It works on stubborn cement film and efflorescence that milder products haven't shifted. Dilute it: a common working ratio is one part acid to ten parts water, always adding acid to water, never the reverse. Don't use it on colored or decorative concrete without testing a small hidden area first, and keep it well away from metal fixtures, as it will corrode them.
How to apply and how long to let it dwell
- Pre-wet the entire patio surface with clean water before applying any acid-based product. This prevents the concrete from absorbing the acid too quickly and helps the chemical stay on the residue rather than soaking into the slab.
- Apply the chemical evenly with a plastic watering can, acid-resistant sprayer, or brush. Work in manageable sections (about 50 to 100 square feet at a time) so you can control the dwell time.
- Watch for bubbling. The acid reacts with calcium-based cement compounds and produces CO2, which bubbles visibly. Let it work as long as bubbling continues, which is typically 5 to 15 minutes depending on the product and the thickness of residue.
- Do not let the surface dry before rinsing. If the acid solution evaporates, the salts it creates can actually cause adhesion problems for any future coating or sealer you apply.
- Rinse thoroughly with large amounts of clean water while scrubbing with a stiff nylon brush. Keep the rinse water moving off the surface and away from plants and drains.
Neutralizing after acid treatment
After your final rinse, neutralize the surface with a baking soda solution: about one cup of baking soda (sodium carbonate works even better) per gallon of water. Spread it across the surface, let it fizz briefly, then rinse again with clean water. You can test the pH of the final rinse water with cheap pool pH strips. You're aiming for a pH of 7 or close to it before you consider the surface neutralized. This step is easy to skip but matters a lot if you're planning to seal, stain, or paint the concrete afterward, because residual acidity will interfere with adhesion.
Finishing Up: Cleaning, Drying, and Restoring the Surface
Once the cement is off, the work isn't quite done. How you finish determines how good the patio looks and how well it holds up.
Clean and rinse the full surface
Sweep up all debris, then do a full pressure wash or thorough hose-down of the entire patio. This removes dust, chemical residue, and any loose particles created during mechanical work. Pay attention to the edges and low spots where debris accumulates. If you used acid, confirm your neutralization is complete at this stage.
Assess any damage to the underlying slab
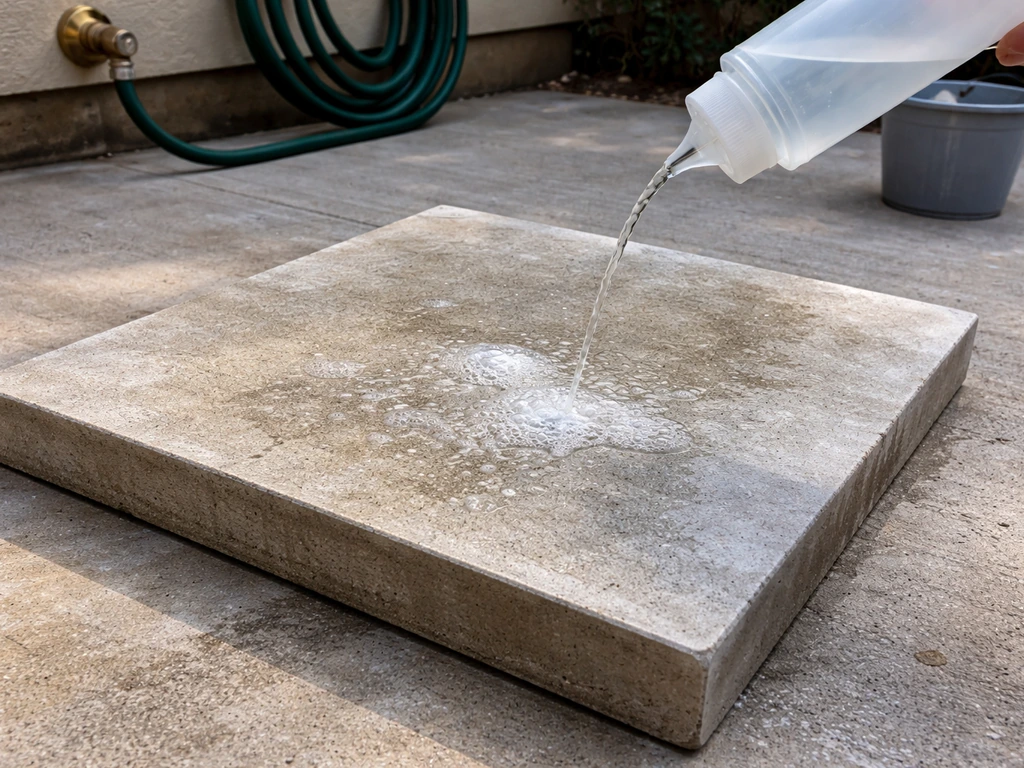
Now's the time to take a hard look at what you've uncovered. Aggressive chipping or grinding sometimes creates small divots, spalled edges, or exposed aggregate that wasn't there before. Check for any new cracks that may have been hidden under the cement you removed. Minor surface imperfections can be filled with a concrete patching compound before you reseal. More significant damage, like cracking or hollow spots, needs attention before you apply any coating.
Let it dry completely
Don't rush this. Concrete needs to be fully dry before you apply sealer, stain, or paint. In warm weather with good sun, give it at least 24 hours after your final rinse. In humid or cool conditions, 48 to 72 hours is safer. You can do a moisture test by taping a square of plastic sheeting flat to the surface and checking for condensation underneath after an hour. If moisture is present, wait longer.
Reseal or restore
If you removed a sealer during the process, or if the surface was previously sealed and now looks patchy, apply a fresh coat of concrete sealer once the slab is dry. Choose a penetrating sealer for a natural look, or an acrylic or epoxy sealer if you want a sheen or added color protection. If the patio was stained or painted, you'll need to restain or repaint the affected area, and matching an existing stain color can be tricky, so spot testing in an inconspicuous area is worth doing before committing to the full surface.
When the Cement Won't Budge: Troubleshooting and Knowing When to Stop
Even with the right tools and products, some cement removal situations are genuinely stubborn. As a result, the question of how hard it is to remove a concrete patio often comes down to how thick the bond is and which removal method you choose Even with the right tools and products, some cement removal situations are genuinely stubborn.. Here's how to work through the common problems.
The residue isn't responding to scraping
If a floor scraper isn't moving it, the material is more bonded than surface residue. Step up to a rotary hammer with a chisel bit, or try soaking the area with a cement dissolver product for 20 to 30 minutes before you try again. Old, well-cured thinset especially can feel almost like the slab itself. Switching to a diamond cup wheel on an angle grinder is often the move that finally works when scraping fails.
Chemical treatment isn't working
If the acid product is barely bubbling, it may mean the residue is a polymer-modified material (like modern polymer thinset) rather than traditional cement, or the surface isn't wet enough to allow the reaction. Try pre-wetting more thoroughly and applying a second treatment. If you're using a diluted muriatic acid mix and it's still not cutting it, try a slightly stronger dilution but go slowly. Some polymer-modified cement products simply don't respond to acid and require mechanical removal.
You're damaging the underlying slab
This is the biggest risk with aggressive mechanical methods. If chipping is pulling up chunks of the original concrete along with the cement, stop and reassess. You're either hitting the chisel at too steep an angle, or the bonded material is deeply integrated with the slab (which can happen with old patches). At this point, switch to grinding rather than chipping. Grinding removes material more gradually and gives you better control. If even light grinding is causing the slab to crumble or spall, the underlying concrete may have carbonation or aggregate pop-out issues that make the slab itself too weak to work with.
When to call a professional
Call a pro if: the cement is covering a very large area (more than 200 to 300 square feet of bonded material), the underlying slab is showing signs of structural damage during removal, you're dealing with materials you can't identify (some old patching compounds contained asbestos in pre-1980 construction), or you're working on a slab that's attached to the house foundation and you're concerned about cracking or undermining. If your situation involves breaking up or completely lifting the slab rather than just removing surface cement, that's a more involved project closer to a full concrete demolition, and the approach changes significantly. If you are trying to lift a concrete patio slab, the same assessment and removal principles apply, but expect more involved demolition and control measures lift concrete patio. If you’re trying to remove an entire concrete patio, the difficulty jumps from “scraping residue” to demolition, hauling, and managing rebar and subbase full concrete demolition.
For most homeowners dealing with typical cement residue or leftover mortar from a tile or paver project, this is very much a DIY-friendly job. Take it step by step: identify what you're removing, protect the surroundings, gear up properly, and start with the least aggressive method that will actually work. If you need a full concrete patio demo rather than just removing residue, you can follow this guide on how to demo concrete patio step by step. If you're dealing with a concrete patio and wondering how to remove the cement layer safely, this step-by-step approach will help you pick the right method how to remove concrete patio. You'll get there.
FAQ
What safety gear should I use when I’m figuring out how to remove cement patio residue?
Wear eye protection, hearing protection, and an N95 (or better) plus gloves. For grinding, use a dust shroud and vacuum, because dried cement creates fine silica dust that ordinary sweeping does not capture.
How do I know whether I should use chemicals or just keep grinding when removing cement patio material?
Avoid chemical cement removers on thick bonded patches. If a screwdriver test fails, treat it as bonded and start with mechanical methods (scraper, then chisel, then grinding) because chemicals often won’t penetrate far enough to do real work.
Will sealed concrete affect how well chemical cleaners work, and do I need to prep before resealing?
If the patio is sealed, water beading tells you more than just “sealed or not.” Even after neutralizing and rinsing, you may still need a full sanding pass or light profiling before resealing so the new sealer can bond.
Can cement removers damage colored or stamped concrete finishes?
Yes. Even water-based buffered cleaners can lighten stains or alter colored concrete. Test in a hidden corner, confirm the spot matches after drying, then proceed only if the color change is acceptable.
What should I do if the acid cleaner is barely bubbling when trying to remove cement patio residue?
Do not assume “no bubbling” means you should repeat forever. First verify the surface is thoroughly wet, then extend dwell time to 20 to 30 minutes. If there is still no change, switch to mechanical removal because some polymer-modified materials do not react to acid.
How do I confirm neutralization after removing cement patio residue, and why does it matter for sealing?
When neutralizing, mix baking soda into water until dissolved, then apply evenly. Look for fizz stopping quickly, then rinse well. If you apply acid or cleaner and then seal before pH is near neutral, adhesion problems and peeling are much more likely.
My cement removal left pits or spalled spots. What’s the right way to fix them before resealing?
If you see divots or spalled edges after chipping, do not fill immediately while dust and moisture remain. Sweep, rinse, let dry, patch with a concrete compound compatible with your sealer, then lightly level and recheck dryness before sealing.
How can I prevent chipping from cracking or pulling up the original slab when I remove cement from a patio?
Use a low-angle chisel and only strike to shear under the cement layer. If you start pulling up underlying concrete, stop and switch to grinding to reduce spalling, and reassess whether the slab might be structurally weak.
What if white staining comes back after I remove the cement residue from the patio?
If efflorescence (white salts) returns after cleaning, the problem is often moisture migration from below, not just residue on top. You may need a proper drainage or moisture-mitigation step before sealing to stop recurrence.
Can I pause during cement patio removal, and what should I do to avoid problems when restarting?
If you must stop mid-job, keep the surface wet for active chemical dwell times (if you’re in-process), but after rinsing, protect the slab from fresh dirt and rain splash. Let it dry fully before patching, grinding final touch-ups, or sealing.
What’s the best way to handle wastewater and protect storm drains while removing cement patio residue?
Don’t discharge rinsate to storm drains. If you used acid or cement dissolver, collect the wash water (bucket, sump pump setup, or absorbent media) and neutralize or dispose according to local rules. Masking inlets and diverting water is the practical way to stay compliant.
When is it worth hiring a pro instead of DIY for removing a large bonded cement patch?
For cement that is covering more than about 200 to 300 square feet, expect tool rental plus silica control to become a bigger cost and risk decision. A pro also has options like scarification and knows how to evaluate slab integrity when bonded material is extensive.