
You can refinish a concrete patio yourself in a weekend by cleaning the surface thoroughly, patching any cracks or spalling, choosing the right finish system (stain, paint, resurfacer, or coating), applying it in thin even coats, and sealing the result for protection. The whole process costs between $150 and $600 in materials depending on patio size and finish type, and a properly done job lasts 5 to 10 years before needing a refresh.
How to Refinish a Concrete Patio: Step-by-Step DIY Guide

Silas Morrison
17 May 2026
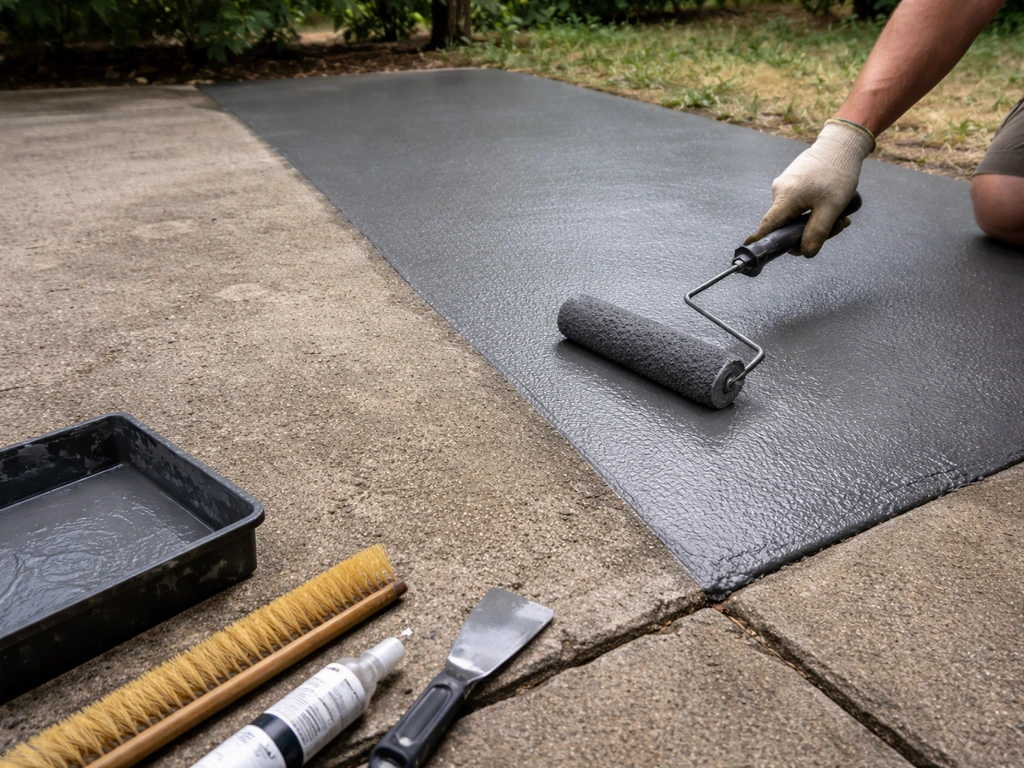
I've done this on my own patio twice and helped a few neighbors through the process. The most common mistake people make is skipping or rushing the prep. A beautiful finish applied over dirty, oily, or structurally compromised concrete will peel within a season. Get the prep right and the rest is straightforward. Updating a concrete patio often comes down to surface prep, choosing the right system like stain, paint, resurfacer, or a coating, and then sealing it for long-lasting protection update concrete patio.
Assess your patio's condition first
Before you buy anything, spend 20 minutes really looking at your patio. Squat down, look across the surface at an angle, and check for the following conditions. Each one points you toward a different refinishing route.
- Dull or discolored surface with no major damage: a stain, tinted sealer, or paint system works great here.
- White chalky deposits on the surface (efflorescence): this is soluble salt residue left behind when moisture moves through the slab and evaporates. You must remove it before any finish goes on, or the coating will peel.
- Peeling or bubbling from a previous coating: usually caused by moisture vapor pushing up from beneath, a dirty surface, or bad prep the last time around. You'll need to strip the old coating completely.
- Surface scaling or shallow spalling (top quarter-inch or so): common in cold climates from freeze-thaw cycles and deicing salts. A concrete resurfacer is your best option here.
- Deeper pitting, crumbling, or structural cracks: resurfacers can handle minor cracks but deeper damage needs patching compound first, or possibly slab replacement if the damage is widespread.
- Uneven or sunken sections: if there's a significant grade change or a section has settled, that's a separate repair (or replacement) conversation before refinishing makes sense.
Here's the honest truth about deeper damage: if your slab has been through multiple freeze-thaw seasons without air entrainment in the mix, it may have scaled badly enough that resurfacing is the right call rather than just a decorative finish. If you're wondering how to resurface concrete patio in practice, the next steps focus on checking whether the slab body is still sound and then choosing the right resurfacer system resurfacing.
Resurfacing works when the slab body is still sound. If you're stomping around on it and chunks are breaking off, or if you see cracking that runs through the full depth, think hard about whether a resurfacer is a patch or just a delay. At some point, replacement becomes the smarter investment. If your concrete patio is beyond repair, learning how to replace it is the next step before you install a new slab replace a concrete patio.
But for most patios with normal wear, refinishing is completely appropriate.
One quick moisture test worth doing if you plan to apply any coating or epoxy: tape a 24-inch square piece of plastic sheeting to the concrete, seal all four edges with tape, and leave it for 16 to 24 hours. If moisture condenses under the plastic or the concrete looks darker when you remove it, you have a vapor transmission issue. Coatings applied over a damp slab will delaminate. This is the ASTM D4263 plastic sheet method and it takes almost no effort to do.
Clean and prep the surface for real adhesion
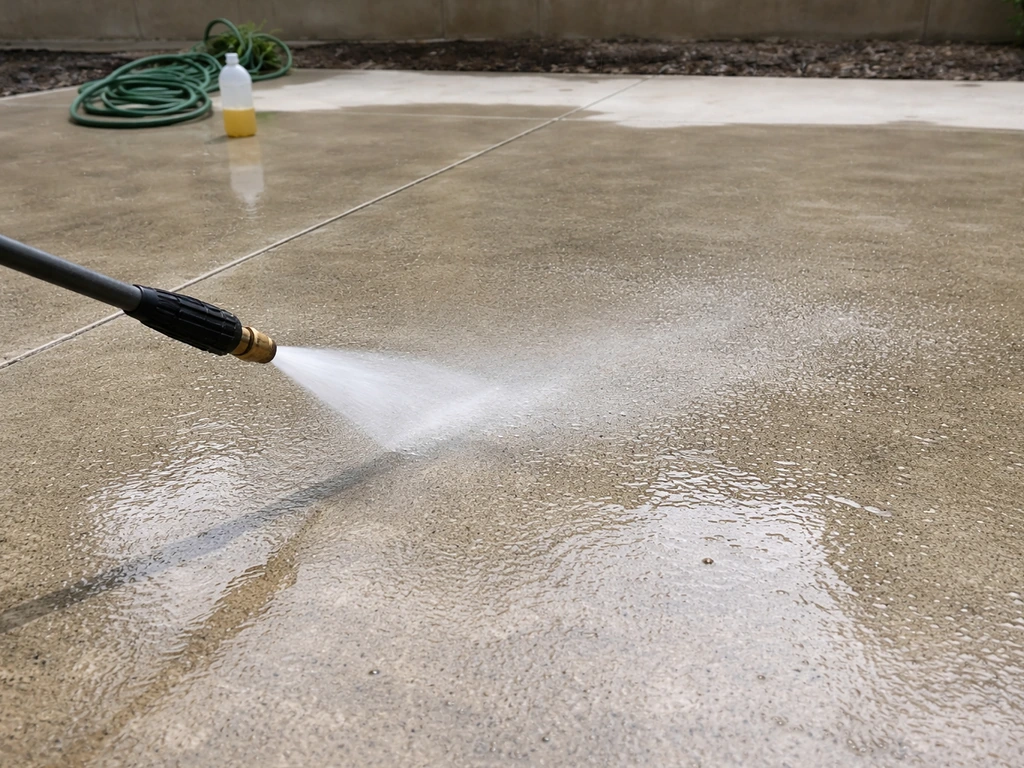
Surface prep is where refinishing jobs live or die. Any contaminant sitting between the concrete and your finish layer will become a failure point. Oil, grease, mold, dust, efflorescence, old paint, and curing compounds all need to come off before you apply anything.
Degrease and deep clean
Start with a heavy-duty concrete cleaner or degreaser. Wet the surface, apply the cleaner, scrub with a stiff bristle brush or push broom, and let it dwell for the time listed on the label before rinsing. For oil stains that have soaked in, you may need two applications. Rinse thoroughly. Pressure washing is great here, but keep it under 5,000 psi to avoid opening up the surface texture more than intended, or damaging weaker concrete. Steam cleaning is another solid option if you have access to the equipment.
After cleaning, test the surface pH in a few spots using distilled water on pH paper. This confirms the degreaser has been fully rinsed out and the concrete isn't still alkaline from previous products. Concrete naturally reads around pH 12 to 13 when fresh, but cleaned and weathered concrete should test closer to neutral before you apply an acid stain or sensitive coating.
Remove efflorescence and old coatings
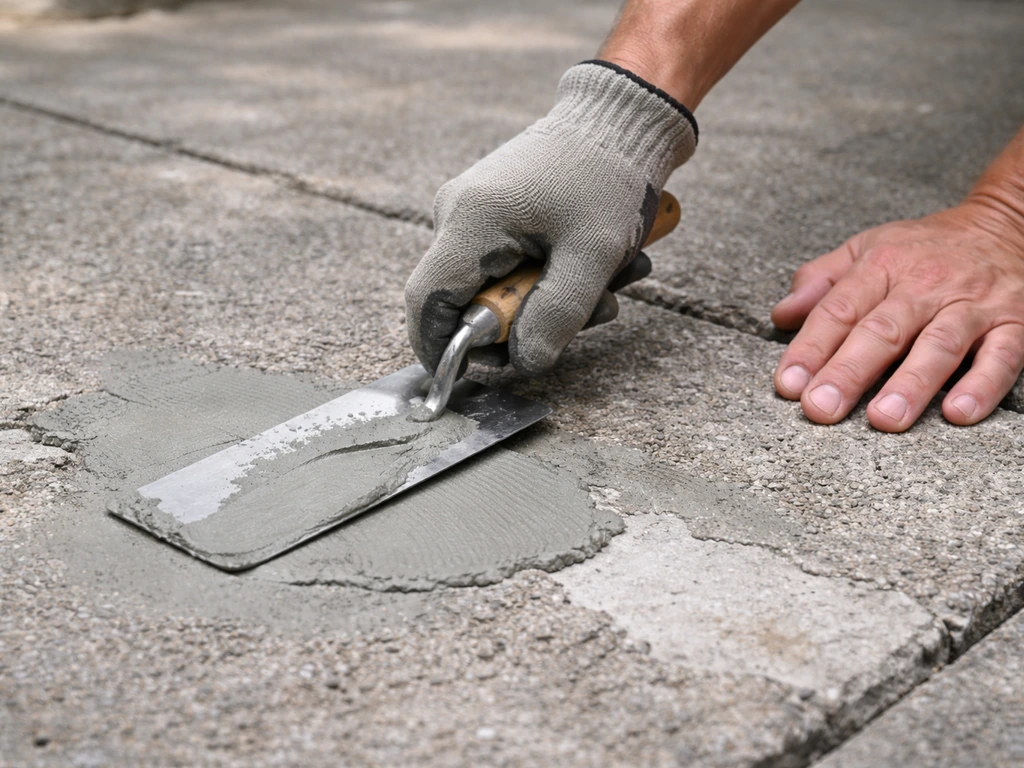
Efflorescence brushes off with a stiff brush when dry, but for stubborn deposits use a diluted muriatic acid wash (follow label safety instructions, neutralize afterward, and rinse well). If you have an old peeling paint or coating, strip it mechanically with a floor grinder or chemically with a concrete stripper. Leaving old peeling material under a new coat just traps the failure mode.
Profile the surface
Concrete needs some texture for a coating to grip. Smooth, troweled concrete doesn't give coatings anything to bond to. Contractors use the ICRI Concrete Surface Profile (CSP) scale to match prep methods to the coating type: CSP 1 is almost glassy smooth, CSP 10 is heavily scarified. For most patio refinishing, you want somewhere in the CSP 2 to 4 range, which you can achieve with a rented diamond floor grinder, an acid etch, or a mechanical scarifier.
If you're applying a thin stain or sealer, a light acid etch or grinder pass is enough. For a thicker resurfacer or epoxy coating, grind or shot-blast to get a rougher profile. If the surface feels like smooth glass, don't skip this step.
Repair cracks, spalling, and uneven spots
Do all your repair work before applying any finish. Once the finish is on, going back to patch something means breaking into cured material and trying to blend it, which rarely looks good.
Cracks
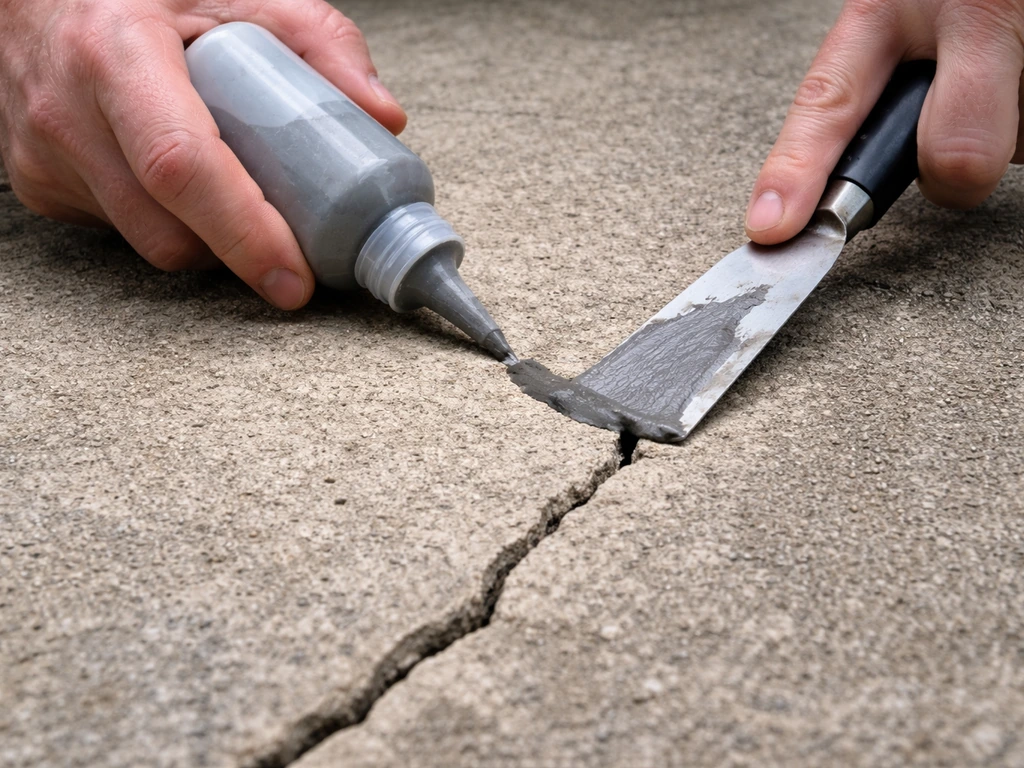
For hairline cracks (less than 1/8 inch wide), a concrete resurfacer brushed or squeegeed in will fill them as part of the application. For wider cracks, use a concrete crack filler or an injection-type epoxy or polyurethane product. Clean out the crack with a wire brush or oscillating tool, blow out the debris, and fill according to the product instructions. Cure time is affected by ambient temperature, so check your specific product's gel time based on the weather you're working in. Let crack repairs cure fully before applying the finish coat over them.
Spalling and surface damage
Surface spalling (pitting or flaking in the top quarter-inch) is the ideal candidate for a concrete resurfacer. Products like QUIKRETE Concrete Resurfacer or Sakrete Flo-Coat can be applied from a feather edge up to about half an inch thick, which covers most surface spalling cleanly. If the damage is only shallow and the underlying slab is solid, this is a straightforward fix. For deeper damage, use a concrete patching mortar, undercut the edges of the damaged area at a slight angle to give the patch something to key into, and press the patch material firmly in place. Feather the edges smooth and let it cure before proceeding.
Uneven spots
Minor low spots can be built up with a resurfacer or self-leveling overlay. If one section of the slab has settled significantly (more than half an inch relative to adjacent sections), that's a foundation or drainage issue that refinishing alone won't fix. For small trip-hazard lips or uneven joints, grinding down the high side is often faster and cleaner than trying to build up the low side.
Choose the right refinishing system for your situation
This is the decision that determines your results, your budget, and how long the job lasts. There's no single best product for everyone. Here's how the main options stack up.
| System | Best For | DIY Difficulty | Typical Lifespan | Approximate Cost (200 sq ft) |
|---|---|---|---|---|
| Concrete stain (acid or water-based) | Color + character on sound, clean concrete | Moderate | 5–8 years with sealer | $50–$120 |
| Concrete paint / masonry paint | Quick color refresh, budget projects | Easy | 3–5 years | $40–$80 |
| Concrete resurfacer / overlay | Surface spalling, scaling, worn texture | Moderate | 7–10 years | $80–$200 |
| Epoxy or polyurea coating | High-traffic, durable finish, garage-style look | Moderate–Hard | 7–12 years | $150–$400 |
| Penetrating sealer only | Protection without appearance change | Easy | 3–5 years | $30–$80 |
Stains
Acid stains react chemically with the concrete to create mottled, variegated color that looks almost like natural stone. They're permanent once applied but require neutralizing and sealing. Water-based stains are easier to work with and come in more colors but are a topical coating rather than a true chemical reaction. Both work best on bare, clean, uncoated concrete. If your slab has an old sealer on it, stains won't penetrate and won't bond.
Paint
Concrete or masonry paint is the fastest route to a fresh look and costs the least. The downside is durability: paint sits on top of the surface and takes more abuse from foot traffic, UV, and moisture than other systems. Use a paint specifically formulated for concrete or masonry, not interior or exterior wall paint. Apply a concrete primer first for better adhesion, and plan on recoating every three to five years in a typical climate.
Resurfacers and overlays
A concrete resurfacer is essentially a thin layer of cementitious material that bonds to the existing slab and gives you a fresh surface to work with. If you are aiming for a smoother surface, learning how to skim coat concrete patio can help you choose the right skim material and prep steps. QUIKRETE Concrete Resurfacer builds to a nominal 1/8 inch for a finished appearance.
Sakrete Flo-Coat goes from a true feather edge up to half an inch in one pour, though most applicators keep single coats to 1/8 inch or less for best results.
SikaQuick Concrete Resurfacer covers a similar range. Resurfacers are ideal when your patio is structurally fine but the surface is rough, pitted, or scaled. After curing, you can leave the natural gray look, stain it, or seal it for protection.
Epoxy and polyurea coatings
These are the most durable topical systems and give you that high-gloss, flake-finish look you see in garages and commercial spaces. They require the most prep (diamond grinding to a CSP 3 or higher), are more sensitive to temperature and moisture during application, and cost more. But if you want a finish that holds up to heavy patio furniture, pets, and weather for a decade, they're worth the effort. Avoid applying epoxy when the slab temperature is below 55°F or above 90°F, and never apply over a slab that failed the plastic sheet moisture test.
Apply the finish step-by-step
Regardless of the system you've chosen, the application principles are the same: work in ideal conditions, apply thin coats, respect drying times, and don't rush. Plan to work when temperatures are between 50°F and 90°F with no rain in the forecast for at least 24 to 48 hours.
Applying a concrete resurfacer
- Dampen the entire slab with water so it's damp but not puddling. This prevents the dry concrete from pulling moisture out of the resurfacer too quickly.
- Mix the resurfacer according to the package instructions. QUIKRETE Concrete Resurfacer typically mixes to a pourable but not runny consistency. Work in small batches because working time is limited, usually 20 minutes or less at 70°F.
- Pour the resurfacer onto the slab and spread with a long-handled squeegee or concrete gauge rake. Work from one end to the other in consistent passes.
- For a broom finish, drag a soft broom lightly across the surface within a few minutes of spreading while it's still workable. For a smooth finish, use a finishing trowel.
- If you need a second coat, QUIKRETE's TDS allows recoating within 24 hours. Lightly mist the first coat with water before applying the second.
- Protect the surface from foot traffic for at least 24 hours. Keep it out of rain for the same period. Full cure for heavy use typically takes 7 days.
Applying a concrete stain
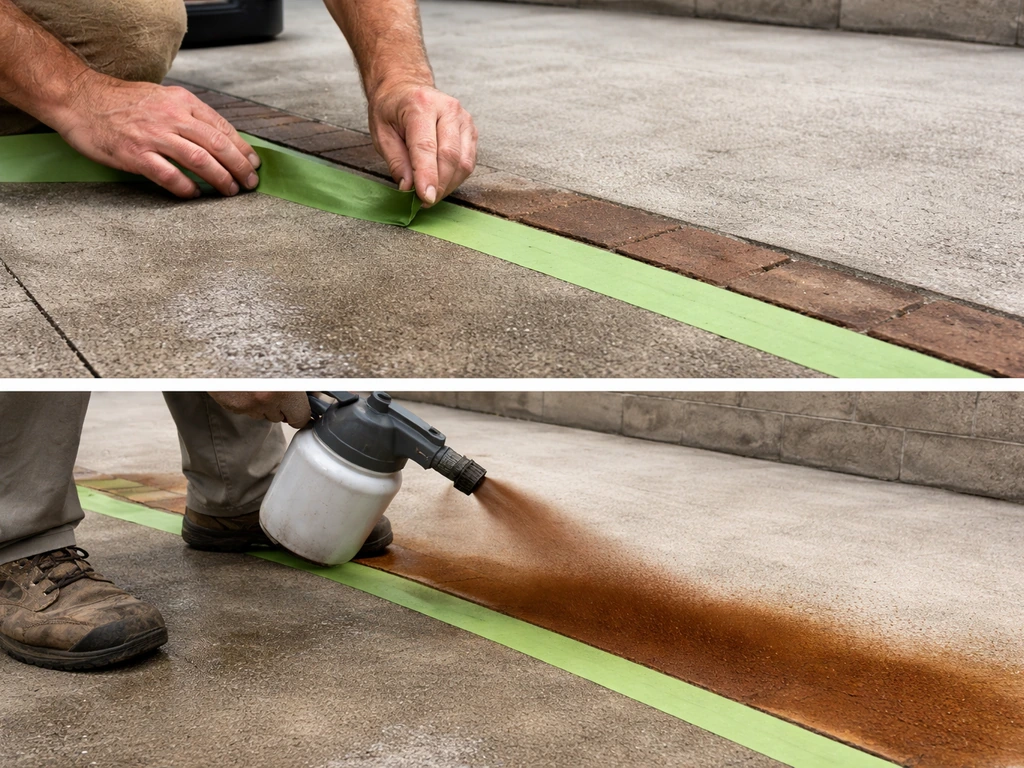
- Mask off any edges, walls, or surfaces you don't want stained. Acid stain is nearly impossible to remove from unintended surfaces.
- For acid stain, apply with a plastic garden sprayer or brush in a circular or random pattern. Avoid puddles. Let it react for 3 to 4 hours (or as directed), then neutralize with a baking soda and water solution, scrub, and rinse thoroughly.
- For water-based stain, apply with a brush, roller, or sprayer. Two coats are usually needed. Allow the first coat to dry fully (typically 2 to 4 hours) before applying the second.
- Let the stain cure for the full time specified before sealing, usually 24 hours.
Applying concrete paint
- Apply a concrete primer with a roller, allow it to dry per the label (usually 4 to 8 hours).
- Roll on the first coat of concrete paint in long, even strokes. Cut in edges with a brush.
- Allow to dry for 24 hours before foot traffic. Apply a second coat if needed for full coverage.
- Most concrete paints reach full hardness in 7 days. Don't move heavy furniture back until then.
Applying an epoxy or polyurea coating
- Grind the surface to CSP 3 or better, sweep and vacuum thoroughly, and confirm the slab passes the moisture test.
- Mix Part A and Part B together according to the ratio on your kit. Mix for the full time specified (usually 3 minutes with a drill mixer). An incompletely mixed epoxy won't cure evenly.
- Apply the base coat with a 3/8-inch nap roller. Work in sections. If broadcasting decorative flakes, toss them into the wet coat immediately after rolling.
- Allow the base coat to cure per the manufacturer's window before applying a topcoat, typically 12 to 24 hours at 70°F. Don't apply the topcoat outside the recoat window or adhesion suffers.
- Roll on the clear topcoat in thin, even passes. Allow to cure 24 hours before light foot traffic, and 72 hours before replacing furniture.
Seal the finish and plan for maintenance
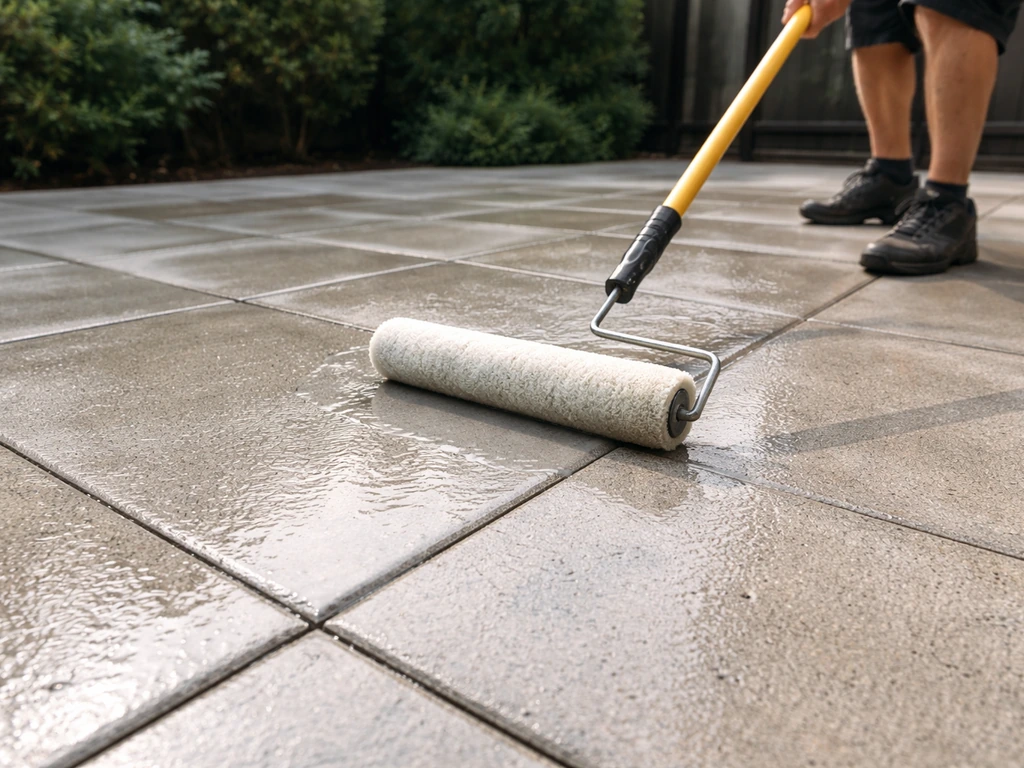
Sealing is the step that turns a good refinishing job into a durable one. An unsealed stain or resurfaced surface will absorb water, oil, and UV radiation and deteriorate much faster than sealed concrete. Choose the right sealer for your finish type.
Which sealer to use
- Acrylic sealer: versatile and compatible with most stains, resurfacers, and bare concrete. Products like Perdure A03 create a clear, non-yellowing protective film. Apply with a roller or sprayer. Reapply every 2 to 3 years.
- Penetrating sealer (silane/siloxane): soaks into the concrete and repels water without changing the appearance. Good for natural-look patios. Rust-Oleum RockSolid RSD-58, for example, is protected from rain after 24 hours at standard conditions. Lasts 3 to 5 years.
- Polyurethane or epoxy topcoat: used over epoxy base coats for maximum durability. Typically included in epoxy coating kits.
- Avoid using an interior sealer on an exterior patio. Exterior sealers are formulated for UV resistance and freeze-thaw cycling.
How to apply the sealer
- Wait until your finish coat has cured fully before sealing. For resurfacers, this is typically 24 hours minimum, 7 days for full cure. For stains, 24 hours. Follow the specific product's guidance.
- Apply the sealer in thin, even coats. Two thin coats beat one thick coat every time. Thick sealer applications trap air and cloud up.
- Use a roller for large areas, a brush for edges. Work quickly to maintain a wet edge.
- Allow the first coat to dry (usually 1 to 2 hours for acrylics) before applying the second coat.
- Keep off the surface for 24 hours after the final coat. Full cure for vehicle or furniture contact is typically 72 hours.
Ongoing maintenance
Here's the realistic maintenance picture. A well-done refinishing job on a patio with proper sealing will look good for 5 to 10 years depending on climate, traffic, and the system used. Epoxy and polyurea coatings last longer. Paint systems need refreshing sooner. In freeze-thaw climates, avoid deicing salts on any coated concrete. Use sand for traction instead.
- Sweep and clean the patio regularly to prevent grit from abrading the surface coating.
- Reseal the patio every 2 to 3 years for acrylic sealers, every 3 to 5 years for penetrating sealers. You'll know it's time when water stops beading on the surface.
- Address any new cracks as soon as you spot them. A small crack sealed early is a 5-minute repair. Left alone through a winter, it becomes a much bigger project.
- If the finish starts peeling or lifting in a spot, sand or grind back to a feathered edge, clean the area, and spot-repair with matching material before it spreads.
- Power wash the patio in spring before resealing to remove winter residue. Use low pressure (below 3,000 psi for coated surfaces) to avoid lifting the finish.
If your patio is in worse shape than a refinishing job can fix, it might be worth looking into full resurfacing, which involves a thicker overlay system and more intensive substrate prep, or even full replacement if the slab body has been compromised. For patios that just need a fresh look without structural issues, refinishing is almost always the right answer. Take the time to prep properly and the results will genuinely surprise you.
FAQ
Can I refinish a concrete patio if it has an old sealer on it?
Yes, but you usually cannot rely on simply cleaning. Many stains and coatings will not penetrate or bond to sealed concrete. You typically need mechanical removal (grinding or blasting) or a chemistry-based stripper followed by thorough rinsing and drying, then confirm adhesion with a small test patch before you commit to the whole patio.
What’s the best way to tell whether the concrete slab is still sound enough for resurfacer or just needs replacement?
Look for signs the damage is structural, not cosmetic. If you can pry up fragments, the surface breaks into chunks under light pressure, or you see cracking that runs through the full depth, a resurfacer is likely to fail. When in doubt, use localized coring or consult a contractor, since a thin finish cannot correct an underlying slab failure.
How long should I wait after cleaning or acid etching before applying stain, paint, or a coating?
Don’t go by guesswork. After degreasing, rinsing, and any acid treatment, let the concrete dry completely and verify surface readiness with pH testing (for acid-sensitive systems). For coatings and epoxy, also recheck moisture using the plastic sheet test, since a clean but still-damp slab can cause delamination.
Is it okay to apply epoxy or polyurea if temperatures dip at night?
Even if daytime temperatures look fine, night temperatures can affect cure and cause soft, weak, or poorly bonded coatings. Use a weather window for both application and cure, and follow the product’s minimum substrate and air temperature. If you cannot maintain the recommended range, wait or plan a controlled approach (for example, temporary enclosures if allowed by the product).
Do I need to seal after staining, and can I seal the same day?
Usually yes, since unsealed stained concrete still absorbs water, oils, and UV damage. Whether you can seal the same day depends on the stain type and cure time, but in many cases you must neutralize (for acid stains), rinse, and allow full dry time before sealing. Always follow the stain label for minimum dry and neutralization timing.
What should I do about efflorescence that keeps coming back after I clean it?
Reappearing white deposits usually means moisture is moving through the slab. Cleaning removes the surface crystals, but the underlying moisture source is still active. Address drainage and water entry (grading, downspout routing, expansion joint issues) and consider whether a moisture-tolerant system is needed before you recoat, otherwise the finish can fail again.
Can I refinish over concrete that has been painted before?
Only if the existing coating is well-adhered and compatible. If the old paint is peeling, chalking, or delaminating, you must remove it mechanically or strip it down to sound concrete. After removal, grind to the needed surface profile, then do a small adhesion test patch with your chosen system.
What surface profile should I aim for if I’m using a resurfacer versus an epoxy coating?
A resurfacer generally performs best when the concrete is not glass-smooth, typically targeting a light-to-moderate profile (often CSP 2 to 4). Epoxy and polyurea coatings usually need a more aggressive profile (commonly CSP 3 or higher) because they rely on mechanical bond plus chemistry. If the surface feels slick and polished, you likely need grinding before coating.
How do I handle minor low spots and puddling after I refinish?
Refinishing improves appearance and protection, but it won’t correct major drainage problems. For small low spots (minor trip lips), grinding the high spots is often cleaner than trying to rebuild thickness. For gentle unevenness, a resurfacer or self-leveling overlay can work, but only if the slab has not settled significantly and you can address any ongoing water movement.
How many coats should I apply, and what happens if I apply too thick?
For most stain, paint, resurfacer, and coating products, thick application increases the risk of poor curing, soft spots, and early peeling or bubbling. Stick to thin, even coats and respect the specified recoat windows. If you need more build, do it with additional passes rather than exceeding the recommended thickness per coat.
Can I use deicing salts on a refinished patio?
Avoid them on coated or sealed concrete. Salts can accelerate deterioration and compromise adhesion over time. If you need traction, use sand or grit instead, and keep moisture management in mind (for example, minimizing standing water and preventing water intrusion through joints and cracks).
What’s the simplest way to plan a weekend schedule without ruining drying and cure times?
Plan around cure and weather, not just product availability. A practical approach is to complete cleaning and repairs first, then do grinding/etching and pH verification, let everything dry fully, apply the finish system in thin coats, and seal only after the required cure and test checks. If rain is possible, delay application, since trapped moisture can cause failure even if the surface looks dry.