
You can update most concrete patios without tearing them out. The process comes down to four things: figuring out what's actually wrong, repairing any damage before it gets worse, choosing the right resurfacing or coating approach for your situation, and finishing with a stain and sealer that protects the slab for years. If your patio is cracked, dull, spalled, or just looks tired, there's a very good chance a weekend or two of work will have it looking brand new.
How to Update a Concrete Patio Step by Step Guide

Silas Morrison
8 Jun 2026
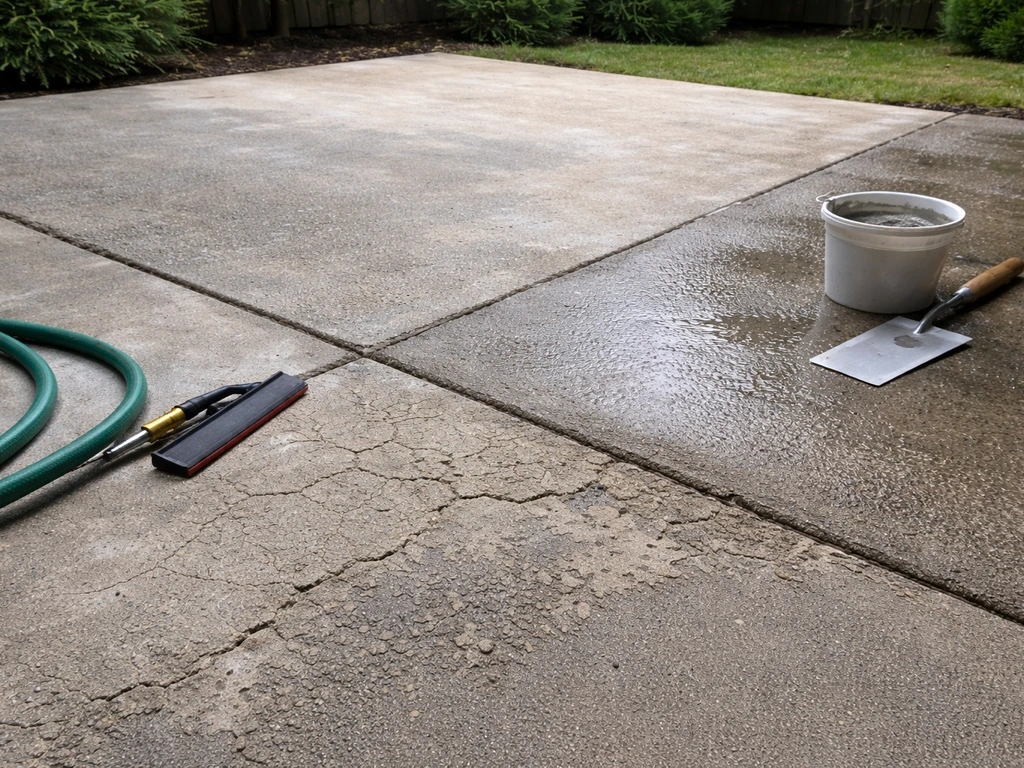
First: Figure Out Whether You Can Update or Need to Replace
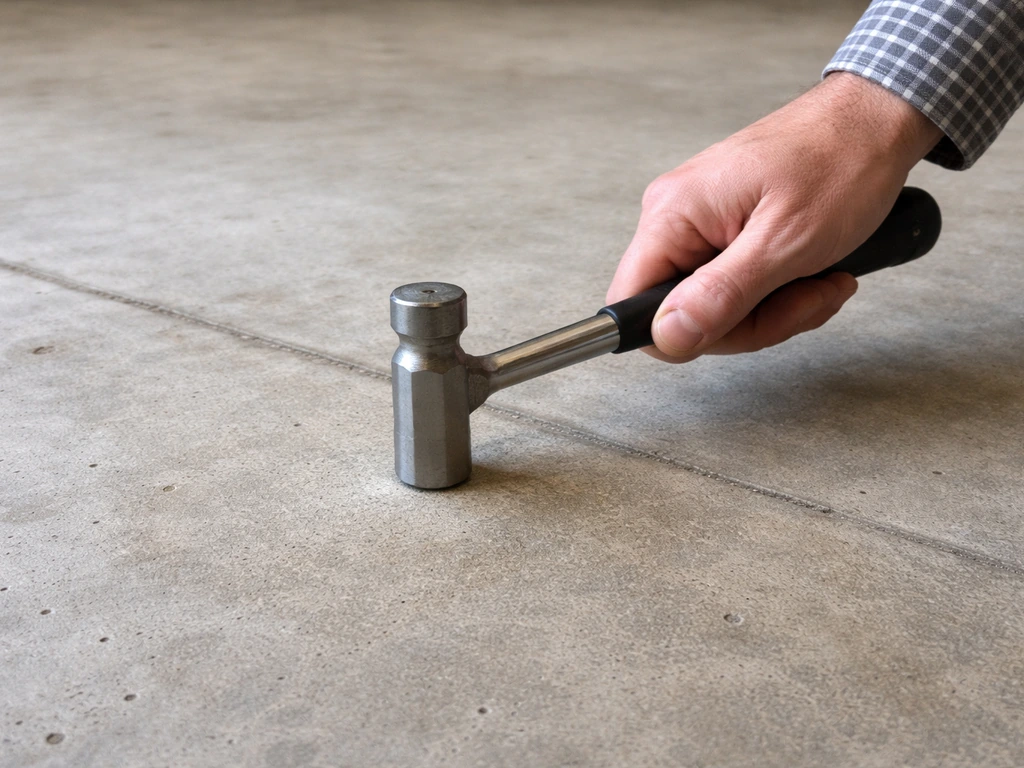
Before you buy anything, spend 20 minutes actually inspecting the slab. Most people skip this and end up resurfacing concrete that was never going to hold a new layer. The goal here is to figure out whether your problems are skin-deep or structural.
Start with the tap test. Grab a steel hammer or even a large screwdriver handle and tap the slab firmly every 3 to 4 feet across the whole surface. A solid, structurally sound slab gives you a sharp, tight knock. A hollow or delaminated area sounds dull and drumlike. Mark any hollow spots with chalk. Those areas won't bond well to a new overlay, so you'll either need to remove and re-pour that section or grind out the failing layer entirely before resurfacing.
Next, walk the slab and watch for any movement. If a section rocks up and down relative to a neighboring section when you step on it, that's a sign the base underneath has failed. Rocking slabs mean the soil or gravel sub-base is no longer providing support, and no overlay or coating is going to fix that. The same goes for sections that have settled noticeably lower than the rest, or slabs that have cracked into more than a few large pieces. Resurfacing is appropriate when problems are truly skin-deep. When the sub-base has eroded, been undermined by water or tree roots, or simply shifted past the point of recovery, replacement is the honest answer. If the slab is beyond saving, follow a full process for replacing a concrete patio, including demo, base prep, and proper curing before finishing replace a concrete patio.
Here's a simple way to think about it: cosmetic damage (surface pitting, light cracking, spalling, discoloration) is updatable. Structural damage (deep active cracks that are still moving, sections that rock or sink, widespread delamination) points toward replacement. If you're on the fence, the hollow-spot test is your most reliable guide.
| What You See or Feel | Likely Cause | Right Move |
|---|---|---|
| Surface pitting, flaking, or scaling | Weathering, freeze-thaw cycles | Clean, repair, resurface |
| Hairline or stable surface cracks | Shrinkage, minor movement | Fill cracks, then resurface |
| Hollow sound when tapped | Delamination of top layer | Grind out hollow area, patch, then resurface |
| One section lower than adjacent sections | Settlement, sub-base erosion | Evaluate sub-base; may need mudjacking or replacement |
| Slab rocks when you step on it | Sub-base failure | Replace that section |
| Widespread deep cracking or heaving | Structural failure, root/frost damage | Replace |
Cleaning and Surface Prep: Don't Skip This Part
Surface prep is the unglamorous part that determines whether everything else holds up. I've seen people apply beautiful overlays over dirty concrete and watch them peel up within a season. The slab needs to be clean, open-pored, and free of anything that would prevent bonding.
Start by clearing the patio completely and sweeping off loose debris. Then pressure wash the entire surface. For most concrete cleaning jobs, you want to be in the 3,000 to 3,500 PSI range with a fan-tip nozzle. Go below that and you're not really cleaning concrete, just wetting it. If you've got oil or grease stains, those need a degreaser applied first and allowed to dwell, then you can hit them with up to 3,500 to 4,000 PSI with the right nozzle angle. Be careful not to hold the nozzle too close or you'll etch the surface.
After washing, let the slab dry completely. Depending on your climate, that's usually 24 to 48 hours. Applying any product to a damp surface is one of the most common mistakes in concrete finishing. Sealers applied to wet concrete will turn white and cloudy, and overlays won't cure or bond properly.
If the surface is smooth from years of wear, you'll need to open up the pores before applying any overlay or coating. Mechanical roughening with a floor grinder or diamond cup wheel creates the texture (called a Concrete Surface Profile, or CSP) that repair materials and overlays need to grab onto. Smoother slabs genuinely need this step. You can also acid-etch with muriatic acid solution as an alternative, though grinding gives you more consistent results and is safer in enclosed or semi-enclosed spaces.
Repairing Cracks, Spalling, and Damaged Areas
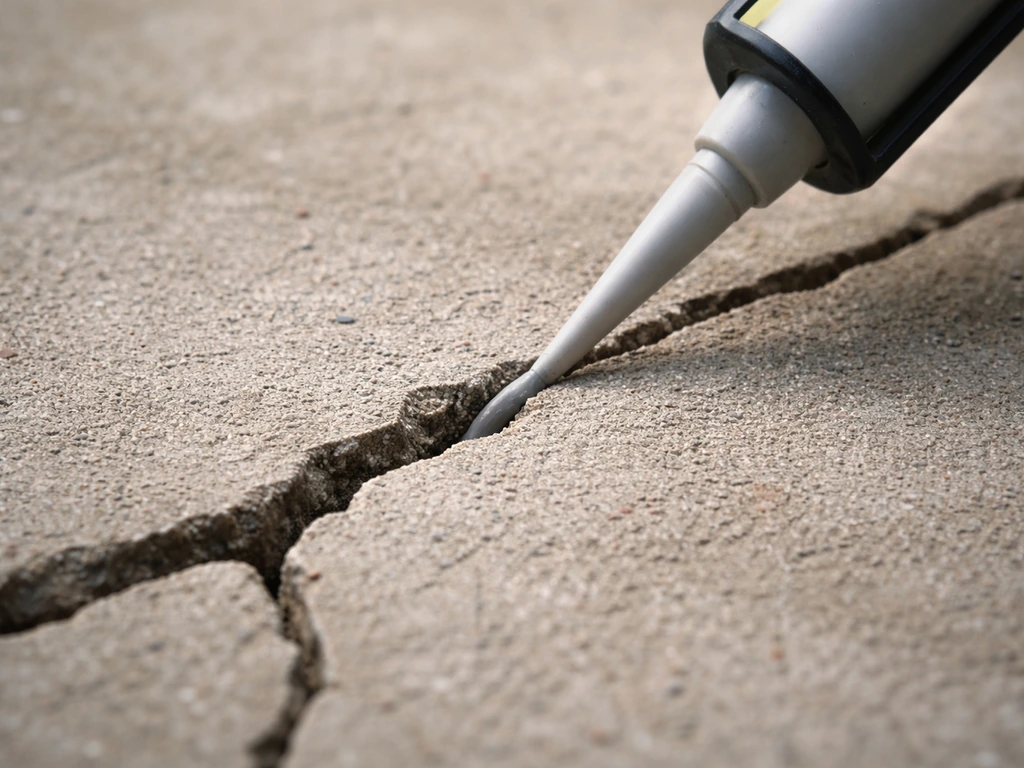
Once the slab is clean and dry, fix every crack and damaged spot before you touch any resurfacing product. Skipping repairs and just coating over them is a fast way to watch your new surface fail along the same lines within a year or two.
Filling Cracks
For narrow cracks (roughly 1/4 inch and under), epoxy injection is the most durable fix. Products like polyurethane or epoxy injection resins are injected under low pressure into the crack and bond the concrete back together from the inside. Most epoxy injection systems have a full cure time of 24 hours before you should continue work or apply traffic to the area. Plan accordingly: do your crack injections, wait a full day, then move on to patching and resurfacing.
For wider or more irregular cracks, use a concrete crack filler or polyurethane caulk rated for concrete. V-groove the crack with an angle grinder first to give the filler more surface area to grip, then pack it in and tool it flush. For cracks that are actively moving seasonally, a flexible polyurethane sealant is smarter than a rigid epoxy since it can flex without re-cracking.
Fixing Spalled and Pitted Areas
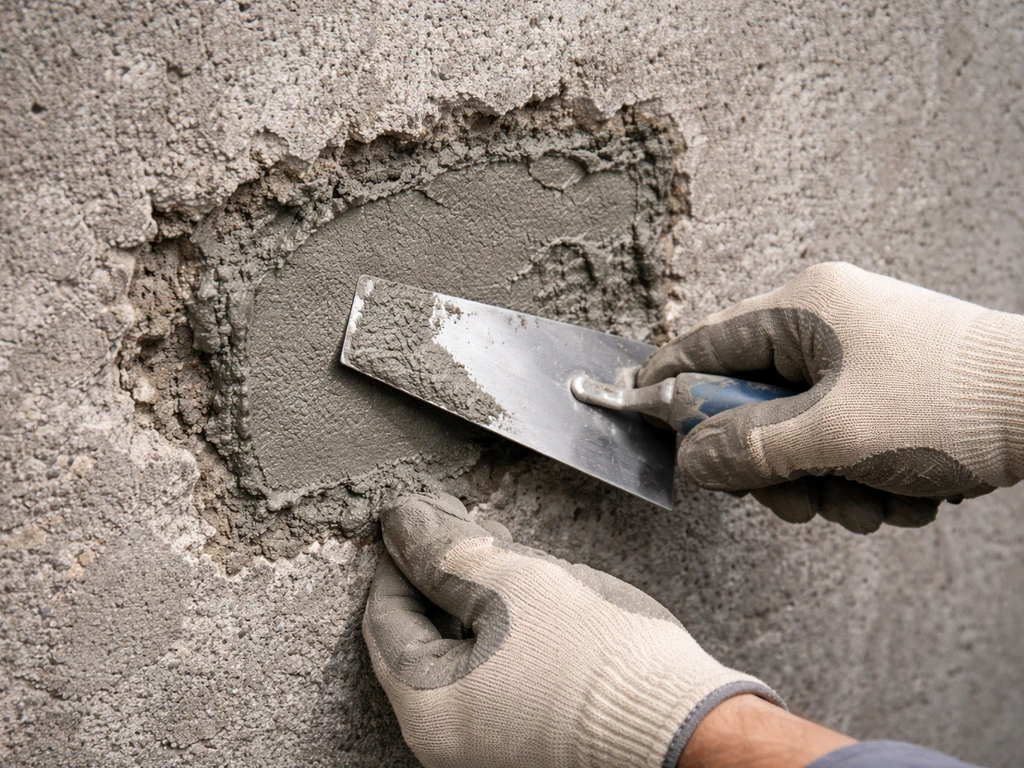
Spalling is where chunks of the surface layer have popped off, leaving rough, pitted areas. For these spots, use a polymer-modified concrete repair mortar. Products like SikaTop-122 Plus are designed specifically for this. The key is to undercut the edges of the spalled area with a grinder or chisel so the patch has a mechanical lock, then prime with the bonding agent if the product calls for it, and pack in your mortar. Follow the manufacturer's thickness limits: most polymer mortars have a minimum application thickness (around 1/4 inch is common) and a maximum per lift. Trying to apply too thin or too thick in one pass leads to weak patches. Cure the patch using a compatible curing compound per ASTM C-309, or simply keep it damp and covered with plastic for the first 24 hours.
Leveling, Patching Low Spots, and Fixing Drainage
A patio that pools water after rain isn't just annoying, it's actively damaging the concrete and making the surface slippery. Concrete patios should slope away from the house at a minimum of 1/8 inch per foot, ideally 1/4 inch per foot. If yours doesn't, you have a few options.
For low spots that collect water, a self-leveling concrete underlayment can fill and build up the area. These products flow into low areas and self-level to create a flat surface. You pour them, spread lightly with a gauge rake, and let them find their own level. Most self-leveling compounds need to be poured over a primed surface and can handle up to about 1 to 1.5 inches in a single pour. If you need more than that, you're likely looking at a more significant repair or replacement.
For a broader slope correction, a thicker overlay (discussed in the next section) can be feathered to create proper drainage pitch. This takes more skill and usually means working in sections, but it's doable on a weekend. Just make sure you've mapped out where the water currently goes and where you want it to go before you start pouring anything.
If the drainage issue is coming from a settled or sunken section rather than a flat slab, mudjacking (pumping a slurry under the slab to lift it) is worth looking into. It costs more than a DIY patch but is far cheaper than replacement, and it addresses the underlying void rather than just masking it.
Choosing Between Resurfacing, Overlays, and Coatings
This is where most people get confused because these three terms get used interchangeably, but they're genuinely different products with different use cases. To get it looking right, the same resurfacing and prep steps apply when you’re learning how to resurface a concrete patio how to resurface concrete patio. Here's how to think about them.
| Option | What It Is | Best For | Thickness | Skill Level |
|---|---|---|---|---|
| Concrete resurfacer | Polymer-modified cement product applied thinly over existing slab | Sound slabs with surface wear, light cracking, cosmetic issues | 1/16" to 1/4" | Beginner to intermediate |
| Micro-topping / overlay | Thicker cement-based product, can be stamped or textured | Slabs needing texture, pattern, color, or slope correction | 1/4" to 1" | Intermediate |
| Epoxy coating | Two-part resin coating bonded to surface | Garages and patios wanting hard, glossy, chemical-resistant finish | ~10–20 mils | Intermediate |
| Acrylic sealer/coating | Single-component topical sealer | Protecting stained or resurfaced concrete, light refresh | ~2–5 mils | Beginner |
A basic concrete resurfacer (products like Quikrete Concrete Resurfacer or similar) is the simplest and most budget-friendly approach for a slab that's structurally fine but looks rough. You mix it to a pancake-batter consistency, pour it onto a dampened (not wet) surface, and spread it with a squeegee or broom. You get a fresh, uniform surface in one day. If you want to learn more about the full resurfacing process, that's a deep topic on its own.
Overlays give you more flexibility. A thicker decorative overlay can be stamped, broomed for texture, or left smooth. They're also the right tool when you need to build up a low spot or change the slope slightly. These take more prep, require a bonding primer, and are less forgiving of application errors, but the results can genuinely look like new concrete.
Epoxy coatings are great for a hard-wearing, easy-to-clean surface but they require very dry concrete. Moisture in the slab is the enemy of epoxy. Before applying, test moisture levels. A slab should be at 5% moisture content or below (tested via the internal humidity method per ASTM F2170) or under 5 lbs per 1,000 square feet per 24 hours via calcium chloride testing (ASTM F1869). Get this wrong and the epoxy blisters and peels.
My recommendation for most homeowners updating a tired-looking outdoor patio: start with a concrete resurfacer if the slab is structurally sound, or a micro-topping overlay if you want to add color, texture, or minor leveling. If you're wondering how to skim coat a concrete patio, the key is proper surface prep, a compatible mix, and careful thickness control so it cures and bonds well skim coat concrete patio. Save epoxy for areas where you need extreme durability or chemical resistance.
Staining, Sealing, and Finishing for a Look That Lasts
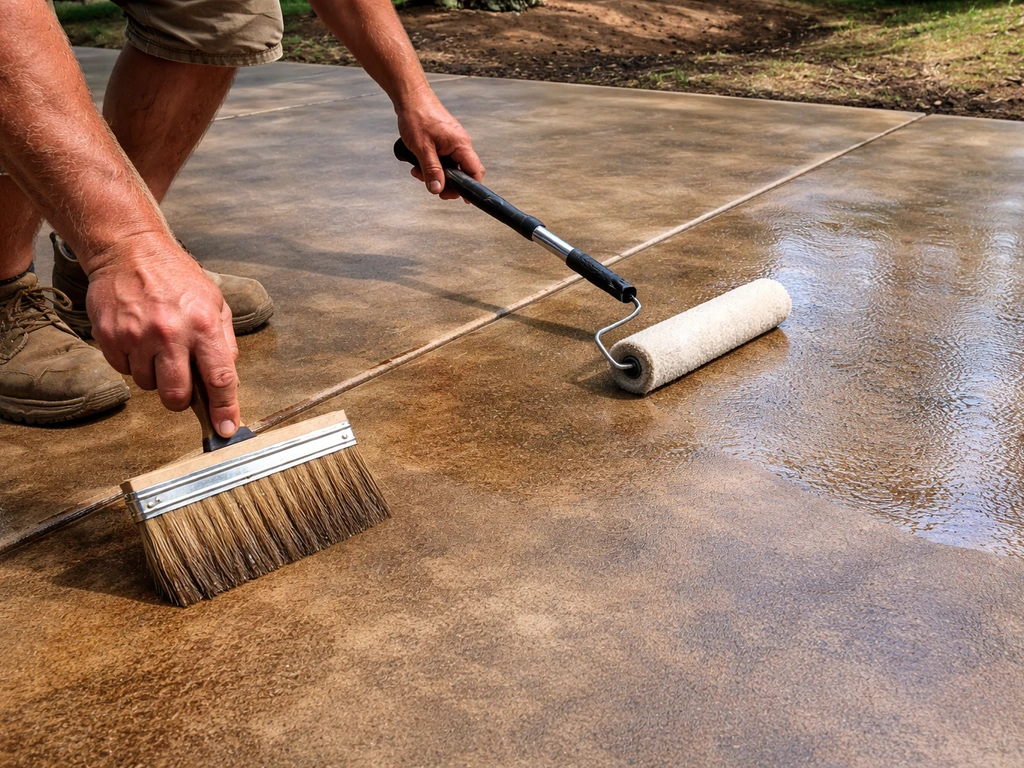
Once your repairs are cured and your resurfacing layer (if you used one) has set up, it's time for the finishing work. This is the part that actually transforms how the patio looks and protects all the work you've done.
Staining Options
You have two main choices here: acid stain and water-based concrete stain. Acid stain reacts chemically with the concrete to create rich, variegated, semi-translucent color that looks genuinely natural. The tradeoff is the process is more involved. After you apply the acid stain and let it react (usually 2 to 4 hours depending on the product), you have to neutralize it with an alkaline solution (diluted baking soda or a dedicated neutralizer works well), scrub thoroughly, rinse clean, and then let the surface dry completely before sealing. Skipping or rushing the neutralization step leaves residue that prevents the sealer from bonding.
Water-based penetrating stains are simpler and safer to apply. They soak into the surface and provide consistent, controlled color without the chemical reaction step. They don't have the same depth or variation as acid stain, but they're much easier for first-timers and come in a much wider color range.
Sealing the Surface
Sealer is non-negotiable. It's what protects your stain, your resurfacer, and the concrete itself from moisture, UV, oil stains, and freeze-thaw damage. For exterior patios, an acrylic concrete sealer is the most common and practical choice. Apply two coats: let the first coat dry to the point where you can walk on it without marking it (typically around 12 hours depending on temperature and humidity), then apply the second coat. Two thin coats always outperform one thick coat, which can trap bubbles and cloud up.
If your patio gets wet from rain, add an anti-slip additive (a fine traction grit) to your final coat of sealer only. Adding it to earlier coats can affect bonding. This is especially important on smooth overlays or stamped surfaces that get slippery when wet.
One thing to watch for: applying sealer to concrete that's still holding moisture will cause the sealer to turn white and milky. If you see that happening, stop and let the slab dry longer. This is one of the most common failures in DIY concrete finishing and it's entirely preventable.
Maintenance Going Forward
A sealed and finished patio isn't maintenance-free, but it's close. A key part of keeping a renewed concrete patio looking good is knowing when to reapply sealer and stain. Penetrating sealers typically need reapplication every 5 to 10 years depending on traffic and weather exposure. Topical acrylic sealers may need a fresh coat sooner if the surface starts looking dull or water stops beading on it. Sweep and rinse the surface periodically to keep grit from acting like sandpaper on the sealer. Clean spills promptly, especially anything acidic like citrus or vinegar, which can etch through sealer if left to sit.
What to Buy and What to Expect Timeline-Wise
Here's a realistic shopping list and timeline for a standard patio update project covering around 200 to 300 square feet:
- Pressure washer (rent if you don't own one): 3,000 to 3,500 PSI minimum
- Concrete degreaser for oil stains
- Epoxy crack injection kit for structural cracks, polyurethane caulk for moving cracks
- Polymer-modified concrete repair mortar for spalled areas
- Bonding primer if your resurfacer or overlay requires it
- Concrete resurfacer or decorative overlay
- Concrete stain (acid-based or water-based depending on your color goal)
- Acrylic concrete sealer (exterior rated, UV-stable)
- Anti-slip additive if the surface will be wet regularly
- Squeegee, gauge rake, mixing drill, and buckets
- Safety gear: goggles, gloves, rubber boots (mandatory for acid stain work)
For timing: pressure wash and let dry (Day 1, then 24 to 48 hours drying). Inject cracks and let cure (24 hours). Patch spalled areas and let cure (24 to 48 hours). Apply resurfacer or overlay (Day 3 or 4, then cure per product instructions, usually 24 hours before light foot traffic). Apply stain, neutralize if acid staining, and let dry (Day 5). Apply first sealer coat, wait 12 hours, apply second coat (Day 6 to 7). TUF-TOP’s data sheet lists a recoat and light foot-traffic window of 12 hours, which can help you schedule curing and recoating steps wait 12 hours. Total elapsed time from start to done is roughly one week including curing windows, with about two to three days of actual hands-on work.
The most important thing you can do is respect the cure times. Rushing ahead before products have properly cured is how you end up redoing the whole thing six months later. Get the assessment right, prep the surface thoroughly, repair everything before you coat anything, and the results will hold up for years. If you find yourself needing to redo a concrete patio, go back to the root cause first, then rework the prep, repairs, resurfacing, and curing steps carefully redoing the whole thing.
FAQ
How can I tell if my patio is already sealed and will bond with resurfacer or stain?
Do a quick water test. Sprinkle water on the slab and watch what happens after 5 to 10 minutes. If water beads, the concrete is likely sealed or contaminated, and resurfacer or stain may not bond well. In that case you need to remove the existing coating (mechanical grinding is often the most reliable outdoors) and then re-profile the surface before applying any new product.
Can I just seal over cracks or peeling areas instead of repairing them?
Yes, but only after addressing the source. If the surface is peeling, hollow-sounding (delamination), or rocking when stepped on, waterproofing a top layer will not stop the underlying movement. In those cases you must repair or replace failed sections first, then resurface and seal. A good rule is, if the tap test shows dull, drumlike spots, assume bonding will fail.
What’s the safest way to prep if my patio has old paint, sealant, or heavy discoloration?
Remove anything that can act like a barrier: paint, old adhesive residue, sealers, curing compounds, and heavy dust. Pressure washing alone rarely removes sealers. For a reliable bond, mechanically roughen (grinding or diamond cup) until you get a consistent texture and uniform color, then clean again. If you skip the profile step on a smooth slab, overlays often release at the interface.
How long should I wait before walking on, using, or covering the patio after each step?
Plan for full cure before changing the weather risk. For resurfacer, overlays, and repair mortars, follow the product’s stated cure time before heavy use, but also avoid rain and freeze nights during curing. A practical approach is to finish patching by mid-week, then do resurfacing and staining only when you have at least 48 hours of dry weather afterward, plus extra time in cool or humid conditions.
What should I do if my concrete is too damp for epoxy but I still want a long-lasting finish?
For acid stain, do not apply to contaminated or chemically active coatings. If you see powdery residue or existing sealers, stain results will be blotchy and sealer may not adhere later. For epoxy, dry is critical, but also protect it from ongoing moisture vapor drive. If you cannot get reliable dryness readings, choose a penetrating water-based stain and acrylic sealer approach instead of epoxy.
Why does my sealer turn white or milky, and how do I fix it?
If you’re getting white, cloudy sealer, stop and check moisture first. Make sure the slab has fully dried, then confirm temperature and humidity are within the sealer manufacturer’s range (cold, high humidity, or dew can cause whitening even if it feels dry). Once sealer is cured, additional coats usually won’t fix it, you may need to remove the affected layer and start over on the moisture-corrected surface.
How do I decide between epoxy injection, rigid filler, and flexible sealant for my cracks?
Yes, but treat them differently. For non-moving cracks under about 1/4 inch, epoxy injection is often the most durable because it bonds inside the slab. For wider or seasonally moving cracks, a caulk or flexible sealant in the prepared groove is usually a better fit because rigid products can debond and re-crack. If the crack edges are offset or the area rocks, assume movement and lean flexible.
My patio ponds water. When is it better to use self-leveling underlayment versus mudjacking?
Don’t chase a slope with patching unless you know where water is coming from. Start by marking the current low points and the direction of flow after a rain (or use a hose test). If water ponds because the slab has settled, consider mudjacking for lift, then resurface. If it’s mainly a surface flat spot on otherwise sound concrete, self-leveling underlayment or feathered overlay can correct it.
Can I skip grinding and rely on primer to bond a resurfacer to a smooth slab?
If the patio is smooth and you want good adhesion, you generally should not skip mechanical profiling. Even “bonding” primers and resurfacer systems still need a proper Concrete Surface Profile to grip. When you grind, stop when you reach uniform texture without polishing the surface. If you don’t have a grinder, hiring one for a pass can be cheaper than redoing peeling work later.
Do acid stain and water-based stain require different sealer types?
Match the product system, not just the color. Acid stain usually goes with a penetrating sealer compatible with stain chemistry, and it requires neutralization before sealing. Water-based stains also need a sealer, but the sealer choice can affect sheen and how evenly the color locks in. If you mix brands or systems, confirm compatibility on the product instructions to avoid uneven color or adhesion issues.
How do I avoid a patio that feels gritty or too slippery after sealing?
Do a traction test on a small hidden area first, then decide on anti-slip additive level. Too much grit can feel rough and may scratch items. The usual strategy is to add the traction grit only to the final sealer coat, especially on smooth overlays or stamped textures that can become slick when wet.
Why did my resurfacer or overlay develop pinholes or bubbles, and can I fix it without starting over?
If you see small pinholes, bubbles, or fisheyes, it’s often from contamination (oils, curing compounds), trapped air, or applying too thick or too fast. Fix is usually prevention: degrease first if needed, keep the surface dampened appropriately for resurfacer (not wet), and apply in thin, controlled passes. Once cured, cosmetic defects can sometimes be lightly re-profiled and re-sealed, but deep defects may require rework.
What are the best signs it’s time to reapply stain or sealer on a concrete patio?
Plan for maintenance based on sheen changes, not just visible wear. If water stops beading or the surface starts looking dull, it’s a sign the sealer has worn thin. Clean with a mild, non-acid cleaner and reapply the correct sealer type before staining starts to fade or the concrete darkens from moisture intrusion.