
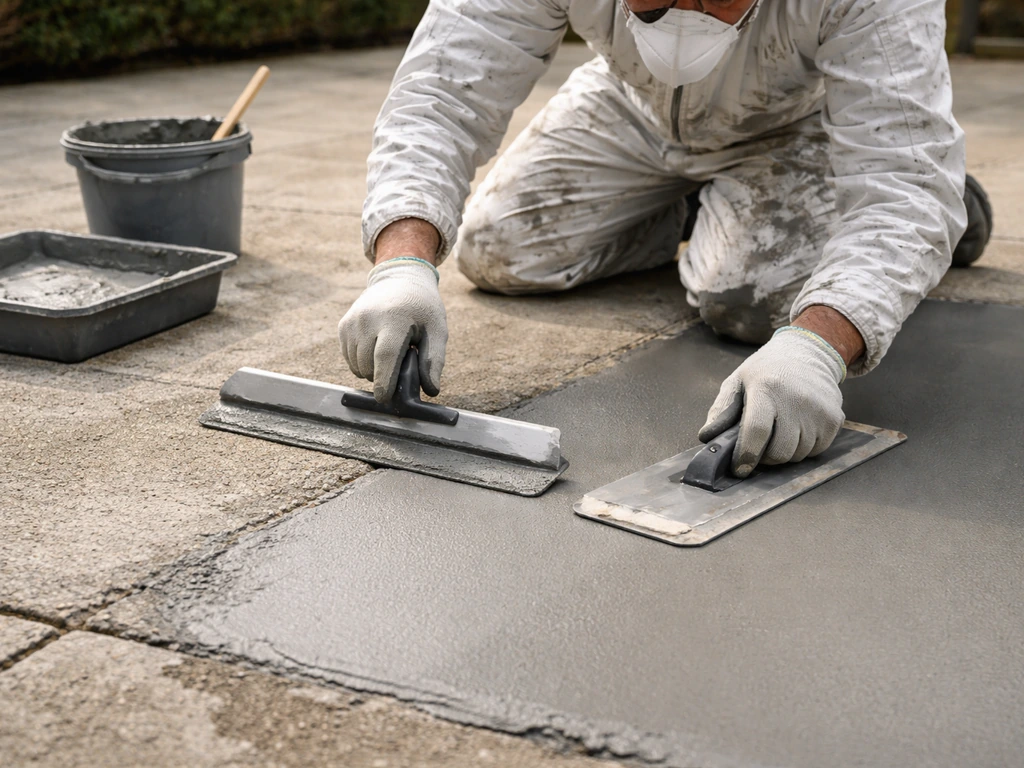
Yes, you can resurface a concrete patio yourself, and it's one of the best-value weekend projects a homeowner can take on. Instead of jackhammering out the old slab, you apply a thin layer of polymer-modified cementitious resurfacer right over the existing concrete, anywhere from a feather edge up to about 1/2 inch thick. The result looks like new concrete, bonds tightly to the old slab, and can last many years with proper prep and sealing. The catch is that resurfacing is a prep-heavy job. Skip steps or rush surface preparation and the overlay will delaminate or crack. Do it right and you'll have a patio that's hard to distinguish from a fresh pour.
How to Resurface a Concrete Patio Step by Step Guide

Silas Morrison
16 May 2026
Resurfacing vs. replacing: how to decide
Resurfacing works when the underlying slab is structurally sound. That means it's not heaving, sinking, or actively moving. Surface-level problems like spalling, shallow cracks, general roughness, staining, fading, and a worn-out appearance are exactly what resurfacer is designed to fix. If your patio looks bad but feels solid underfoot, resurfacing is almost certainly the right call and costs a fraction of replacement. If you're trying to figure out how to renew concrete patio, this resurfacing vs. replacing guide can help you make the right call before you start how to decide whether to resurface or replace.
Replacement is the better answer when the slab has serious structural problems. Watch for large sections that have sunken or lifted, cracks wider than about 1/4 inch that keep reopening, severe frost heave, or a slab that's crumbling all the way through rather than just at the surface. An overlay is not structural in any way. If the substrate wants to move, the resurfacer will crack and lift right along with it.
No amount of prep fixes a fundamentally unstable slab. In those cases, full removal and repour is the honest answer, and it's worth looking at what a complete redo actually involves before committing either way. If your slab needs a complete redo like removing and replacing the concrete patio, plan on following a full replacement workflow rather than an overlay strategy.
Reading your patio: what to look for before you buy anything
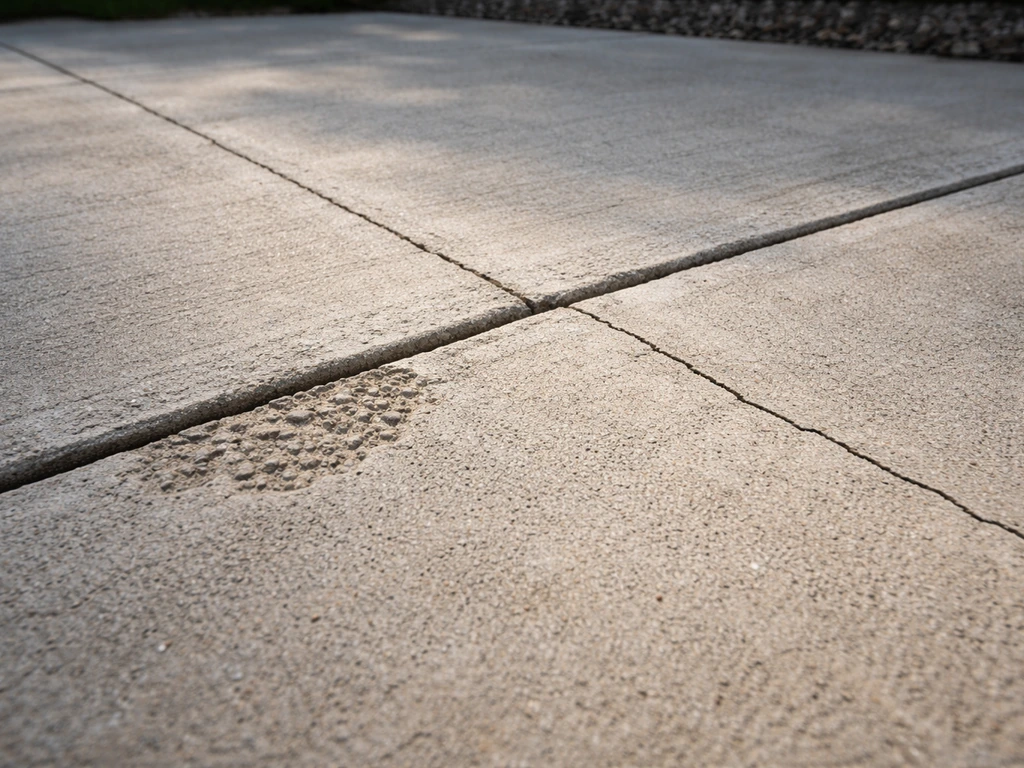
Walk the entire patio and look at it critically. You're checking four things: the type and size of cracks, surface spalling and scaling, height differences between sections, and whether there's any paint or sealer on the surface.
Cracks
Hairline cracks up to about 1/8 inch wide are normal shrinkage cracks and can be filled before resurfacing. Cracks up to 1/4 inch deep can be repaired with a concrete patching product before you apply the overlay. Anything wider than 1/4 inch, or cracks that show vertical displacement (one side higher than the other), signals movement in the slab. Those need careful attention and may disqualify the slab from resurfacing altogether.
Spalling and surface damage
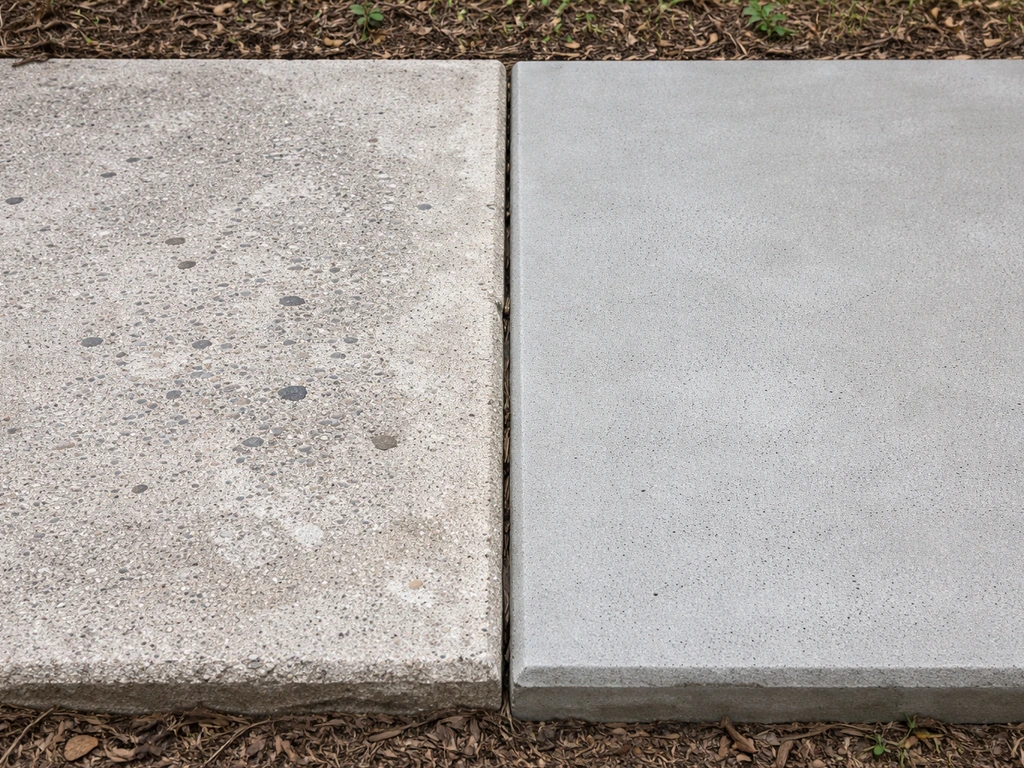
Spalling means the top layer of concrete is flaking or popping off. Light to moderate spalling is fine for resurfacing. The resurfacer material fills those voids and levels the surface. Heavy spalling where large chunks are missing more than about 3/4 inch deep may need a thicker repair approach or multiple passes, since most standard resurfacers max out around 1/2 inch in a single application.
Height differences
Resurfacer is not a leveling compound in the traditional sense. It handles minor undulation well, but large height differences between slab sections (from settling or frost heave) need to be addressed differently. If one panel has dropped significantly relative to another, you're either grinding the high side or filling the low side with a heavier repair product before the overlay goes on.
Paint and sealers
A painted concrete patio requires extra prep work. Resurfacer needs to bond directly to the concrete substrate, and paint or sealer sitting between them will kill adhesion. You need to know what's on the surface before you do anything else. Splash a little water on the slab. If it beads up, there's a sealer present. If the surface has visible paint, that has to come off or be thoroughly profiled. This is one of the most commonly skipped steps and one of the most common reasons overlays fail.
Surface prep: the step that actually determines whether this works
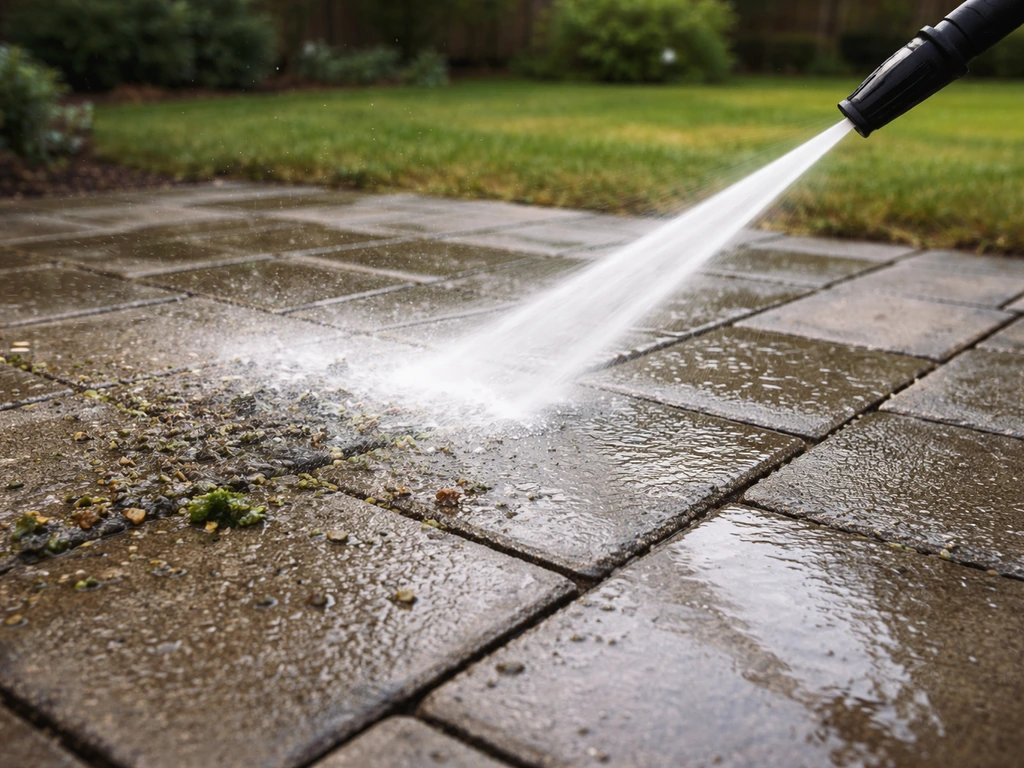
I'll be blunt about this: surface prep is 80 percent of a successful resurfacing job. The overlay material is the easy part. Everything below this heading is what separates a patio that looks great five years from now from one that starts peeling by next spring.
Start with a thorough cleaning
Pressure wash the entire surface. You're removing dirt, algae, moss, loose particles, and anything sitting on top of the concrete. Use at least 3,000 PSI and work systematically. For oil stains, use a concrete degreaser and scrub it in before rinsing. Oil contamination will prevent bonding just as badly as paint, and it's easy to miss faint oil spots until the overlay starts peeling around them later.
Removing paint, sealers, and curing compounds
This is the non-negotiable step for any painted or sealed patio. Product data sheets from Sakrete, TCC, and ARDEX all say the same thing: the surface must be free of paints, sealers, curing compounds, waxes, and grease before any overlay goes down. You have a few options for removal. Grinding with a diamond cup wheel is the most thorough method and creates the surface profile you need at the same time.
Chemical strippers work for paint but need a full rinse and dry cycle afterward. Shot blasting is another option if you rent the equipment or hire it done. For a partially painted patio where some areas are bare concrete, spot-grind or spot-etch the exposed areas so the whole surface has uniform porosity.
Surface profiling
After cleaning and stripping, the surface needs physical texture for mechanical bond. Industry guidance calls for a minimum CSP 2 (Concrete Surface Profile 2), which is roughly the texture of medium-grit sandpaper. Acid etching with muriatic acid solution (1 part acid to 10 parts water) achieves this on bare, unpainted concrete. Rinse thoroughly and neutralize with a baking soda solution. Grinding is more reliable and works on any surface condition. After profiling, the concrete should feel slightly rough to the touch and absorb a few drops of water quickly rather than letting them sit on the surface.
Repairs and leveling before the overlay goes down
Do not skip this phase and expect the resurfacer to hide everything. The overlay follows the substrate. If there are deep holes, cracks, or edges that are crumbling, those need dedicated repair products before you think about applying anything over the top.
Patching chips and spalls
Sakrete recommends using Top 'N Bond for any damage deeper than 1/4 inch before resurfacing. Quikrete has similar patching mortars. Mix the patching material to a stiff consistency, press it firmly into the void, and trowel it flush with the surrounding surface. Let it cure completely before the resurfacer goes on. Rushing this step is a mistake. The patch needs to be solid, not green.
Crack treatment
For narrow cracks (under 1/8 inch), a liquid crack filler or the resurfacer material itself troweled in thinly can work. Wider cracks should be routed or chased out to create a clean V or U-shaped channel, then filled with a flexible polyurethane or epoxy crack filler. Let the filler cure fully. A thin resurfacer coat won't bridge an active crack. If a crack is moving seasonally, fill it with a flexible product and accept that a hairline may eventually telegraph through the overlay.
Expansion joints and edges
Keep all existing expansion joints intact. Every manufacturer, including Quikrete, specifies this: expansion joints must be maintained through the overlay. Use a circular saw or grinder to cut the joint back through the new overlay after it sets if needed. At the patio edges, clean up any crumbling or spalled concrete and make sure there's a solid, stable edge for the resurfacer to terminate against. A crumbling edge will chip out and take the overlay with it.
Choosing the right resurfacing product and calculating what you need
The main category you want is a polymer-modified cementitious concrete resurfacer. These are the bagged, powder products you mix with water and apply with a squeegee or trowel. They bond directly to concrete and are designed for exactly this application. Products like Quikrete Concrete Resurfacer, Sakrete Flo-Coat, and SikaQuick Concrete Resurfacer are all solid options widely available at home improvement stores.
| Product | Thickness Range | Coverage (approx.) | Finish Options |
|---|---|---|---|
| Quikrete Concrete Resurfacer (#1131-40) | Feather edge to 1/2" | 90 sq ft/bag thin; 17 sq ft/bag at 1/4" | Broom, trowel, exposed aggregate |
| Sakrete Flo-Coat Concrete Resurfacer | Feather edge to 1/2" | Similar to Quikrete; varies by thickness | Broom, trowel, stamp |
| SikaQuick Concrete Resurfacer | Feather edge to 1/2" (13mm) | Varies by thickness | Broom, trowel |
For material estimation, a useful formula is: coverage in square feet equals 5.375 divided by the application thickness in inches. At 1/4 inch thickness, that gives you about 21.5 square feet per bag for a standard 40 lb bag product. Quikrete's own data shows roughly 17 square feet at 1/4 inch per 40 lb bag, so plan around that number for ordering. Buy a little extra. Running short mid-application is a worse problem than having a half bag left over.
For a painted concrete patio that you've ground down to bare concrete, any of these standard resurfacers will work. If you've only partially removed the paint and plan to apply a coating system over primer rather than a cementitious overlay, that's a different path closer to refinishing. For a true resurfacing job with a cementitious overlay, get down to bare concrete first.
Applying the resurfacer, curing, and sealing
Conditions and timing
Don't apply resurfacer in direct hot sun on a scorching day, in temperatures below 50°F, or when rain is expected within 24 hours. Hot, windy conditions cause the surface to dry too fast before it can bond and cure properly. Aim for mild temperatures between 60°F and 80°F with low humidity if possible. Early morning application works well in summer.
Step-by-step application
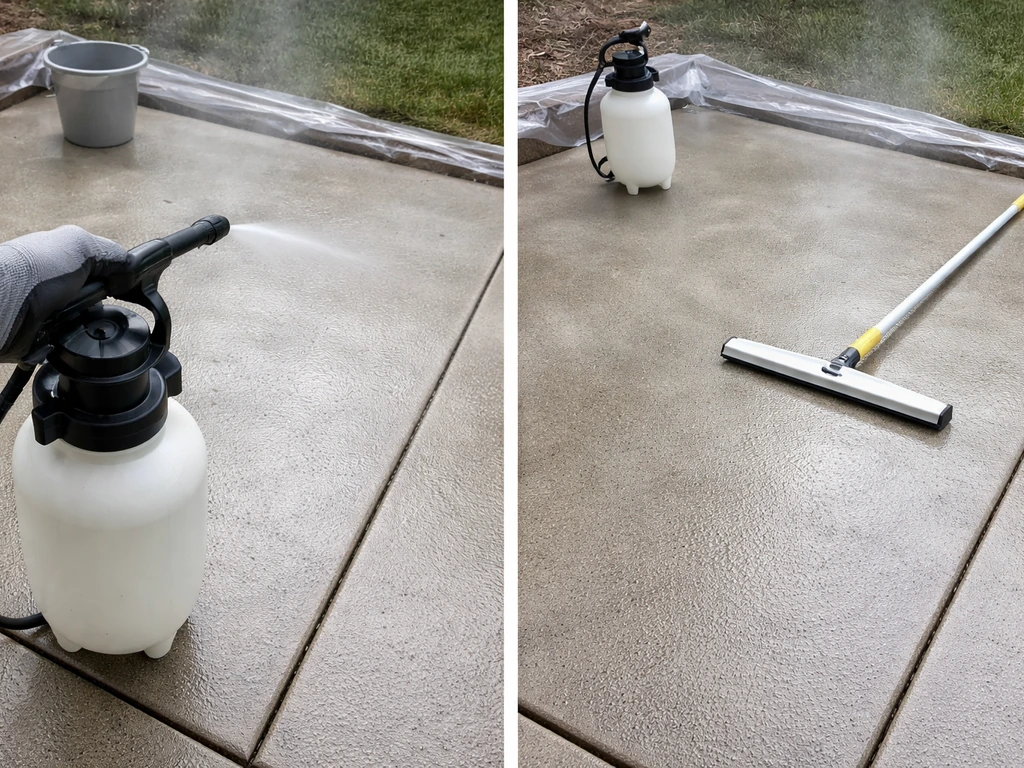
- Dampen the concrete surface thoroughly with water about 15 to 30 minutes before you apply. The slab should be damp but with no standing water. This prevents the dry concrete from pulling moisture out of the resurfacer too fast.
- Mix the resurfacer according to the product instructions. For Quikrete and SikaQuick, add the powder to the measured water while mixing, not the other way around. Mix to a smooth, lump-free consistency. Most products need about 3 to 4 quarts of water per 40 lb bag. The mix should flow but hold its shape.
- Pour the mixed resurfacer onto the slab and spread it with a long-handled squeegee or gauge rake. Work in sections of about 150 to 200 square feet so the material doesn't start setting before you finish spreading. Work from the back of the patio toward an exit point.
- For feather-edge areas and transitions, use a trowel to work the material thin. These products are specifically formulated to go right down to a feather edge, so don't worry about areas where the slab is nearly level and you only need a thin skim.
- Apply a broom finish while the resurfacer is still plastic (wet but starting to firm up). Drag a soft-bristle broom in one direction across the surface for slip resistance and a uniform appearance. This is the most common finish for patios and takes about 30 to 60 seconds per pull depending on temperature and humidity.
- Keep foot traffic off the surface for at least 24 hours. Full cure for heavy use takes about 72 hours minimum.
Curing
Curing is where a lot of DIYers drop the ball. Resurfacer needs moisture to cure properly just like regular concrete. SikaQuick notes that, [as per ACI recommendations for Portland cement concrete, curing is required](https://usa. sika.
com/en/construction/repair-protection/mortars/horizontal/sikaquick-concreteresurfacer. html). Without a curing compound, you need to keep the surface continuously moist for at least 3 days. That means misting with water every few hours, especially in warm weather.
Sakrete recommends applying their Cure 'N Seal product immediately after the broom finish as an alternative, which eliminates the need for repeated wetting. Quikrete makes a similar Cure and Seal product. If you're doing this in warm, dry, or windy weather, using a cure-and-seal product is the smarter approach. Without it, it's easy to forget a misting session and end up with surface crazing.
Sealing for long-term protection
After the resurfacer has fully cured (at least 7 days before applying a penetrating sealer, or follow the cure-and-seal label if you used one at the finish step), apply a concrete sealer appropriate for exterior use. A penetrating silane-siloxane sealer is a great choice for plain gray finishes. It doesn't change the look but repels water and reduces freeze-thaw damage significantly. For a slightly enhanced look or added protection, an acrylic wet-look sealer gives a clean finish with mild sheen. Reapply sealer every 2 to 3 years depending on traffic and weather exposure.
Troubleshooting common problems
- Delamination or peeling: Almost always caused by inadequate surface prep. Paint, sealer, or a slick surface prevented bonding. The lifted section has to come off and the area must be reground and recoated.
- Surface crazing (fine crack network): Usually from drying too fast. The resurfacer lost moisture before it could cure. Keep the surface damp longer next time or use a cure-and-seal product immediately after finishing.
- Cracks following old cracks: The substrate crack is still active or wasn't properly filled. Use a flexible crack filler in the original crack and accept that the overlay may show a hairline in the same location over time.
- Bubbles or pinholes: Often from applying on a slab that was too dry or too hot. The slab pulls air and moisture out of the resurfacer as it sets. Pre-dampen thoroughly and avoid application in high heat.
- Uneven color: Typically from inconsistent mixing, uneven application thickness, or patchy curing. A tinted sealer or concrete stain applied after curing can even out minor color variation.
Finishing options and what your patio can look like
Plain broom-finished gray is the most common result and looks clean and fresh. But resurfacing opens the door to more if you want it. Concrete stains (both acid-based and water-based) can be applied after the resurfacer cures to add color. Stamping is an option with some products if you work fast enough to press the pattern before the material sets, though this takes practice. For a colored overlay approach, some systems include integral pigments you mix in before application. These tend to cost more but deliver a consistent, permanent color rather than a topical stain.
If your goal is more of an updated decorative look rather than a structural repair overlay, the path crosses into refinishing and updating territory. A thin decorative microtopping or a concrete coating system applied over a properly prepped slab can achieve results that look dramatically different from plain concrete. To get a more refined, decorative update, see our guide on refinishing a concrete patio, including coating and staining options beyond cementitious resurfacing concrete coating system applied over a properly prepped slab. The prep requirements are essentially the same regardless of which direction you go.
What to expect from the finished result
A properly resurfaced patio looks significantly better than an old, worn slab. If you're wondering how to update a concrete patio with resurfacing, focus first on surface prep, then choose a polymer-modified resurfacer and seal it for long-term protection update concrete patio. The surface reads as new concrete: even color, consistent texture, no spalling or discoloration. It won't be perfect if the original slab had a lot of variation.
Minor undulation may still show slightly under raking light. But for a patio used for outdoor living, dining, or entertaining, the result is genuinely impressive for the cost and effort involved. Expect to spend a weekend on prep and application, plus a week of curing time before you put furniture back.
Materials for a typical 200 to 300 square foot patio will run roughly $150 to $300 depending on product and application thickness, making this one of the most cost-effective upgrades you can make to an aging outdoor space.
FAQ
Can I resurface a concrete patio directly over paint, stain, or sealer?
Yes, but only if the existing surface is sound and bondable. If you can peel off flaky material, see active scaling, or the concrete is soft or sandy, you need repair or profiling before resurfacing. Also, resurfacing over existing coatings is risky unless you remove them, because most paint, sealer, and curing-compound films block the adhesive bond even when they look intact.
How long should I wait before walking on or sealing the resurfaced patio?
If you rush cure and trap dry-out, the overlay can craze (fine surface cracking) and lose strength at the surface. Plan for at least a full week before heavy exposure, and do not rely on “it feels dry” as a readiness test. If you used cure-and-seal, follow the label recoat window for sealer, because it can differ from standard mist-and-wet curing.
How do I know the patio is properly cleaned and ready for resurfacer?
Test a small area for acceptance before committing to the whole patio. After profiling, sprinkle a few drops of water: they should absorb instead of beading. If they bead, the surface still has contamination or insufficient profile, which often leads to delamination. The same test helps you catch missed oil spots or residual waxes before you cover the entire slab.
What if parts of my patio are uneven, can resurfacer fix large dips or bumps?
You can, but only if the slab is stable and you meet the product thickness limits. Resurfacer is meant to skim and level minor undulation, not correct major height differences. For a significant drop or heaved edge, address it with grinding on the high side and patching on the low side first, otherwise the overlay will telegraph the slab geometry and can crack at the transitions.
Will resurfacing hide cracks completely, or will they come back?
You should not expect one thin coat to bridge an active moving crack. If a crack shows vertical shift (one side higher) or keeps widening and reopening, it may indicate movement rather than shrinkage. In that case, use a flexible crack repair approach and consider whether overlay is even appropriate, because resurfacer tends to follow the substrate’s motion.
Do I need to keep expansion joints, and what should I do around them?
Most manufacturer systems work best when you keep joints intact and do not fill expansion joints with cementitious overlay. After the overlay sets, you may need to recut the joint so it remains functional and doesn’t telegraph cracking. Also, make sure the overlay stops at stable edges, because a crumbling edge can chip and peel back the surrounding coating.
How do I handle stubborn oil stains so the overlay doesn’t peel?
If oil stains are old, they often require degreasing and then full profiling, because residue can remain even after visible staining fades. Use a degreaser, scrub, rinse thoroughly, and let the slab dry before profiling. A water-spot test plus a careful look for dark halos can help you spot contamination you might otherwise miss.
I removed some paint but not all of it, can I still resurface?
Yes, but your prep must create a uniform substrate. If you only partially remove paint or sealer, spot-filling can leave differing bond strengths across the patio and create edge failures. Grind or etch exposed areas so porosity is consistent, then apply the overlay as one system. If you are not confident you can achieve uniformity, it is safer to fully strip to bare concrete.
Can I apply resurfacer in multiple sessions if I run out of time?
Use the product you can finish within its open time, because stopping mid-batch can create cold joints and visible seams. Many products also require specific tools and techniques for bonding and texture, so follow the application method for the resurfacer you buy. If you need to pause, plan breaks at natural edges and keep the work perimeter tight so the surface stays workable.
What weather problems commonly cause resurfacing failures?
Apply resurfacer only within the temperature and weather windows on your product label. Avoid hot, windy, or direct sun because rapid surface dry can weaken bonding, increase shrinkage cracking, and cause poor curing. If rain is likely, cover protection and plan staging so you can keep the surface dry for the first day and protected through early cure.
Do I need to seal after resurfacing, and what sealer type should I choose?
Yes, but you need to treat it as a “system,” not just a layer of cement. After curing, choose a sealer matched to your finish goal and climate exposure, and plan reapplication intervals based on traffic and freeze-thaw risk. If you used a cure-and-seal product at the finish, confirm compatibility with the sealer you plan to apply.
Will resurfacing make my patio perfectly smooth and uniform?
It can, especially in raking light and where the original slab has panel-to-panel height changes. Resurfacing improves the look, but it is not a perfect mask for every slab defect. If you want a more uniform appearance, invest extra effort in grinding high spots and patching low spots before overlay, then keep your application thickness consistent.