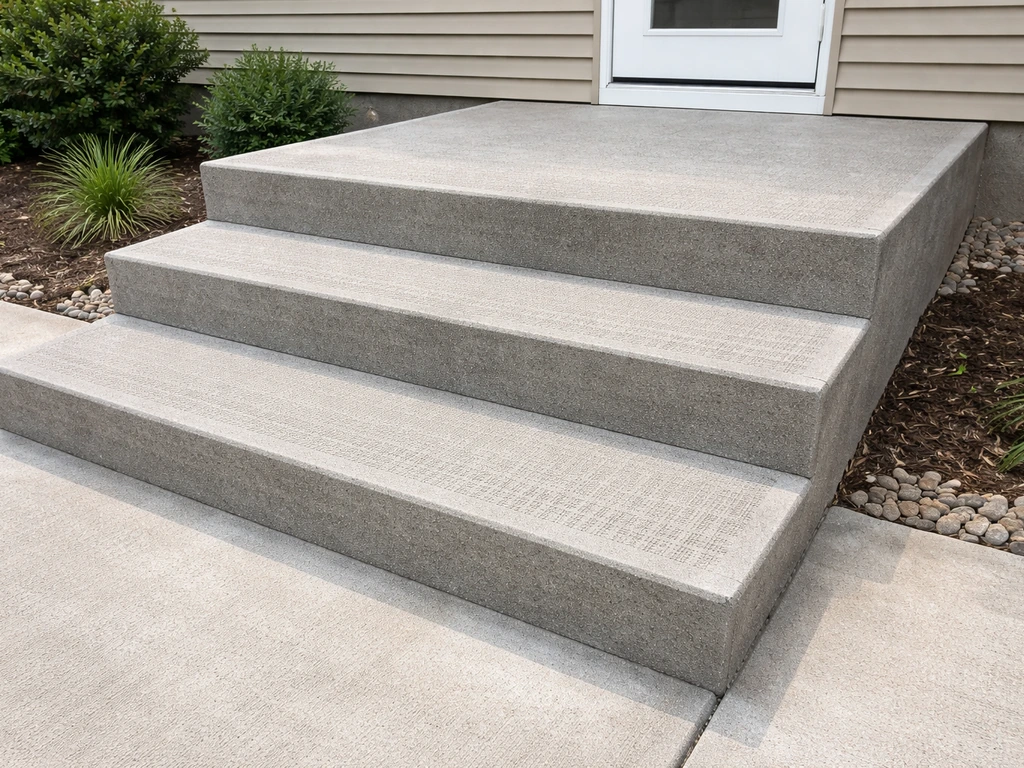
Building concrete patio steps is a weekend-plus project that most DIYers can handle if they plan the geometry carefully, build solid forms, and don't rush the pour or finishing. The basic sequence is: plan your riser/tread layout, excavate and compact a gravel base, build and brace your forms, pour and consolidate the concrete, finish the surface with a broom texture, and cure it properly before anyone walks on it. Get those steps right and you'll have steps that last decades. Skip any of them and you'll be patching cracks or watching edges crumble within a few years.
How to Build Concrete Patio Steps: DIY Step-by-Step

Silas Morrison
20 Jun 2026
Plan the project before you touch a shovel
The single biggest mistake on patio step projects is starting to dig before you've locked in the geometry. Spend an hour with a tape measure and a notepad first, it'll save you from tearing down forms later.
Figure out your total rise and number of steps
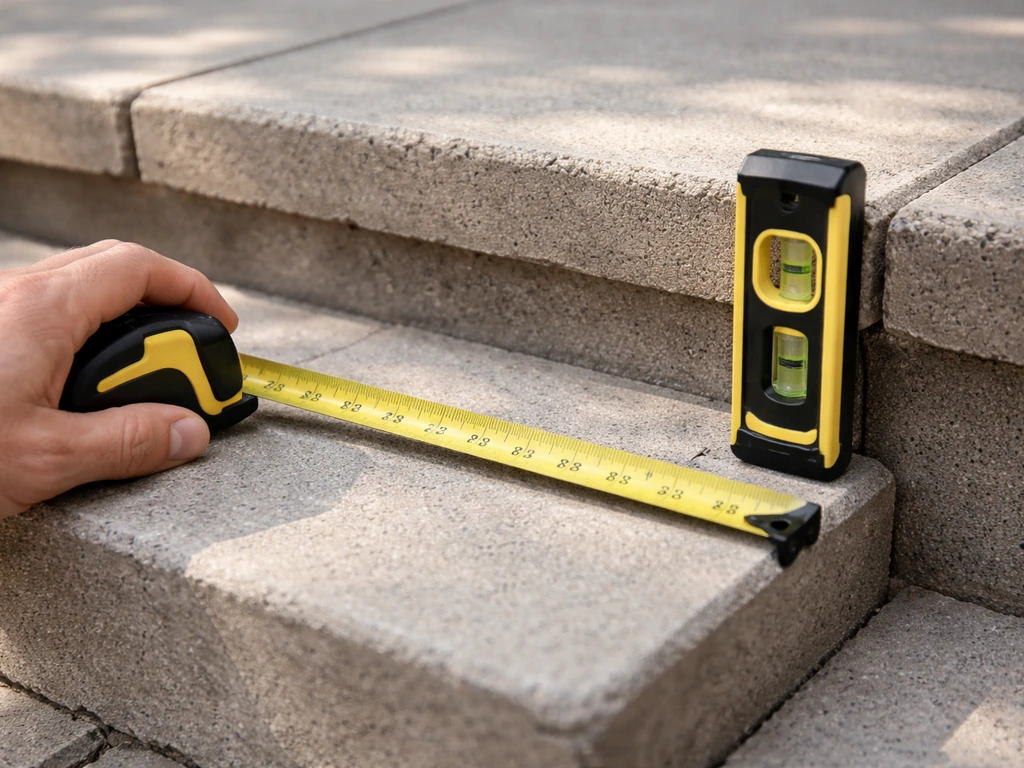
Measure the total rise: the vertical distance from the patio surface (or finished grade at the base) up to the door threshold or top landing. Let's say it's 21 inches. Divide that by a comfortable riser height, the IRC caps residential risers at 7-3/4 inches and sets a minimum of 4 inches. For most exterior steps, 6 to 7 inches feels natural. At 21 inches total rise, three steps at 7 inches each is a clean fit. The IBC also requires that the tallest and shortest riser in a stairway differ by no more than 3/8 inch, so precision matters when you set your forms, you can't eyeball it.
For tread depth (the horizontal surface you step onto), the IRC minimum is 10 inches for residential stairs, but 11 to 12 inches is more comfortable outdoors and gives you a more generous, welcoming look. A common rule of thumb: two risers plus one tread should equal roughly 24 to 25 inches (so a 7-inch riser pairs well with an 11-inch tread). Run that check on your numbers before you commit.
Width, landings, and code considerations
For a residential patio, steps are typically 4 to 6 feet wide, wide enough to feel comfortable and to move furniture through. If your steps connect to a door, you'll need a landing at the top that's at least as wide as the door (and at least 36 inches deep in the direction of travel, though 48 x 48 inches is the universal design target that keeps inspectors happy). The landing surface should slope slightly, no more than 1 vertical inch per 20 horizontal inches (5%), to shed water without creating a tripping hazard. If you're building accessible paths or ramps alongside the steps, the cross-slope limit is 1:48. Check your local building code, because some jurisdictions have specific requirements for handrails (typically required when you have more than two risers).
Your quick planning checklist
- Measure total rise precisely (use a level and tape, not estimation)
- Calculate number of steps: total rise divided by desired riser height
- Confirm riser height is between 4 and 7-3/4 inches (IRC residential)
- Set tread depth at 11 to 12 inches for comfortable exterior steps
- Determine step width (36 inches minimum; 48 to 72 inches is more practical)
- Size your top landing (48 x 48 inches minimum recommended)
- Plan for a slight drainage slope on the landing (about 1/4 inch per foot, away from the structure)
- Check local code for handrail requirements (typically triggered at 3+ risers)
- Calculate concrete volume: length x width x depth of each step, then add 10% overage
Site prep: layout, excavation, and building a solid base
Good concrete steps need a stable, compacted base underneath, not just soil. Even if your patio slab already exists, the steps themselves need to bear on compacted gravel. If your patio includes wood steps leading to a concrete patio, focus on keeping the connection stable so the concrete landing and wood transition do not shift wood steps to concrete patio. Skipping this is how you end up with steps that settle and crack at the base.
Layout and excavation
Stake out the footprint of your steps, including the full horizontal run (number of treads x tread depth) and the width. Mark it with spray paint or string lines. Excavate to a depth of at least 8 inches below your finished slab surface, that gives you room for 4 inches of compacted gravel plus the concrete itself. If you're in a freeze-thaw climate, going 6 inches of gravel is even better; frost heave is what destroys steps over time. Remove all organic material (roots, topsoil) until you're down to firm, undisturbed subgrade.
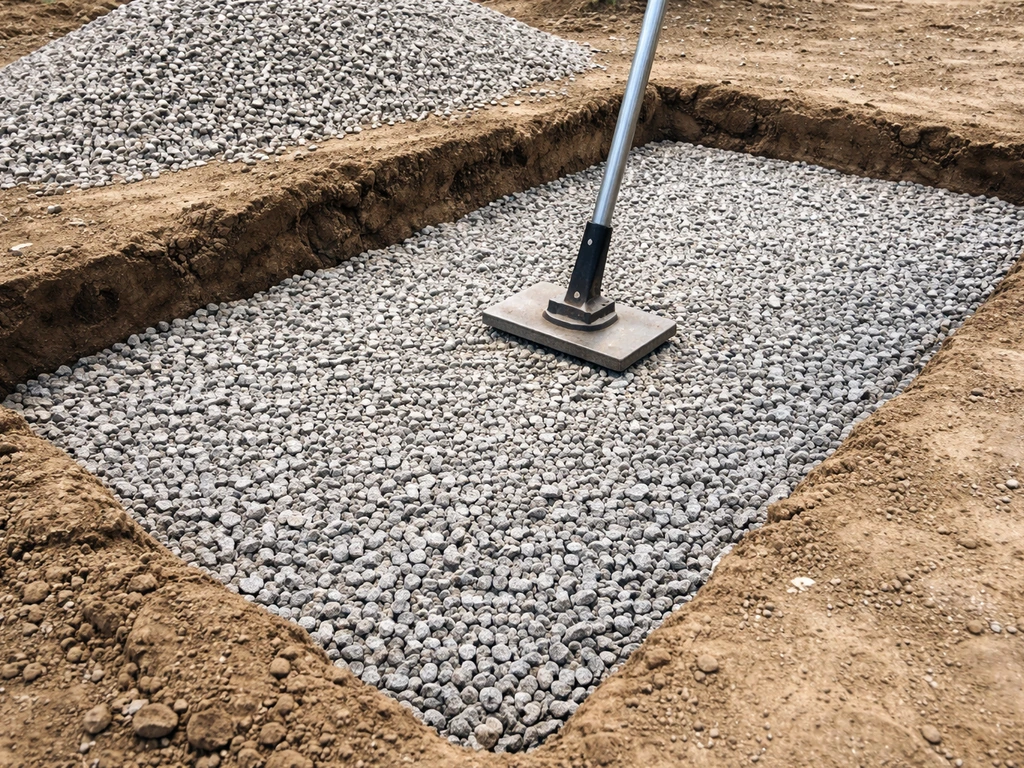
Gravel base and compaction
Fill the excavated area with clean crushed stone or compactable gravel (3/4-inch minus or road base works well). Add it in 2-inch lifts and compact each lift with a plate compactor, don't just dump it all in and compact once. The goal is a dense, stable base that won't shift under load or during freeze-thaw cycles. A 4-inch compacted gravel base is the typical minimum for a residential patio; for steps, where the geometry is more vertical and water can pool at the base, 4 to 6 inches is ideal. If you are building concrete block steps for a patio, plan the rise, tread depth, and a well-compacted base so the steps stay stable over time concrete block steps for patio. Slope the base slightly (about 1 inch per 4 to 6 feet) away from the house to encourage drainage away from the foundation.
Drainage planning
Water is the enemy of concrete steps. Plan your drainage before you pour, not after. Make sure the base slopes away from the structure, ensure there's no low spot where water will collect at the step base, and consider whether you need a gravel channel or French drain along the side of the steps if your yard drains toward the house. If water sits against the bottom riser after every rain, it'll freeze, expand, and eventually crack the step face.
Forms, reinforcement, and getting the step geometry right
Building the forms is where this project gets more involved than a flat slab. Take your time here, a wobbly form gives you a wobbly step, and once the concrete sets, there's no fixing it without a jackhammer.
Building step forms
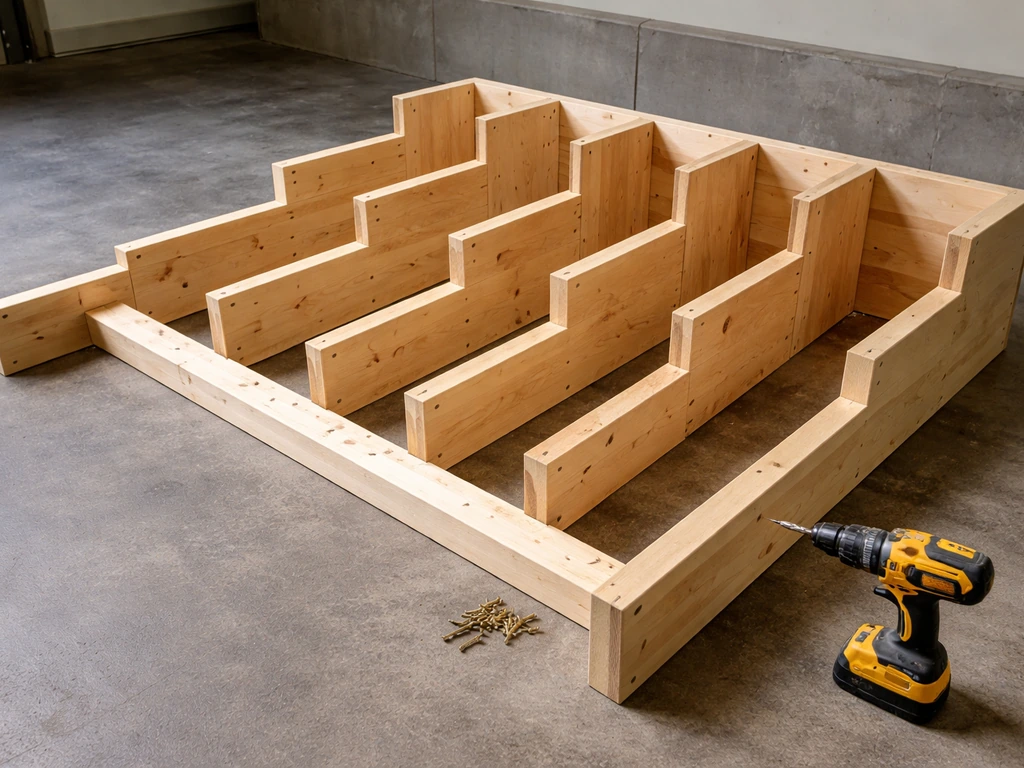
Use 3/4-inch plywood or 2x lumber for the risers. The side forms (called stringers) need to be cut in a stair-step profile matching your exact riser height and tread depth. Cut these carefully with a circular saw, using your calculated dimensions. The key is precision: if one side stringer is cut 1/4 inch off from the other, your treads will slope sideways. Check both stringers against each other before you install them. Brace everything heavily with 2x4 stakes driven into the ground every 18 to 24 inches, and use cross-bracing between the sides. Concrete is heavy, wet concrete weighs about 145 pounds per cubic foot, and undersupported forms will bow or blow out.
Set the riser boards (the vertical face forms) plumb and at the exact height you calculated. Screw them into the side stringers securely. Apply a light coat of form release oil or vegetable oil to all form surfaces so the wood doesn't bond to the concrete and you can strip the forms cleanly. Double-check all your heights with a level and tape measure one more time before you call the pour ready.
Tread slope: the detail most people miss
Each tread needs a very slight pitch toward the front edge, about 1/8 inch per foot, so water runs off rather than pooling on the step surface. You get this by setting the front (lower) edge of each tread form very slightly lower than the back. It's a small adjustment, but it matters enormously in a freeze-thaw climate where pooled water on a step surface will eventually crack it.
Reinforcement
For small steps (two to three steps connecting a patio to a door), fiber-reinforced concrete mix is often sufficient. Products like Quikrete Crack Resistant Concrete Mix (4000 psi with synthetic fibers) or Sakrete PSI 6000 (fiber-reinforced and air-entrained) are good choices for exterior step applications, they add crack resistance without the complexity of placing rebar in tight step forms. If your steps are larger (more than three risers, wide span, or supporting significant loads), add rebar. Use #4 rebar (1/2 inch) on roughly 12-inch centers in both directions for the slab portion, and add horizontal rebar in each step tread, positioned about 1.5 inches from the bottom of the tread. Keep all steel at least 1.5 inches from any form surface to ensure proper concrete cover.
Key dimensions at a glance
| Dimension | Code Minimum | Recommended for Exterior |
|---|---|---|
| Riser height | 4 inches (min) / 7-3/4 inches (max) | 6 to 7 inches |
| Tread depth | 10 inches (min) | 11 to 12 inches |
| Step width | 36 inches (min) | 48 to 72 inches |
| Top landing depth | 36 inches (min) | 48 inches |
| Landing slope | 5% max (1:20) | 1/4 inch per foot (2%) |
| Tread drainage pitch | No code minimum | 1/8 inch per foot toward front |
| Riser height tolerance | 3/8 inch max variation | Keep all risers within 1/4 inch |
Pouring the concrete: staging, consolidation, and avoiding problems
This is the part where being organized pays off. You have a limited working window once concrete is mixed, and steps involve multiple cavities that need to be filled in the right order. These same staging, mixing, and pour-sequence tips apply when you're learning how to pour a concrete patio with steps.
Choosing your mix
For exterior steps in a freeze-thaw climate, use an air-entrained mix with a minimum compressive strength of 4000 psi. If you're ordering ready-mix, spec it as 4000 psi, air-entrained (target 5 to 7% air content, around 6% is the common industry target for freeze-thaw/de-icing exposure). In very cold climates (ACI freeze-thaw exposure class F2 or F3), confirm air content requirements with your local ready-mix supplier. If you're using bagged concrete, choose a fiber-reinforced, air-entrained product like Sakrete PSI 6000 or Quikrete Crack Resistant Mix rather than standard all-purpose concrete, the added durability is worth the small cost difference for exterior steps.
Pour sequence for steps
Always pour steps from the bottom up. Fill the lowest step cavity first, consolidate it, then move up to the next step. This prevents the concrete from pushing down and distorting your lower forms. Work quickly but methodically, especially with bagged concrete where you're mixing in batches.
- Wet the forms and gravel base lightly (don't leave standing water — just eliminate dust-dry surfaces that would pull water out of the mix)
- Pour and place concrete into the lowest step cavity first
- Consolidate using a pencil vibrator (ideal) or by rodding with a piece of rebar — work it in a grid pattern to eliminate air pockets and honeycombing
- Strike off the tread surface roughly level, then move to the next step up
- Repeat for each step and the landing, working bottom to top
- Once all cavities are filled, go back and check that all riser forms are still plumb and haven't shifted
Avoiding common pour defects
Honeycombing (voids in the finished concrete) happens when you don't consolidate enough, especially in the corners near the riser forms. Vibrate or rod along the riser face specifically, this is where air gets trapped. Don't over-vibrate either: move the vibrator slowly, let it work for 5 to 10 seconds per insertion, and pull it out slowly to let air escape without separating the mix. Segregation (where the aggregate sinks and paste floats) happens when your mix is too wet. Keep the slump moderate (around 4 to 5 inches for hand-placed work) and never add extra water to make the mix easier to place, you'll weaken the concrete and invite cracking.
Hot and cold weather considerations
In hot weather (above 90°F or on a sunny, windy day), concrete can stiffen fast and bleed water quickly, leaving you with a short finishing window. Pour early in the morning and have your tools ready. Keep mixed concrete shaded if possible. In cold weather, concrete needs protection from freezing, don't pour if temps are expected to drop below 32°F within the first 24 hours unless you can cover the steps with insulating blankets and monitor temperature. The concrete needs to reach at least 500 psi before it can safely experience a freeze, which usually takes at least 24 hours at above-freezing temps. When in doubt in cold weather, use warm mix water and keep curing blankets on hand.
Finishing and curing for safe, non-slip steps
How you finish the surface determines how safe the steps are to walk on and how long they hold up. Smooth-troweled concrete is dangerously slippery when wet, never do a smooth finish on exterior steps.
The finishing sequence
After the pour, let the bleed water fully evaporate from the tread surfaces before you touch them. Working the surface while bleed water is still present traps water in the top layer, which weakens it and causes scaling later. Once the bleed water is gone and the concrete is firm enough to hold a thumbprint with moderate pressure, do your finishing. First, use a hand float or a magnesium float to smooth and consolidate the tread surface. Then apply a broom finish: pull a stiff-bristle concrete broom across each tread perpendicular to the direction of travel (front to back, not side to side). This creates small parallel grooves that dramatically increase slip resistance. ACI 302.1R confirms that a broom finish or equivalent texture is the standard for exterior flatwork. ACI 302.1R provides guidance on finishing and curing practices for concrete floor and slab construction, including timing/sequence concepts relevant to exterior slabs.
Pay extra attention to the nosing (the front edge of each tread). You can use an edging tool to round or define the nosing, which protects it from chipping. Some people add a small tooled groove at the nosing to make the step edge more visible, especially useful for older adults or in low-light situations.
Curing: don't skip this
Curing is just keeping the concrete moist and at the right temperature long enough for the cement to fully hydrate. For full strength, concrete cures over about 28 days, but the first 7 days are the most critical. For exterior steps, you have a few good options: cover with burlap or plastic sheeting and re-wet daily for 7 days; apply a liquid curing compound immediately after final finishing (following ASTM C309 guidance, applied right after bleed water leaves or after final finish). The curing compound approach is easier for steps since you don't have to keep re-wetting. Concrete is typically walkable after 24 to 48 hours but keep foot traffic to a minimum for at least 7 days, and wait the full 28-day cure before applying any sealer or heavy loads.
When to strip the forms
Wait at least 24 to 48 hours before stripping the riser forms, and be gentle when you do. If the concrete still feels soft or crumbles at the edges when you remove the forms, it needed more time. Patch any small honeycombed areas at the riser face immediately using a stiff mix of the same concrete or a polymer-modified repair mortar, then keep those areas moist as well.
Sealing, staining, and finishing options
Once your steps have cured for 28 days, you have real options for protecting them and making them look sharp. Skipping a sealer on exterior concrete steps is a missed opportunity, it's cheap insurance against freeze-thaw damage, de-icing salt, and staining.
Penetrating sealers (the best choice for steps)
Silane-siloxane penetrating sealers are the go-to for exterior steps. They soak into the concrete and chemically react with it, reducing water and chloride absorption without forming a surface film. That matters for steps because film-forming sealers can get slippery when wet. Products like SikaCem-102 First Seal (a reactive water-based silane-siloxane) or similar penetrating sealers from major manufacturers protect against freeze-thaw damage and de-icing salt penetration while keeping the surface breathable and non-slip. Apply according to the manufacturer's instructions, typically one to two coats by roller or sprayer.
Acrylic sealers with non-slip additives
If you want a slightly glossier look or better stain protection, an acrylic sealer like Deck-O-Grip (marketed specifically as a slip-resistant exterior deck and patio sealer) is a solid option. You can also take any compatible sealer and add a non-slip aggregate like SureCrete SureGrip HD, either mixed in or broadcast over the wet sealer coat. This gives you more control over the level of grip. Just be aware that film-forming sealers need to be reapplied every 2 to 3 years, while penetrating sealers typically last longer.
Staining for a better look
If your steps are going to connect to a stamped concrete patio or you just want more visual appeal, consider an acid stain or water-based concrete stain before sealing. Both penetrate the surface and create color that won't peel or chip. Acid stains give a mottled, variegated look (great for a natural stone feel); water-based stains give more even, consistent color. Either way, stain first, then seal over it. This approach works particularly well if you're also doing a stamped concrete patio with matching steps, the stain can tie the two together visually.
Sealer comparison
| Sealer Type | Slip Resistance | Durability | Appearance Change | Best For |
|---|---|---|---|---|
| Silane-siloxane penetrating | Maintains existing texture | Long-lasting (5+ years) | None (invisible) | Freeze-thaw climates, de-icing salt areas |
| Acrylic film-forming | Can reduce grip when wet (add non-slip additive) | 2–3 years (reapply) | Slight sheen | Decorative look, stain protection |
| Acrylic with non-slip additive | High (additive adds grip) | 2–3 years | Slight sheen | High-traffic steps, safety focus |
| Epoxy coating | Good with aggregate added | Very durable | Significant (glossy) | Garage/commercial; overkill for basic patio steps |
Repairing existing concrete patio steps
If you're not starting from scratch, you might be dealing with steps that are cracked, chipping, or spalling. The good news is that most common damage on concrete patio steps is repairable, the key is using the right product for the right depth and prepping the surface properly. If your patio needs new steps built on concrete, those same prep and curing basics apply so the repair or new work lasts build steps on concrete patio.
Diagnose before you patch
Tap the damaged area with a hammer. Solid concrete gives a sharp ring; delaminated or hollow sections give a dull thud. Remove all hollow, loose, or crumbling concrete before patching, if you put repair mortar over unstable concrete, it'll delaminate within a season. Use a cold chisel and hammer or an angle grinder to get back to solid material. This step is non-negotiable. For large areas of crumbling or structurally compromised steps, sometimes rebuilding from scratch (or looking at precast concrete patio steps as a swap-in solution) is smarter than chasing a bad patch.
Choosing the right repair product
Match the product to the depth of the damage. For surface spalls and shallow damage under 1/2 inch deep, use a feather-edge-capable polymer-modified repair mortar (like Nox-Crete Feather Patch or similar products), standard concrete mixes won't bond at thin applications. For deeper damage (1/2 inch to 2 inches), use a polymer-modified patcher like Sakrete Top N' Bond, which is designed to bond without a separate bonding agent in many cases. For anything over 2 inches, you're essentially rebuilding sections and should use a standard concrete mix with a bonding agent applied to the existing surface. Always read the label: some polymer-modified products specifically say not to use a bonding agent because it interferes with the polymer adhesion.
Repair steps for spalling and cracks
- Chisel out all loose, hollow, and damaged concrete to solid substrate
- Clean the area thoroughly — remove dust, oils, and debris (a wire brush and shop vac work well)
- Dampen the repair area (surface should be damp but not wet)
- Apply bonding agent if required by your repair product's instructions
- Mix and apply the repair mortar, pressing it firmly into the cavity
- Tool the surface to match the surrounding texture (broom drag for treads, smooth for riser faces)
- Keep the patch moist and protected from direct sun for at least 24 to 48 hours
- Once cured, seal the repaired area (and ideally the whole step surface) with a penetrating sealer
Cracks vs. structural settlement
Hairline cracks from normal shrinkage can be filled with a flexible concrete crack filler and sealed. But if a step has settled or shifted, meaning it's no longer level, one side has dropped, or there's a significant gap between the step and the patio slab, patching the surface won't fix the real problem. The base has failed. In that case, you either need to raise the step (sometimes possible by pumping grout under it, a process called slab jacking) or remove and rebuild. Don't just fill a settled step with mortar and call it done, the mortar will crack along the same lines within a year.
Your pre-pour checklist and material list
Before you pick up a trowel, confirm you have everything on this list. Running out of concrete mid-pour or missing a tool when you're on the clock is a bad time.
Tools
- Tape measure, level (4-foot), and speed square
- Circular saw (for cutting forms)
- Drill/driver and deck screws
- Plate compactor (rent if you don't own one)
- Concrete mixer or mixing tub (for bagged mix) or chute from ready-mix truck
- Pencil vibrator (strongly recommended — rent one for $25 to $50/day)
- Rebar cutter/bender if using rebar
- Bull float or hand float
- Edging tool and groover
- Stiff-bristle concrete broom
- Rubber mallet (for adjusting forms)
- Wheelbarrow and shovels
- Safety gear: gloves, eye protection, rubber boots, knee pads
Materials
- 3/4-inch plywood or 2x lumber for forms
- 2x4 stakes for bracing
- Compactable gravel (3/4-inch minus) for base — 4 to 6 inches compacted depth
- Concrete mix: air-entrained, 4000+ psi, fiber-reinforced (Sakrete PSI 6000 or Quikrete Crack Resistant Mix for bagged; spec air-entrained 4000 psi for ready-mix)
- #4 rebar (if steps are large or load-bearing) — 10-foot sticks
- Rebar chairs/supports to maintain cover
- Form release oil or cooking spray
- Curing compound (ASTM C309 Type 1) or burlap and plastic for wet curing
- Silane-siloxane penetrating sealer (apply after full 28-day cure)
- Concrete stain (optional, apply before sealer)
Building concrete patio steps is genuinely satisfying work. The geometry takes the most thought, the form-building takes the most time, and the pour itself goes faster than you expect. Get the planning and prep right, use a quality air-entrained mix, broom the treads for grip, cure properly, and seal after 28 days. For cement patio steps specifically, brooming the treads for slip resistance and curing them properly are two of the biggest factors in long-lasting performance. Do that and these steps will still be solid when you're long done with the project.
FAQ
Can I build concrete patio steps without a formal landing, like just stopping at the patio slab level?
You can, but you risk safety and code issues. If the steps connect to a door, the top area should function like a landing, deep enough for a clear stride, and wide enough for the doorway traffic. A common failure mode is making the top too narrow, then people shuffle sideways, increasing slip and tripping risk.
How do I choose riser and tread sizes if my total rise or run does not divide evenly?
Adjust the riser height or tread depth slightly so all risers are consistent and close to your target comfort range. Avoid “stacking” one unusual riser, inconsistent heights, or leaving one tread too shallow, because even a small mismatch can lead to a noticeable slope and inspectors may flag the inconsistency.
What thickness should the concrete be for each tread and the step slab portion?
Plan for adequate thickness to resist cracking and edge chipping, not just to fill forms. A practical approach is to match your reinforcing and intended loads, keep steel at proper cover, and avoid thin sections at the nosing. If your forms create very thin treads, consider increasing concrete thickness and reworking the form design before pouring.
Do I need rebar if I’m using fiber-reinforced concrete for concrete patio steps?
For small, light-use residential steps (for example, two to three steps), fiber reinforcement may be enough. For wider steps, more risers, or where you expect heavier loads or a longer run, add rebar as described in your plan. The key decision aid is whether the steps behave like a small slab spanning between edges, rather than just a simple mass fill.
How wet is too wet when mixing, and how can I tell I might be heading toward segregation?
If the mix looks glossy, pools water on top, or the aggregates sink quickly as you place it, it is likely too wet. A good guardrail is to maintain the moderate slump you planned, avoid adding water after mixing, and do a quick “place and rod” test in a small batch. Segregation often shows up as weak, sandy surfaces and brittle edges later.
Should I vibrate near the risers and corners, and how do I avoid over-vibrating?
Yes, you should consolidate near corners and along the riser face because that is where voids form most easily. Use short insertions and slow withdrawal, and stop when the surface looks like it has stopped releasing air. Over-vibration can cause paste to separate and can weaken the top surface.
What if it rains during curing, do I need to redo the broom finish or touch anything?
Do not redo the broom finish once the concrete has started to set and bleed water has already changed the surface. If rain hits before finishing, you can sometimes hose off light contamination and continue when conditions allow, but avoid washing cement paste away. For any major washout or surface damage, it may require re-smoothing and proper re-curing.
Is a broom finish enough for slip resistance, or should I roughen the surface further?
A broom finish is usually the correct baseline for exterior steps, it creates grooves that improve traction. Rougher textures can increase grip but also trap debris, and they can be too aggressive if the concrete is not finished correctly. If you live in heavy freeze-thaw with frequent de-icing, prioritize correct curing and consider a slip-resistant sealer over making the surface overly rough.
When can I strip the forms, and what are signs I should wait longer?
Strip only when the concrete has gained enough edge strength, typically 24 to 48 hours as a guideline, but the real trigger is whether edges crumble or feel soft. If you remove forms and the corners tear or the nosing deforms, you should re-cover and delay stripping next time. Catching softness early prevents permanent shape damage.
How do I handle steps when the patio slab already exists but is out of level?
Treat the steps and the existing slab as two separate problems, the step foundation needs its own stable, compacted base. If the slab is uneven, you may need to adjust the first tread/riser set and possibly create a transition that does not create a concentrated hollow gap. Avoid simply patching the step surface over a geometry problem, that will usually crack again.
What’s the best way to protect steps during the first winter after construction?
Focus on strong curing, proper drainage away from the house, and sealing after the full cure period. During the first winter, use de-icing carefully, since salts and moisture cycling are tough on fresh concrete even with good workmanship. If you must use de-icers, prefer less corrosive options and apply in moderation rather than over-salting the treads.
Can I paint or apply tile to concrete patio steps, instead of sealing?
Yes, but you usually need to address moisture movement first, and paint or surface coatings can fail if water vapor and salts move through the concrete. Sealing, especially silane-siloxane penetrating types, is designed for freeze-thaw and de-icing exposure. If you plan finishes like tile or overlay systems, confirm compatibility with exterior movement joints and surface profile before you start.
How do I choose a repair product if the damage is both spalled and cracked?
Start by removing all loose and hollow material until you reach solid concrete, then match the repair mortar to the depth of the defect. If you have a crack that indicates settlement or a gap, filling alone will not fix the underlying movement. Use a depth-appropriate patcher for the concrete loss, and only use crack filler for cracks that are stable and not associated with shifting.