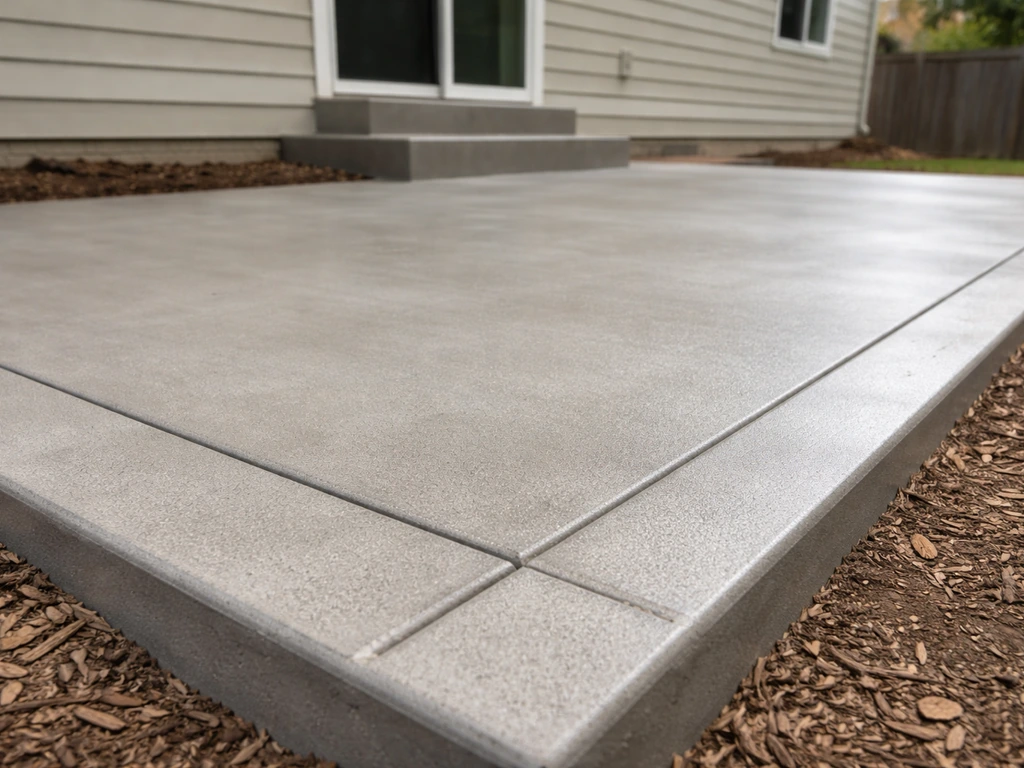
Laying a concrete patio from scratch takes about a weekend for a small to medium slab, and the basic process goes like this: mark and excavate the area, compact a 4-inch gravel base, build wood forms, lay rebar or wire mesh on supports, pour and screed a 4-inch slab at a 1/8-inch-per-foot slope for drainage, finish the surface, then keep it moist and covered for at least 7 days. Use this guide as a roadmap for how to build a patio concrete slab from planning and forms through curing. If you already have a concrete slab, you can overlay it instead of demo, but only if it's structurally sound. The steps below walk you through both scenarios in enough detail that you can get started today. If you’re ready to start, this article also covers how to put in a concrete patio from planning through curing.
How to Lay Concrete for a Patio: Step-by-Step Guide

Planning and measuring your patio
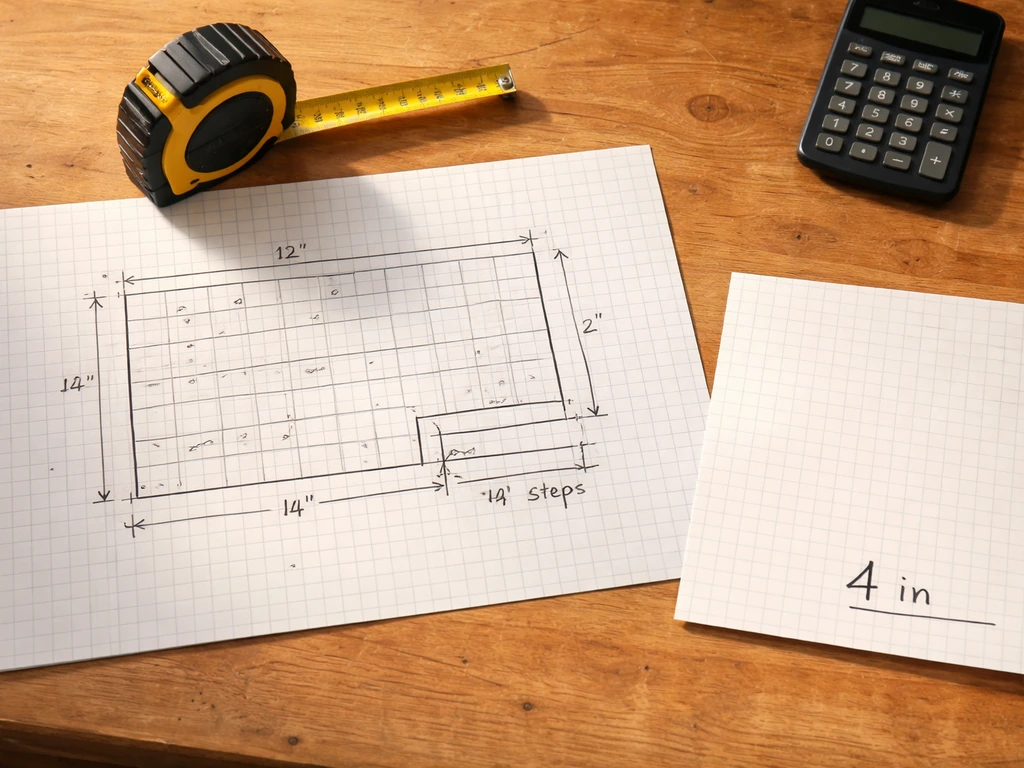
Start with a sketch on graph paper. Measure the space, account for any setback requirements from your property line or house foundation, and check whether your municipality requires a permit for a poured concrete patio. Many jurisdictions do, especially for slabs over 200 square feet or those attached to the house. A quick call to your building department takes 10 minutes and can save you a major headache later.
For thickness, 4 inches is the standard for a residential patio with foot traffic only. If you plan to park a vehicle, store heavy equipment, or the ground in your area has poor drainage, bump that up to 5 or 6 inches. Write down your dimensions and do the concrete volume math early: multiply length by width by thickness (all in feet), then divide by 27 to get cubic yards. Always add 10 percent for waste, spillage, and slight variations in depth.
Slope matters more than most beginners think. You need at least 1/8 inch of drop per foot of run away from the house. Without that, water pools, seeps under the slab, and eventually causes frost heave and cracking. Set your grade stakes with a line level before you do anything else.
| Patio size (sq ft) | Slab thickness (in) | Approx. concrete needed (cu yd) | With 10% waste (cu yd) |
|---|---|---|---|
| 100 | 4 | 1.2 | 1.4 |
| 200 | 4 | 2.5 | 2.7 |
| 300 | 4 | 3.7 | 4.1 |
| 400 | 4 | 4.9 | 5.4 |
| 200 | 6 | 3.7 | 4.1 |
Site prep and building a solid base
This is the step most DIYers rush, and it's the number-one reason patios crack and settle. The base is what keeps your slab stable through freeze-thaw cycles and soil movement. Get this right and everything else is straightforward.
Strip all grass and organic topsoil from the area. Roots decompose, leaving voids that cause settling. Dig down far enough to accommodate your gravel base plus your slab thickness plus a little buffer, typically 8 to 10 inches total depth for a 4-inch slab on 4 inches of gravel. Use a plate compactor (rentable for around $60 to $80 a day) to compact the native soil after excavation. If the ground feels soft or spongy, add compacted fill before your gravel layer.
Next, add at least 4 inches of compactable gravel, usually crushed stone or Class II base material. Add it in 2-inch lifts and compact each layer separately. This makes a huge difference in stability. The gravel layer improves drainage, prevents frost from working directly against the slab bottom, and gives you a firm, consistent surface to pour onto. In areas with heavy frost or clay-heavy soil, some builders go up to 6 inches of base. It's extra work, but it's cheap insurance.
Forms, reinforcement, and what you need on hand
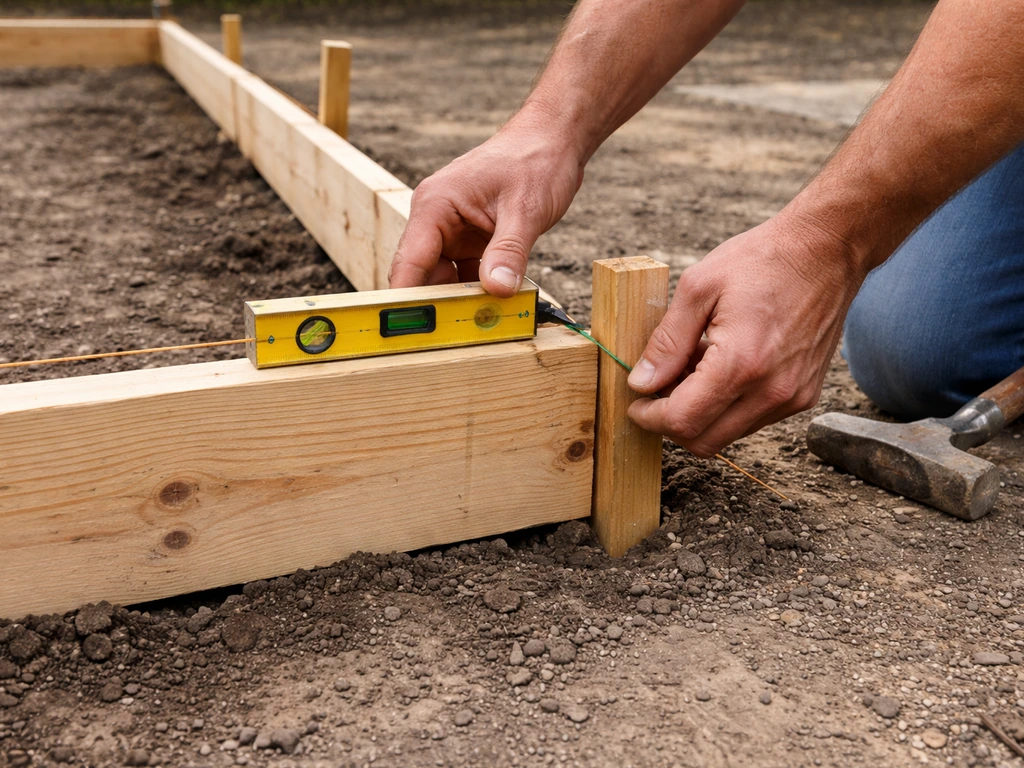
Setting your forms
Forms define the shape and thickness of your slab. For a 4-inch slab, use 2x4 lumber set on edge. For 6 inches, use 2x6. Drive 2x4 stakes every 2 to 3 feet along the outside to hold the forms rigid. Check that the top edges of the forms are at your finished slab height and set to your drainage slope. Coat the inside face of the forms with form-release oil or old motor oil so they pop off cleanly after the pour.
Reinforcement: rebar vs. wire mesh
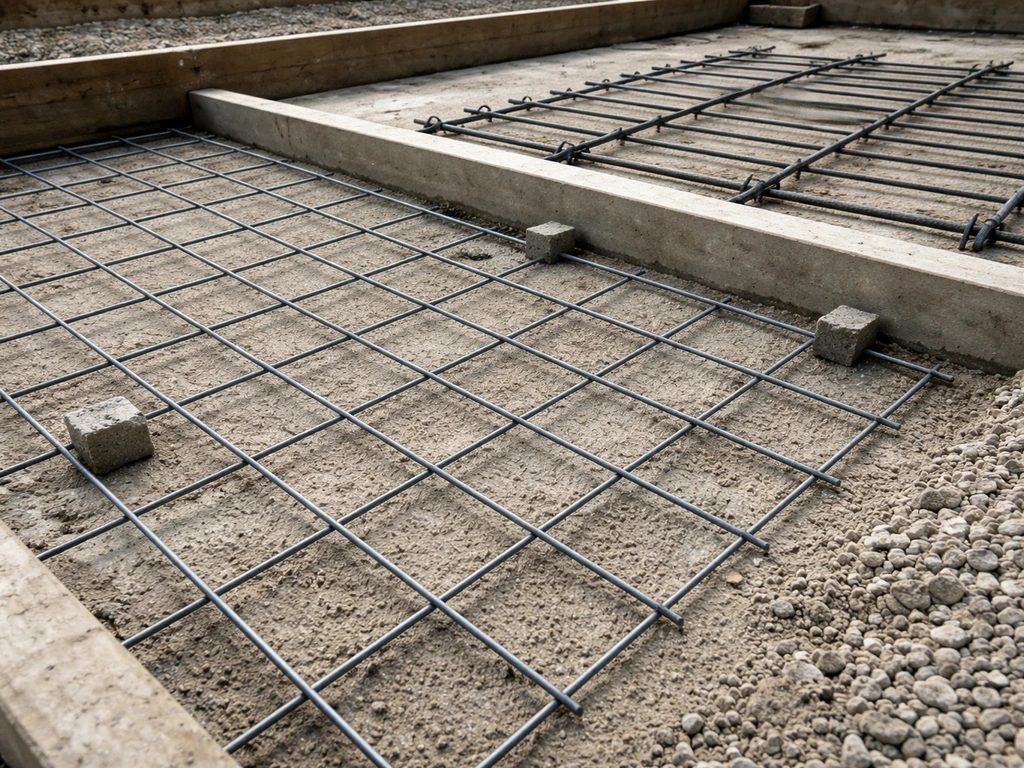
Both rebar and welded wire mesh add tensile strength to hold the slab together if a crack starts to form. For a basic residential patio, 6x6 W1.4xW1.4 welded wire mesh is common and easy to work with. Rebar (typically No. 3 or No. 4 at 18-inch spacing each way) is stronger and preferred for thicker slabs or areas with weak soil. Either way, the critical rule is that the reinforcement must be elevated above the ground so it ends up near the middle of the slab thickness. ACI guidance referenced in the ACI FAQ also cautions against walking on welded wire mesh after concrete placement. The ACI recommends placing welded wire reinforcement about 2 inches below the top surface, which puts it near the center of a 4-inch slab. Use plastic or concrete wire chairs or dobies to hold the mesh or rebar up. Do not lay it flat on the gravel and try to lift it into the wet concrete during the pour. That method doesn't work reliably and you'll likely end up with reinforcement sitting on the bottom where it does almost nothing.
Tools and materials checklist
- Tape measure, stakes, string line, and line level
- Shovel, spade, and wheelbarrow
- Plate compactor (rental)
- 2x4 or 2x6 lumber for forms, plus stakes
- Compactable gravel (4 to 6 inches worth)
- Welded wire mesh or rebar with wire chairs/dobies
- Concrete: ready-mix truck for anything over 1 cubic yard, or bags for small jobs
- Bull float (for large slabs) or hand float/darby
- Screed board (a straight 2x4 works)
- Magnesium or steel finishing trowel
- Edger tool and groover tool for control joints
- Concrete broom for texture
- Plastic sheeting or burlap and curing compound (ASTM C309) for curing
- Circular saw with diamond blade or concrete saw for cutting joints after pour
Pouring, screeding, and finishing the slab
If your patio is bigger than roughly 1 cubic yard (about a 10x10 slab at 4 inches), order a ready-mix truck. Mixing bags by hand for anything bigger is exhausting, time-consuming, and leads to inconsistent concrete quality. Most ready-mix suppliers will deliver a partial load for a small fee. Use a 3,500 to 4,000 PSI mix with a water-to-cement ratio around 0.45 to 0.50. Don't add extra water at the job site to make it easier to work with. It weakens the finished slab significantly.
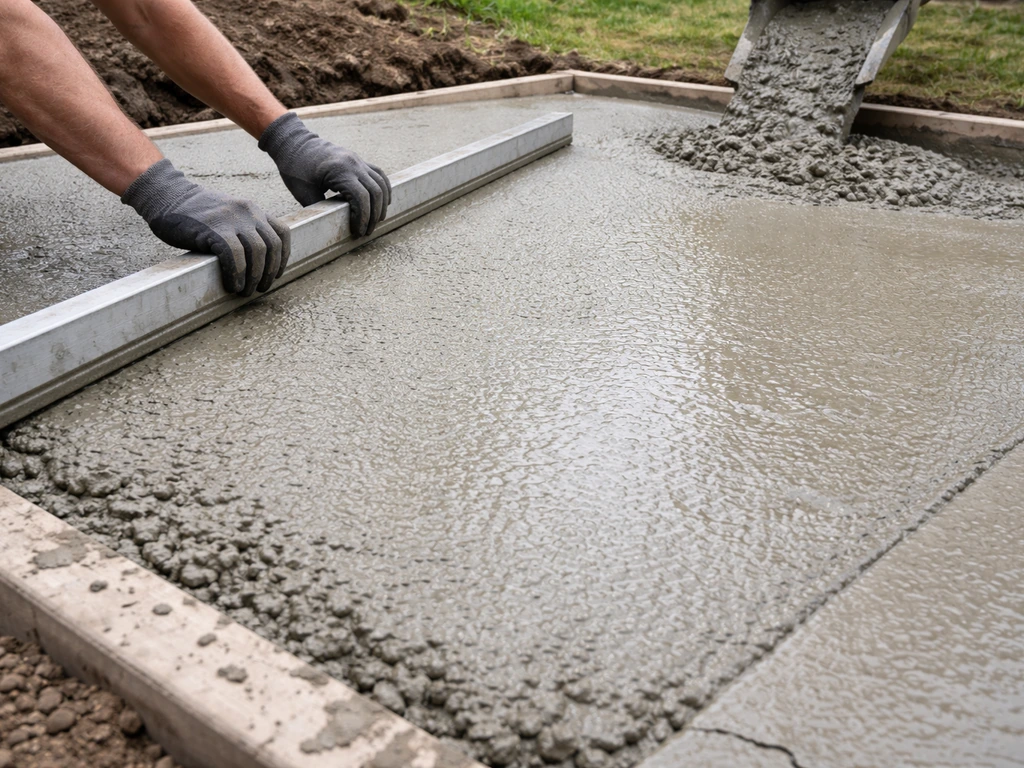
Pour the concrete starting at the farthest corner from the truck chute and work back toward the truck. Use a shovel or concrete rake to spread it roughly level before screeding. Then drag your screed board across the top of the forms using a side-to-side sawing motion to level the surface and fill low spots. Go over it twice if needed. After screeding, run a bull float over the surface in overlapping arcs to embed aggregate and bring a slight layer of paste to the surface.
Wait for the bleed water (the thin sheen of water on top) to evaporate before doing any finish work. Working the surface while bleed water is still present weakens the top layer, causing dusting and scaling later. Once the surface is ready, use a hand float to smooth it, then a steel trowel for a tighter finish if you want something smoother. For a patio, a broom finish is actually ideal: after floating, drag a stiff concrete broom lightly across the surface in one direction to add texture. This improves traction, especially when wet, and hides minor imperfections.
Run your edger along the perimeter where the slab meets the forms to create a rounded edge that resists chipping. Use a hand groover to cut control joints into the surface at roughly 8 to 10-foot intervals in both directions. These joints are scored to about one-quarter of the slab thickness and act as planned weak points, guiding any shrinkage cracks to happen along the joint line rather than randomly across the slab.
Curing, control joints, and stopping common problems
Curing is one of those steps that's easy to skip and easy to regret. Concrete doesn't dry, it cures through a chemical hydration process that requires moisture. ACI’s FAQ notes that proper curing methods include keeping concrete moist with water or coverings (such as wet burlap or polyethylene) and using moisture-retaining curing compounds, like liquid membrane-forming compounds. If it dries out too fast (especially in hot, sunny, or windy conditions) the surface crazes, dusts, or develops shrinkage cracks. Standard guidance calls for 7 days of moist curing for residential slabs. You have a few practical ways to achieve this:
- Cover the slab with plastic sheeting or wet burlap and keep it damp for 7 days
- Apply a curing compound (look for products meeting ASTM C309) immediately after finishing; spray it on in two perpendicular passes for even coverage
- Use a combination: curing compound first, then a layer of plastic on top in hot or windy weather
For control joints, if you didn't use a hand groover during finishing, you can saw-cut them within 4 to 12 hours after the pour using an early-entry saw, or within 24 hours using a standard concrete saw. Cut to a depth of about one-quarter to one-third of the slab thickness. For a 4-inch slab, that means cutting about 1 to 1.5 inches deep. Don't wait too long: if shrinkage cracks form before you cut, the joints lose their purpose.
A few other things that trip people up: don't pour concrete in freezing temperatures without a protection plan (the slab needs to stay above 50°F for the first 24 to 48 hours at minimum). Don't let kids, pets, or heavy equipment on a new slab for at least 24 to 48 hours for foot traffic, and wait 7 days before driving a vehicle over it. And pull the forms off after 24 hours to check edges, but avoid disturbing the slab itself.
Laying a patio on or over existing concrete
Sometimes you've already got a concrete slab, and you want to build a patio on top of it instead of demolishing and starting over. If your slab is already solid, this is where you can start learning how to turn a concrete slab into a patio without starting from scratch. That's a legitimate approach, but it only works if the existing slab is in decent shape.
Assessing what's already there
Walk the existing slab and look for these problems before you commit to an overlay approach. Cracks wider than 1/4 inch, significant settling or heaving in sections, or sections that flex or feel hollow when you tap them are red flags. Minor surface cracks and spalling are manageable. Major structural movement means the underlying base has failed, and an overlay won't fix that. You'd just be pouring money over a problem. In that case, demo and start fresh.
Also measure the total height after adding an overlay. If you're adding a concrete topping overlay, most are poured at 1.5 to 2 inches minimum thickness. Factor that into your door thresholds, any steps leading to the patio, and drainage grades. A 2-inch overlay that brings the patio surface above a door sill or blocks a weep hole in the foundation wall creates new problems immediately.
Preparing existing concrete for an overlay
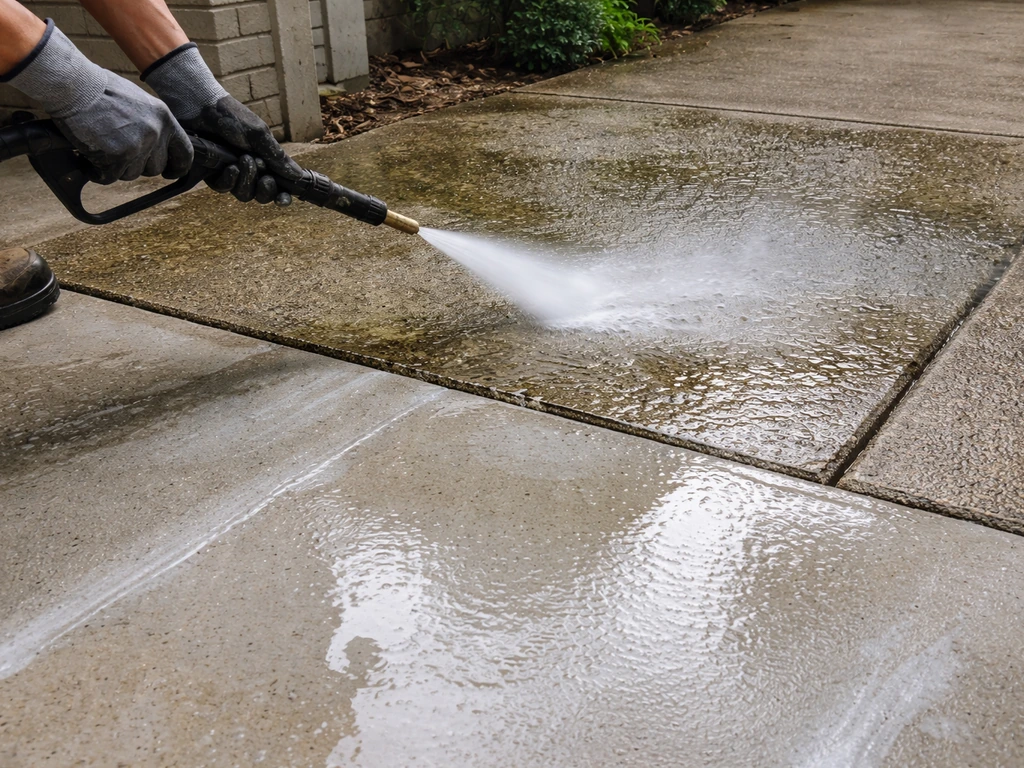
Clean the existing slab thoroughly. Use a pressure washer to remove dirt, algae, and loose material. If there's oil or grease contamination, degrease it and rinse well. For a concrete topping to bond properly, you need a clean, porous, slightly rough surface. If the existing slab is smooth or was previously sealed, you'll need to mechanically profile it with a concrete grinder or shot blaster to open up the surface and give the new material something to grip. Acid etching with muriatic acid (1 part acid to 10 parts water) can also open the pores of the surface, though grinding gives more consistent results.
After prepping, apply a concrete bonding adhesive or bonding primer to the existing slab surface just before you pour. This creates a chemical bridge between the old slab and the new material. Don't skip this step. Without it, delamination (where the new layer separates from the old one) is a matter of when, not if. For thin overlays under 2 inches, use a polymer-modified topping mix specifically designed for bonded overlays rather than standard concrete mix.
One more thing to plan for: control joints in your new overlay should line up with the existing joints and cracks below. If they don't, the old slab's movements will reflect up through the new surface and crack it in exactly those spots anyway. Mark the existing joint locations before you pour and either groove the overlay in the same spots or saw-cut them as soon as the overlay is firm enough.
Comparing your options when concrete already exists
| Option | Best for | Min. thickness | Bond required | Key risk |
|---|---|---|---|---|
| Concrete topping overlay | Sound slab needing level or thicker surface | 1.5 to 2 inches | Yes, bonding agent essential | Delamination if bond fails |
| Concrete pavers or flagstone on concrete | Decorative upgrade, existing slab in decent shape | Varies by paver + mortar bed (1 to 2 in.) | Mortar bond or dry-set on foam underlayment | Height changes at thresholds |
| Self-leveling underlayment + topping | Slab with minor low spots or uneven areas | 1/4 to 1.5 inches (check product) | Usually required | Cracking if existing slab moves |
| Demo and repour | Severely cracked or heaved slab | Full 4 inches from scratch | N/A | Cost and labor, but correct long-term fix |
Beginner checklist and mistakes to avoid
Here's the full sequence in plain checklist form. These are the practical steps for concrete patio success, from planning through curing full sequence in plain checklist form. Use this the day before your pour to make sure everything is in order.
- Check permit requirements with your local building department
- Mark the patio outline with stakes and string, verify dimensions and slope (1/8 in. per foot minimum away from the house)
- Excavate to the right depth: slab thickness + 4 in. gravel base + 1 to 2 in. buffer
- Compact native soil with a plate compactor
- Install and compact gravel base in 2-inch lifts to 4 to 6 inches total
- Set and stake your forms at finished slab height, confirm slope with a level
- Install welded wire mesh or rebar on wire chairs so reinforcement sits about 2 inches below the top surface
- Order or mix concrete (3,500 to 4,000 PSI, no extra water added on-site)
- Pour from the far end and work back, spread with rake or shovel
- Screed the surface level with the top of the forms
- Bull float the surface to smooth and embed aggregate
- Wait for bleed water to evaporate before finishing
- Float, trowel, and broom-finish the surface
- Edge the perimeter and groove control joints at 8 to 10-foot intervals (1/4 to 1/3 of slab depth)
- Apply curing compound or cover with plastic/wet burlap immediately
- Cure for 7 days, keeping the surface moist and protected from traffic
Mistakes that come back to haunt you
- Skipping the gravel base or not compacting it: the slab will settle and crack
- Adding water to the mix to make it easier to pour: weakens the finished surface dramatically
- Not sloping for drainage: water pools against the house foundation
- Leaving reinforcement sitting on the ground instead of elevating it on supports: it ends up at the bottom where it barely helps
- Finishing over bleed water: seals in weakness that shows up later as surface scaling or dusting
- Skipping control joints or cutting them too shallow: random cracking across the slab
- Not curing long enough: fast drying causes surface crazing and reduces final strength
- Pouring an overlay on a slab without bonding agent or surface prep: delamination within a year or two
- Ignoring existing joint locations when overlaying: reflective cracking comes right through the new surface
Laying concrete for a patio is one of those projects that rewards preparation more than speed. The day of the pour is actually the most straightforward part once everything before it is done right. Take your time with the base, be precise about your forms and slope, keep the reinforcement where it belongs, and protect the slab while it cures. Follow those fundamentals and you'll end up with a patio that lasts decades rather than a slab that starts cracking in the first few winters. If you want a complete walkthrough, review how to construct a concrete patio from planning and site prep through curing. If you’re starting from scratch, this is the same workflow you can follow for how to install concrete patio projects from planning through curing. If you want a step-by-step guide tailored to a new pour, see our instructions on how to concrete patio slab. If you want a step-by-step guide tailored to a new pour, see our instructions on how to install concrete patio slabs.
FAQ
How can I verify the patio slope before the concrete pour?
Before you pour, confirm the patio will drain to a safe outlet (slope to a lawn area, drain line, or storm system), and avoid directing runoff toward a foundation wall. A simple way is to do a “water test” the day before by flooding the area with a hose and checking where water travels, then re-check the 1/8 inch per foot grade with a straightedge.
What’s the best way to organize work so I don’t damage the subbase during the pour?
Use the “worker access” plan instead of walking back and forth across fresh concrete. Many people save time by setting forms and reinforcement the day before, then staging materials and tools near the pour zone. Once the pour starts, limit foot traffic to non-reinforcement areas and keep any wheelbarrow paths consistent to avoid disturbing the base.
Can I pour a patio in two separate days, and how do I handle the joint between pours?
If you have to work in sections (for example, a large patio or staging the truck), use construction joints properly. Install a bulkhead at the end of a pour, keep the surface clean, and do not rely on random edges for structure. Plan joints so they align with your control joint layout, otherwise you can end up with cracks that run through both joints and edges.
What should I do if the ready-mix feels too stiff to work with?
Avoid adding water to make concrete “flow.” If you can’t place the mix easily, it usually means the slump is off due to mix selection or timing. Ask the ready-mix supplier for a workable mix appropriate for your weather and placement method, and focus on faster placement, proper spreading, and correct screeding technique instead of extra water.
Is it okay to “shim” or patch a weak base instead of rebuilding the gravel and slab?
Yes, but only if you treat it as a drainage and bonding system, not just a surface patch. For leveling a low spot, you generally need a bonded repair material and correct substrate prep, but for widespread issues or settlement, it’s better to remove and rebuild. Overlays will not fix voids or base failure, they only conceal them.
How do I adjust curing when the weather is cool, shaded, or very windy?
If a patio is under an eave or gets little drying wind, curing still matters, but you can reduce cracking risk by protecting from sun and airflow rather than trying to compensate with heavier finishing. Use plastic sheeting or curing blankets to keep moisture in, and start misting or wet curing early if conditions are hot or dry.
When is the right time to broom-finish, and what if the surface is already getting firm?
For the safest long-term traction, broom the surface after floating but before it becomes too stiff. If you wait too long and the surface drags instead of brooming, you’ll get a slick or uneven finish. After brooming, keep the texture consistent across the whole patio to avoid “high slip” zones.
What are common mistakes at patio edges, drains, or near door thresholds?
Plan edges and penetrations before the pour. Around posts, drains, or door thresholds, you need the correct clearance so the patio can drain and you avoid hitting weep holes or creating a lip that traps water. A practical check is to dry-fit any rails or drain covers and confirm the final surface height relative to door bottoms.
Why does my patio get dusty or scaly, and can I fix it after it’s cured?
If you find dusting or scaling later, it’s often linked to finishing too early (while bleed water is present) or inadequate curing. Minor surface issues can sometimes be improved with cleaning and sealing, but sealing over a weak, under-cured surface usually doesn’t fix the root cause. For significant flaking or soft spots, you may need grinding down to sound concrete.
If I’m overlaying on an existing slab, what’s the most important thing to plan for control joints and bonding?
If you’re overlaying, match the control joint pattern as closely as possible and use a bonded overlay product designed for thin bonded lifts. Also avoid overlaying over active movement, because cracks can “telegraph” upward even if the bond adhesive was applied correctly.