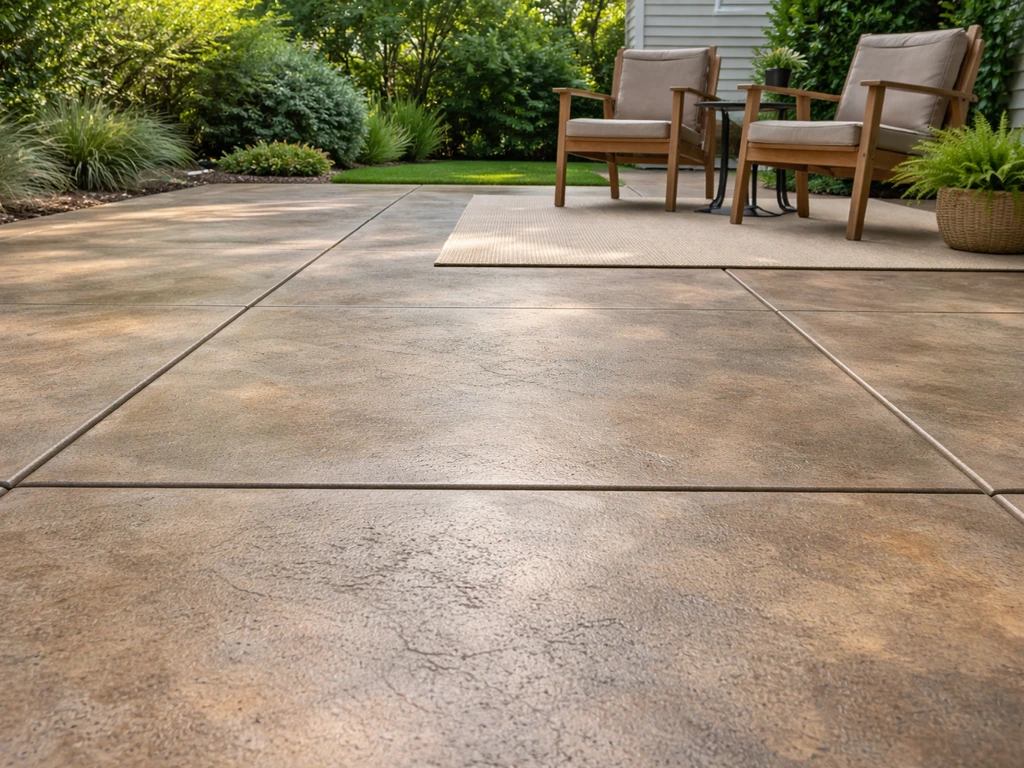
You can dress up a concrete patio with anything from a $30 deep clean to a $300 stain-and-seal job to a full decorative overlay, and the right choice depends almost entirely on two things: the current condition of your slab and how long you want the results to last. A clean, crack-free slab in good shape is ready for stain, paint, or a thin overlay coat today. A beat-up slab with spalling, active cracks, or old peeling paint needs repair and prep first, or whatever you put on top will fail just as fast. This guide walks you through every step, from the quick wins all the way to a fully finished, sealed surface you'll actually be proud of.
How to Dress Up a Concrete Patio: DIY Upgrades

Silas Morrison
10 Jun 2026
Quick wins: clean it first and you might be surprised
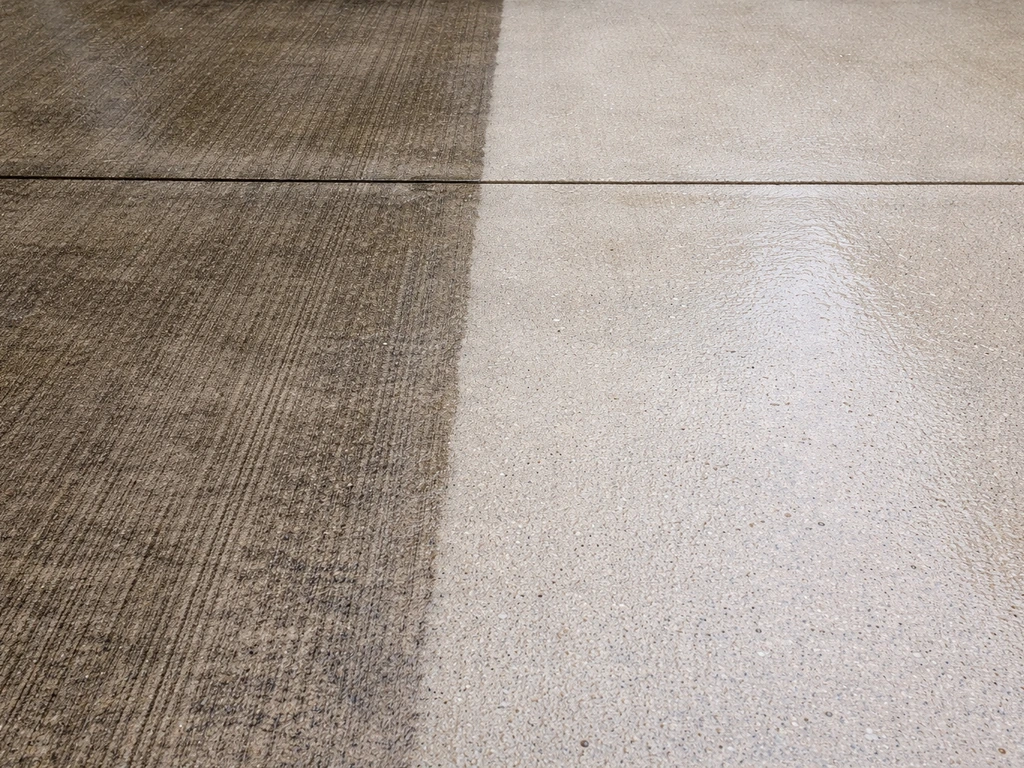
Before you spend a dollar on stain or paint, pressure wash the patio. Seriously. I've walked out to patios that looked like they needed a complete makeover and after a good wash they just needed a coat of sealer. Dirt, algae, mildew, and oxidized concrete can make a perfectly sound slab look trashed. A pressure washer in the 2,500 to 3,000 PSI range hits the sweet spot for most plain concrete patios: aggressive enough to pull out embedded grime without blowing out the surface. If you have stamped or exposed-aggregate concrete, dial it back to under 1,800 PSI or you risk pitting and eroding the texture detail.
For mold, mildew, and algae, apply either chlorine bleach or oxygen bleach solution before you pressure wash. The key is dwell time. Let it sit 10 to 15 minutes. That's where the killing actually happens. Don't rush to the rinse. For oil or grease spots, use a degreaser first, let it penetrate, then scrub with a stiff-bristle brush before rinsing. For rust stains, oxalic acid is your best friend: apply it, let it dwell 5 to 10 minutes, scrub, and rinse thoroughly. For white crusty deposits (efflorescence), pre-soak the surface with water first, then apply a diluted acid solution carefully following the label instructions. Important: over-concentrated acid will etch and permanently dull the surface, so stick to the recommended dilution. Rinse everything thoroughly after any chemical treatment.
- Pressure washer (2,500 to 3,000 PSI for plain concrete, under 1,800 PSI for stamped or exposed aggregate)
- Stiff-bristle scrub brush
- Chlorine or oxygen bleach for mold and algae
- Concrete degreaser for oil spots
- Oxalic acid cleaner for rust stains
- Diluted muriatic or phosphoric acid for efflorescence (follow label dilution exactly)
- Garden hose for pre-soaking and thorough rinsing
- Safety glasses, rubber gloves, and old clothes for chemical work
After washing, give the slab at least 24 to 48 hours to dry completely before you do anything else. Concrete holds moisture longer than it looks like it does, especially in shaded areas or after a deep soak. Applying any coating over damp concrete is one of the fastest ways to guarantee peeling.
Assess your slab before picking an upgrade
Once the patio is clean and dry, take a real look at what you're working with. The condition of the slab determines your upgrade path more than your budget or your taste does. Here's a simple way to think about it:
| Slab condition | What it means for upgrades | Best path forward |
|---|---|---|
| Clean, smooth, no cracks or spalling | Ready for almost any finish | Stain, paint, or sealer right away |
| Minor hairline cracks, light surface pitting | Needs minor repair but still a good candidate | Fill cracks, patch pits, then stain or paint |
| Active cracks (growing), significant spalling | Surface instability will ruin any coating | Repair first, possibly resurface before finishing |
| Old peeling paint or failing sealer | Adhesion will fail if you coat over it | Strip or grind existing coating, then refinish |
| Severe heaving, deep structural cracks | Cosmetic fixes won't hold long-term | Consider full resurfacing or consult a pro |
Also note sun exposure. A south-facing patio in full sun will fade a water-based stain faster than the same product on a shaded north-facing slab. If you're in a region with hard freeze-thaw cycles, moisture infiltration under a coating is a bigger risk, so sealing thoroughly matters more. Think about foot traffic too. A patio that doubles as a play area or sees lots of furniture dragging needs something tougher than a decorative paint.
Repair and prep: what to do before any coating goes down
Skip this section and you'll regret it within a season. Prep is the part nobody wants to do, but it's what separates a patio upgrade that lasts five years from one that starts peeling in six months.
Filling cracks
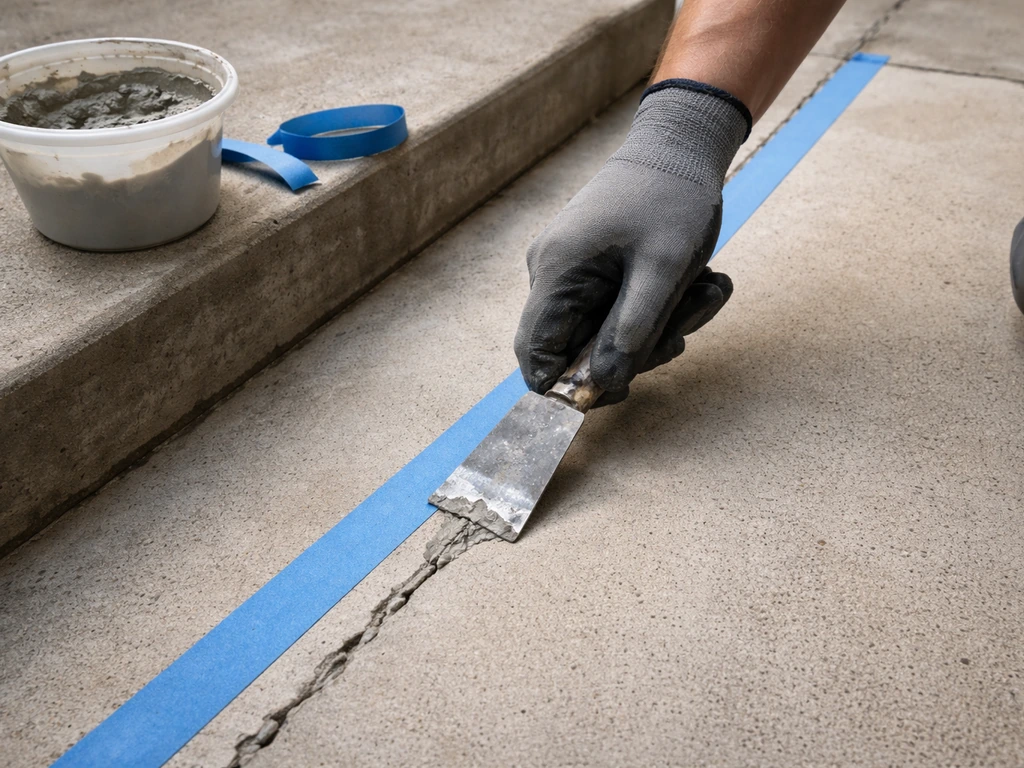
For hairline cracks (under 1/8 inch), a concrete crack filler or polyurethane caulk works well. For wider cracks, use a concrete patching compound or hydraulic cement for anything that looks like it moves or has depth. Clean out the crack with a wire brush or angle grinder before you fill it. Any loose debris left in the crack will prevent the filler from bonding. Let the repair cure fully per the product instructions before moving on.
Addressing spalling and surface pitting
Spalling (where chunks of surface concrete have flaked or popped off) needs to be filled and feathered with a polymer-modified concrete patch or a skim coat product. Clean out all loose material first. These patches can be sanded or ground smooth once cured. If the spalling is widespread, a full resurfacing overlay may be more practical than patching dozens of individual spots.
Removing old coatings
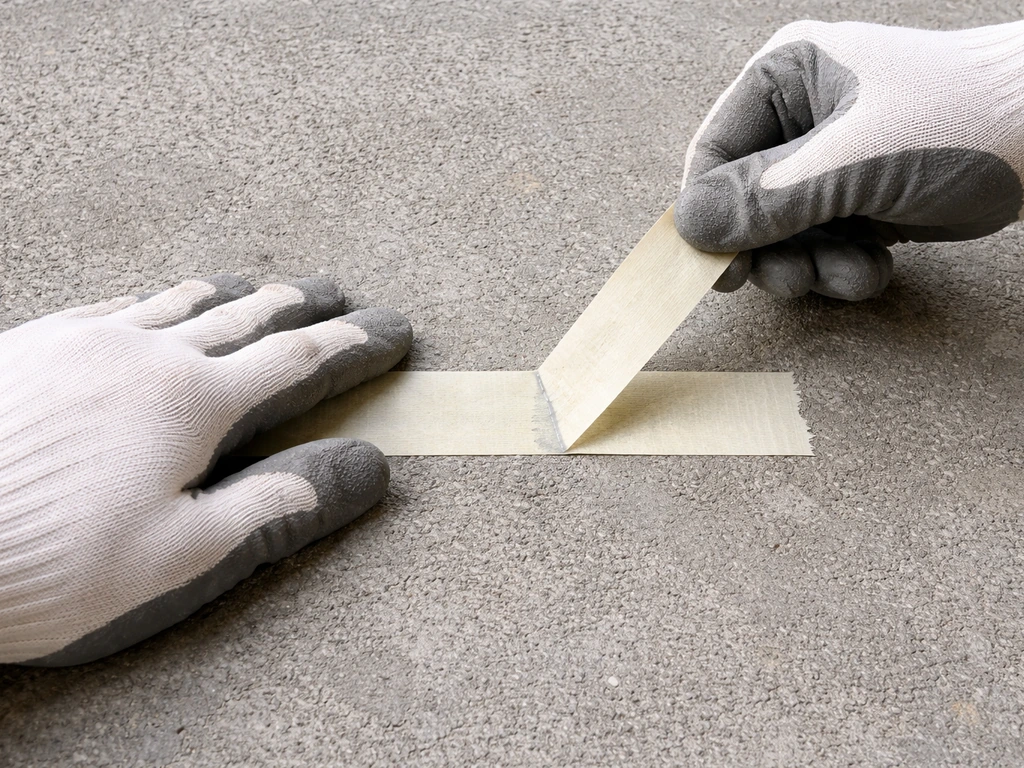
If there's an existing paint or sealer on the slab, you need to know what it is and whether it's still adhering. Press a piece of tape firmly onto the surface and pull it off. If coating comes with it, adhesion is failing and you need to strip it. Peeling or flaking paint can be removed with a floor grinder, chemical stripper, or shot blasting. Trying to coat over a failing layer is the number one cause of premature peeling on DIY patio projects, and I've seen it more times than I can count.
Surface smoothing and profiling
Concrete stains and overlays bond best to a slightly porous, open surface. If your slab is very smooth (like troweled-glass smooth) or if you've just stripped an old coating, lightly etch the surface with a diluted acid solution or use a concrete grinder to open the pores. Pre-wet the slab before acid etching, apply the diluted solution, let it fizz for a few minutes, scrub, and rinse completely. You're looking for a surface texture roughly like 80-grit sandpaper. This step dramatically improves adhesion for everything that follows.
Decorative options: stain, paint, overlays, and decorative finishes compared
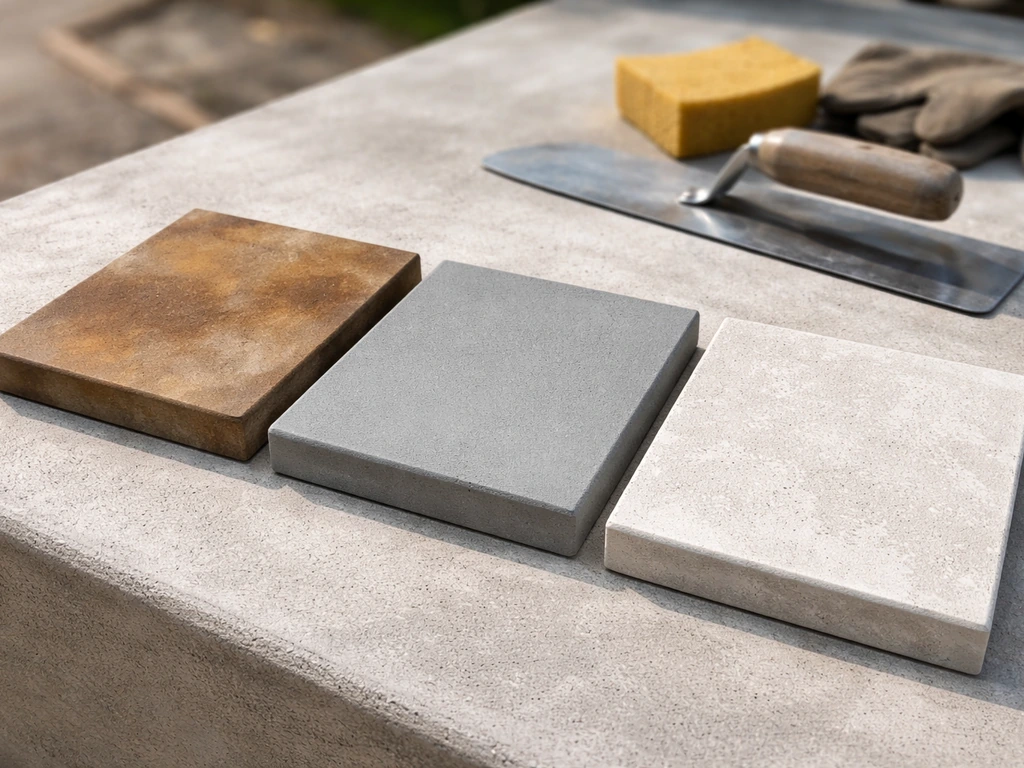
This is where the fun starts. There are four main approaches to changing how your patio looks, and each one has a different cost, skill level, and durability profile. If you're wondering how to decorate a concrete patio step by step, the sections below break down each option, from prep to finishing and sealing. Here's how they stack up:
| Option | Cost (DIY) | Durability | Difficulty | Best for |
|---|---|---|---|---|
| Acid stain | $0.50–$1.50/sq ft | 5–10+ years with sealer | Moderate | Natural, mottled, stone-like appearance on clean bare concrete |
| Water-based stain | $0.30–$1.00/sq ft | 3–7 years with sealer | Easy | More color options, more predictable results, beginner-friendly |
| Concrete paint/epoxy coating | $0.50–$2.00/sq ft | 2–5 years (latex), 5–10 years (epoxy) | Easy to moderate | Solid color coverage, hiding minor imperfections |
| Thin overlay/microtopping | $1.00–$3.00/sq ft | 7–15 years | Moderate to hard | Resurfacing worn slabs, smooth modern look, new texture options |
| Decorative overlay (stamped/texture) | $2.00–$5.00/sq ft | 10–20 years | Hard | Mimicking stone, tile, or wood; major visual transformation |
Concrete stain (acid or water-based)
Staining is my personal favorite for bare or lightly used slabs because it penetrates into the concrete rather than sitting on top. That means it won't peel the way paint can. Acid stain reacts chemically with the minerals in the concrete to create a variegated, marbled look that's genuinely beautiful. Water-based stains give you more color choices and more predictable results, which makes them better for beginners. Either way, you need bare, clean, properly etched concrete for stain to work. Any sealer, paint, or contamination on the surface will block penetration and cause blotching or uneven color. Always test a small area first.
Concrete paint and epoxy coatings
Concrete paint is the most accessible option and works fine for patios that aren't in heavy use. Standard latex concrete paint is easy to apply but tends to peel in 2 to 4 years, especially in climates with freeze-thaw cycles. Epoxy coatings are significantly more durable and bond more aggressively to the concrete, but they require careful mixing, a tight application window, and a properly profiled surface. If you go epoxy, the prep is non-negotiable. Skipping the acid etch or trying to coat over a damp slab with epoxy is a guaranteed failure.
Overlays and microtopping systems
A concrete overlay is essentially a thin layer of polymer-modified cement that goes over your existing slab. This is the best option if your slab has widespread surface damage or if you want to completely change the texture. Microtoppings are ultra-thin (1/16 to 1/8 inch) and give a smooth, modern look. Thicker decorative overlays can be stamped, textured, or stenciled to look like tile, slate, or brick. These systems take more skill to apply correctly and have a narrower window for working time, so first-timers should practice on a small section first or watch several application videos before diving in.
Which one should you pick?
If your slab is in good shape and you want a natural look: go with acid stain plus a quality sealer. If you want more color control and an easier process: water-based stain is the move. If you want solid color coverage and your budget is tight: concrete paint works, but expect to recoat in a few years. If the surface is rough or damaged: a resurfacing overlay solves the appearance and the damage in one step. If you want a dramatic transformation that looks like stone or tile: a decorative overlay is worth the extra effort and cost.
Sealing, sheen choices, and keeping it looking good
Whatever finish you apply, sealer is what protects it. A sealer locks in stain color, prevents moisture intrusion, resists staining from spills, and extends the life of any surface treatment dramatically. Skipping sealer on a freshly stained or painted patio is like skipping a topcoat on a wood floor refinish. Don't do it.
Choosing the right sealer
Acrylic sealers are the most common and easiest for DIY application. They come in matte, satin, and high-gloss finishes and work well over stain and painted surfaces. Penetrating sealers (silane or siloxane-based) soak into the concrete rather than forming a film on top. They're better for plain or lightly finished concrete where you want protection without changing the look. Epoxy or polyurethane topcoats are the most durable choice over epoxy coatings or overlays, offering better chemical and abrasion resistance. For outdoor patios, choose a UV-stable formula to prevent yellowing and premature breakdown from sun exposure.
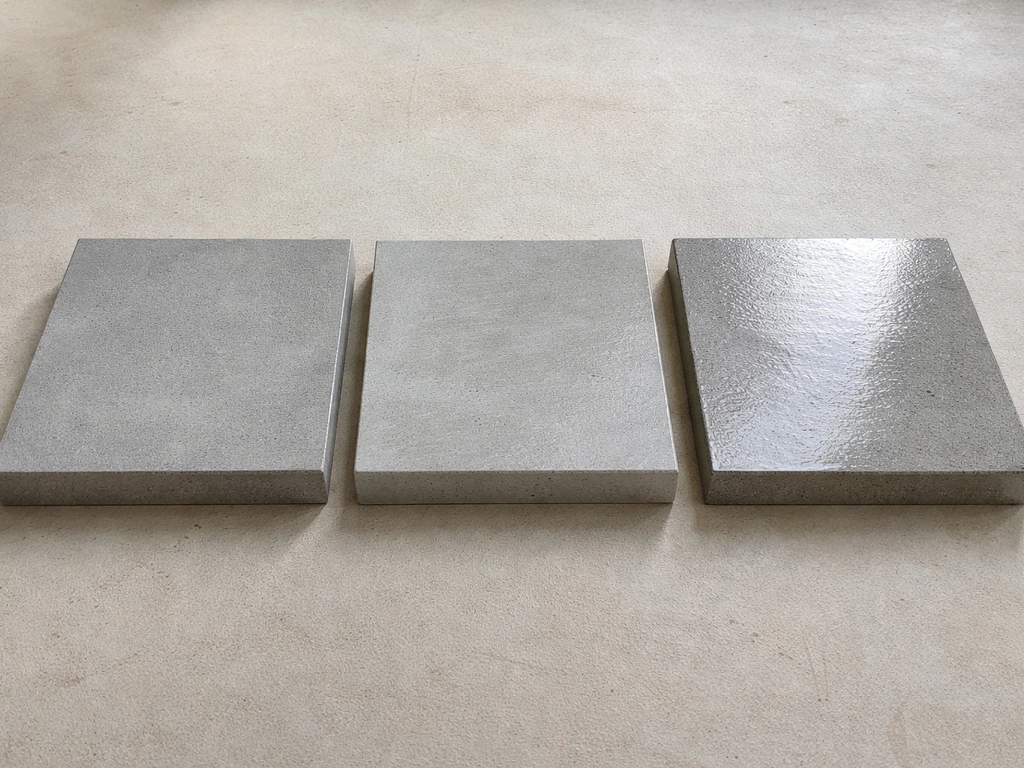
Sheen level: matte vs. satin vs. gloss
Matte or low-sheen sealers look more natural and hide minor surface imperfections better. Gloss and high-gloss sealers pop the color of stained or coated surfaces and give that wet, rich look, but they show every footprint and scratch more clearly and can look slippery even when they aren't. For most outdoor residential patios I lean toward satin or semi-gloss. It's a good middle ground.
Maintenance and recoat schedule
Plan to reseal your patio every 1 to 3 years depending on traffic and sun exposure. A good test: drip water on the surface. If it beads up, the sealer is still working. If it soaks in, it's time to reseal. Before resealing, clean the surface thoroughly and lightly scuff the existing sealer with a floor buffer or fine abrasion pad to help the new coat bond. You don't need to strip back to bare concrete every time, just clean, scuff, and recoat with the same sealer type.
Safety, planning, and mistakes that will cost you
A few honest notes from hard experience. These are the things that turn a satisfying weekend project into a frustrating redo.
Weather and temperature matter more than you think
Most concrete coatings have a working temperature window of 50 to 90 degrees Fahrenheit. Apply below 50 and the product won't cure properly. Apply above 90 and it can flash-dry before it bonds, leaving you with bubbles, lap marks, or adhesion failure. Don't apply any coating if rain is expected within 24 hours. Even high humidity slows curing and can cause water spots or cloudiness in sealers. Check the forecast, pick a mild dry stretch, and start early in the morning when the slab is shaded and cool.
Compatibility with existing coatings
Water-based products generally don't bond well over solvent-based sealers, and vice versa. If you don't know what's already on your slab, do a simple test: drip a small amount of water and a small amount of solvent (like acetone) in two separate spots. If the acetone softens or dissolves the existing coating, it's solvent-based. If water beads but acetone does nothing, it's likely a penetrating sealer. When in doubt, strip it off rather than risk a compatibility failure.
Slip resistance is not optional
Glossy sealers and smooth overlays can get dangerously slippery when wet. Always add a non-slip additive (usually fine silica sand or polymer grit) to your sealer or topcoat, especially on patios where kids or older adults use the space. If you want a dog-friendly patio, prioritize slip resistance and choose a finish that stays grippy under paw traffic and wet weather non-slip additive. Add it to the last coat for best grip without burying it under additional layers. Some decorative coatings specifically marketed for patios already include grip additives, but check the label and don't assume.
Efflorescence: don't just coat over it
If you have white chalky deposits (efflorescence) on your slab, treat them before coating. Recoating over efflorescence will not stop it from coming back. The salts will continue to push through and will eventually lift the coating. Treat it with a diluted acid cleaner, rinse thoroughly, and let the slab dry completely before applying anything.
Common DIY mistakes to avoid
- Applying coating over a damp slab (wait the full 24 to 48 hours after washing)
- Skipping surface etching before stain or epoxy (poor adhesion guaranteed)
- Using too much stain or paint in one coat (thin coats cure better and look better)
- Not testing stain color on a small area first (concrete color varies and affects results)
- Coating over peeling or failing existing finishes without stripping
- Ignoring temperature or humidity on application day
- Leaving out a non-slip additive on a glossy outdoor sealer
- Recoating efflorescence without treating the underlying salt deposits first
Your upgrade decision flow and materials checklist
Use this to figure out your starting point and what you actually need to buy:
- Clean the slab thoroughly. Pressure wash, treat any stains, let it dry 24 to 48 hours. Then reassess.
- Check the condition. Sound slab with no cracks or peeling? Move to step 4. Cracks, spalling, or failing coating? Go to step 3.
- Repair and prep. Fill cracks, patch spalls, strip failing coatings, etch the surface. Let repairs cure fully.
- Pick your finish based on slab condition and desired look: stain (natural, permanent), paint/epoxy (solid color, easier), overlay (resurfacing or major texture change).
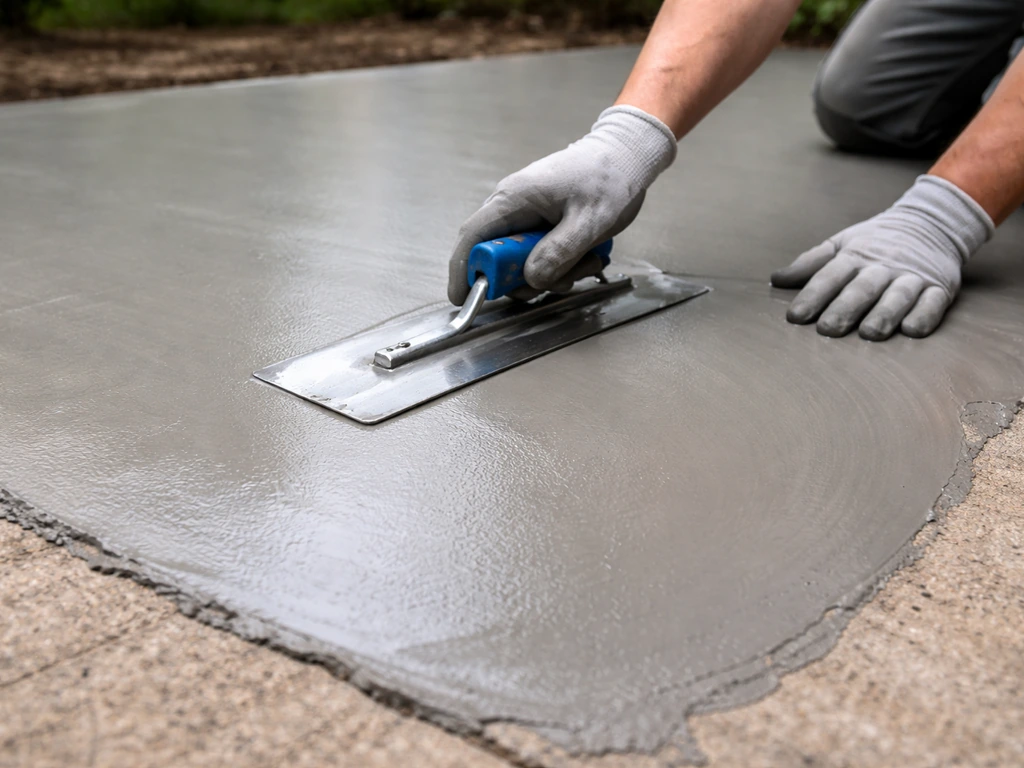
- Apply in thin coats per product instructions. Work in sections. Maintain a wet edge to avoid lap marks.
- Seal with a compatible topcoat. Add non-slip grit to the final coat. Let cure fully before use (typically 24 to 72 hours).
- Plan to clean annually and reseal every 1 to 3 years.
Core materials and tools checklist
- Pressure washer (2,500 to 3,000 PSI for plain concrete)
- Concrete cleaner/degreaser
- Mold and mildew cleaner (bleach-based or oxygen bleach)
- Oxalic acid cleaner (for rust stains)
- Diluted muriatic or phosphoric acid (for efflorescence and surface etching)
- Concrete crack filler or polyurethane caulk
- Polymer-modified concrete patch compound
- Concrete stain, paint, or overlay product of choice
- Roller with 3/8 to 1/2 inch nap (for stain and paint), squeegee or gauge rake (for overlays)
- Concrete sealer appropriate to your finish type
- Non-slip additive (silica sand or polymer grit)
- Safety glasses, rubber gloves, respirator for chemical work
- Painter's tape and plastic sheeting to protect adjacent surfaces
A well-dressed concrete patio isn't complicated, it just requires doing the steps in the right order. Clean first, repair what needs repairing, pick the right finish for what you're working with, and seal it properly. If you follow this order and focus on cleaning, drying, and sealing, you’ll know how to improve concrete patio results that last. Whether you're going for a simple refreshed look or a full decorative transformation, the foundation is always the same: a clean, sound, properly prepared slab. Get that right and any of these finishes will look great and hold up for years.
FAQ
Can I dress up a concrete patio without pressure washing it?
You can, but you will usually pay for it later. If dirt, algae, or oxidation remains, stains can blotch and coatings can fail early. A practical compromise is using a heavy-duty deck or masonry cleaner plus thorough scrubbing, then rinsing well, but test water absorption and adhesion before coating to confirm the surface is truly clean.
How do I know whether my patio is ready for stain or paint after it dries?
Do a simple moisture check. Sprinkle a few drops of water and watch them for 10 minutes. If the water still beads or doesn’t darken the concrete, it’s generally ready. If it soaks quickly or leaves a damp-looking spot, give it more drying time, especially if the slab sits in shade.
What’s the difference between “etching for stain” and “acid etching for overlays,” and can I skip it?
Etching is meant to open the concrete surface so stain or coating can bond or penetrate. You should not skip surface profiling when the product requires it. If you are going from a smooth, sealed, or paint-covered surface to stain or overlay, you typically need stripping plus mechanical profiling, not just a light rinse.
Will concrete sealers turn my patio slippery or slick?
They can, especially clear, glossy, or smooth-film finishes when they get wet. To manage risk, choose a UV-stable sealer with slip resistance, add the non-slip additive in the correct coat (usually the final one), and avoid building up multiple thick layers that smooth out texture.
Can I cover hairline cracks with stain or paint instead of repairing them?
Usually not. Even thin cracks can telegraph through and let moisture move underneath, causing discoloration, bubbling, or peeling later. For best results, fill cracks first, then let patch material cure fully, and only then stain or coat over the repaired areas.
What should I do if my patio has efflorescence, but it disappears after cleaning?
Treat it before you coat. Efflorescence often comes back because salts can continue migrating from below. After you clean and rinse, keep the area dry long enough to verify the white deposits are gone, then coat. If it reappears quickly, you may need to address moisture sources before investing in a finish.
Is it better to stain or paint if I want low maintenance and long color life?
Stain generally wins for concrete that can be properly prepped, because it penetrates and is less prone to peeling. Paint is easier for beginners and gives solid color, but it is more film-forming and can peel sooner in freeze-thaw areas. If the patio gets strong sun, choose UV-stable products and consider satin rather than high-gloss for better wear appearance.
Can I apply a sealer on the same day as staining or painting?
Usually you need a cure or dry window, not just “dry to the touch.” Follow the product’s recoat timing, because sealing too early can trap solvents or moisture and cause cloudiness or soft spots. If you’re unsure, wait longer and verify that the surface doesn’t feel tacky and the stain color looks fully set.
What’s the best way to remove old peeling paint or sealer without damaging the concrete?
Start with the least aggressive method that can pass adhesion testing, such as scraping and sanding, then move up if coating still releases. For stubborn failures, a floor grinder, chemical stripper, or shot blasting may be needed, but always confirm compatibility afterward with a small test patch to avoid “coating over failing layers.”
How many coats of sealer should I use, and how can I tell if I did enough?
Most patio seal systems recommend one or two coats with a specific spread rate. Instead of guessing, measure coverage and check the surface response after drying. The water-drip test is also useful before calling it done, but only after the sealer has fully cured per the label.
What temperature and weather conditions are most likely to ruin a patio upgrade?
Two big killers are applying outside the stated temperature range and sealing right before rain. Coatings can flash-dry or fail to bond if it’s too hot, too cold, or humid. Also avoid working if rain is likely within 24 hours, even if the surface looks dry, because moisture can cause cloudy spots and adhesion problems.
How can I make an overlay or microtopping more forgiving for a first-timer?
Practice on a small, out-of-sight area first, and work within the product’s listed working time. Have everything staged before mixing because many systems harden fast. Also ensure the base slab is clean, profiled, and free of loose coating, because overlays depend heavily on consistent bonding.